

Create and deploy an app
Creating an app, building an artifact from it, deploying a version and pointing a domain at it are one workflow
Objective
Creating an app, building an artifact from it, deploying a version and pointing a domain at it are one workflow. This page covers that workflow and the settings that go with it.
What each part of a finished app does, dashboards, extensions, style, menus and the rest, is covered from the Apps page.
Create an application
Generally speaking, the steps to create and deploy an application are as follows:
- Choosing a template from the Marketplace or importing an existing code
- Choosing extensions, including data visualization libraries
- Building dashboards
- Adapting organization/navigation
- Adapting design and style (optional)
- Formatting data and translating labels (optional)
- Managing versions and deployment
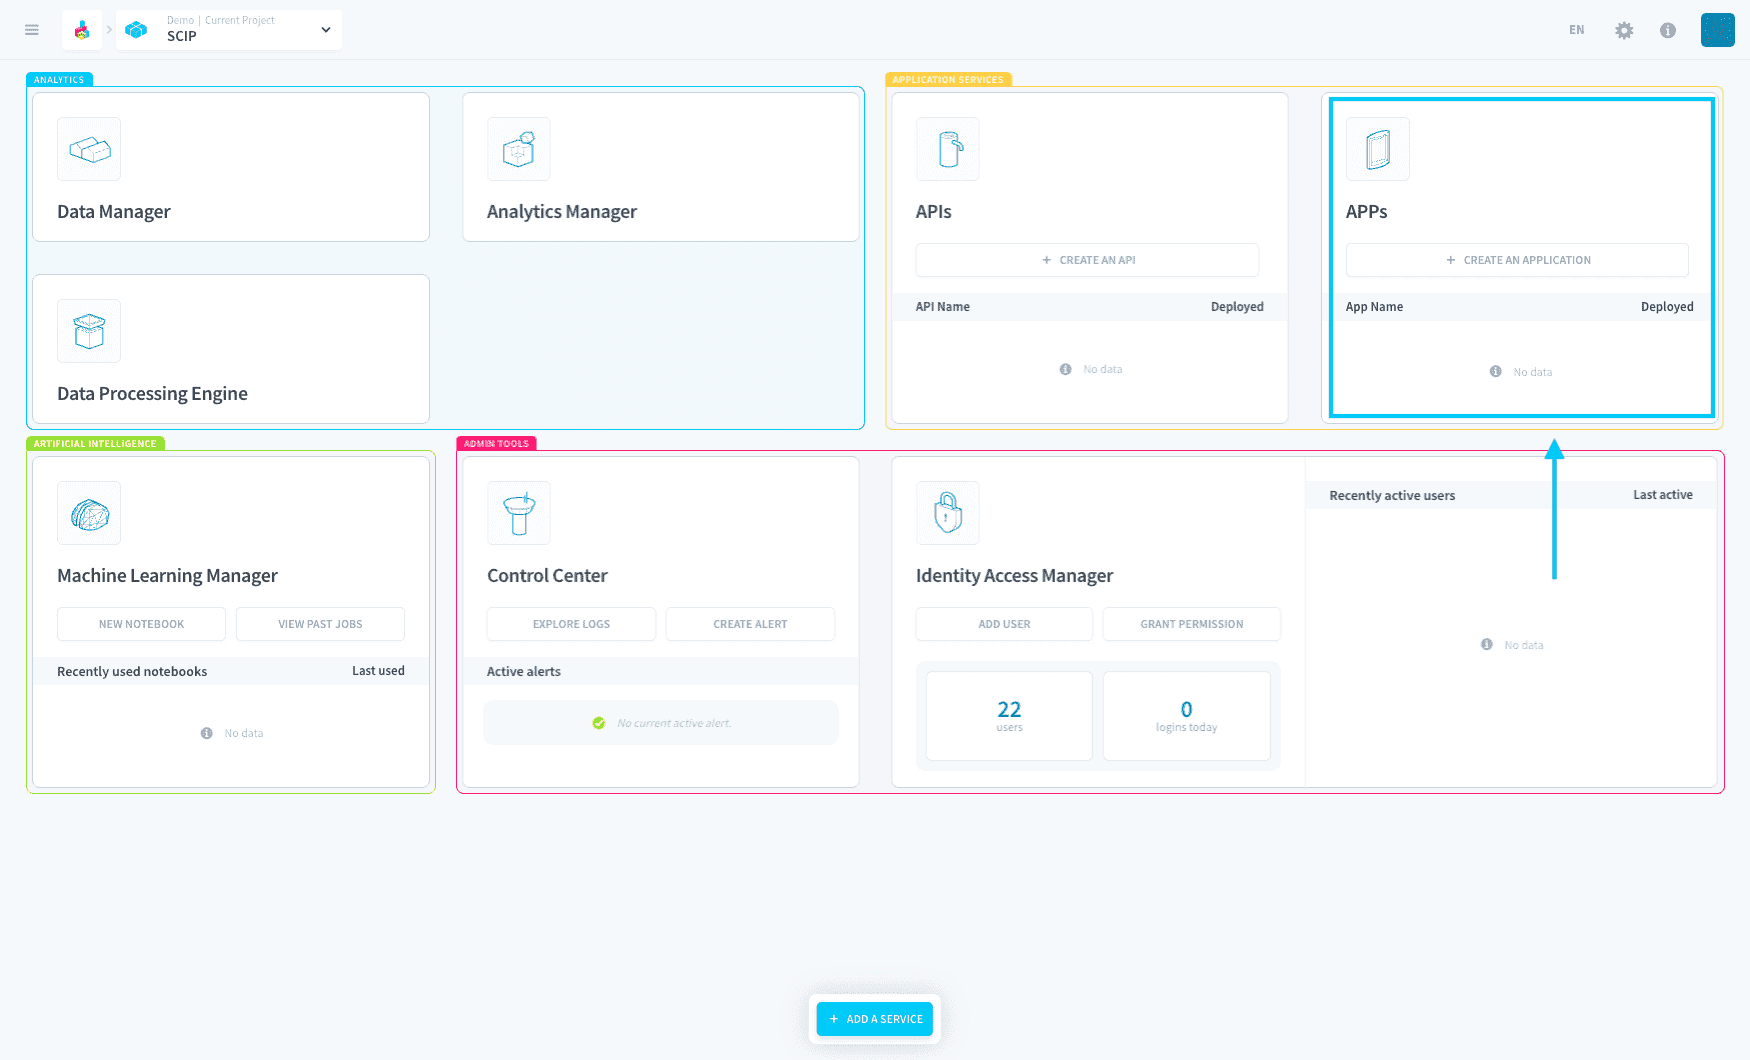
Initiate your application from Application Services by clicking Create an application.
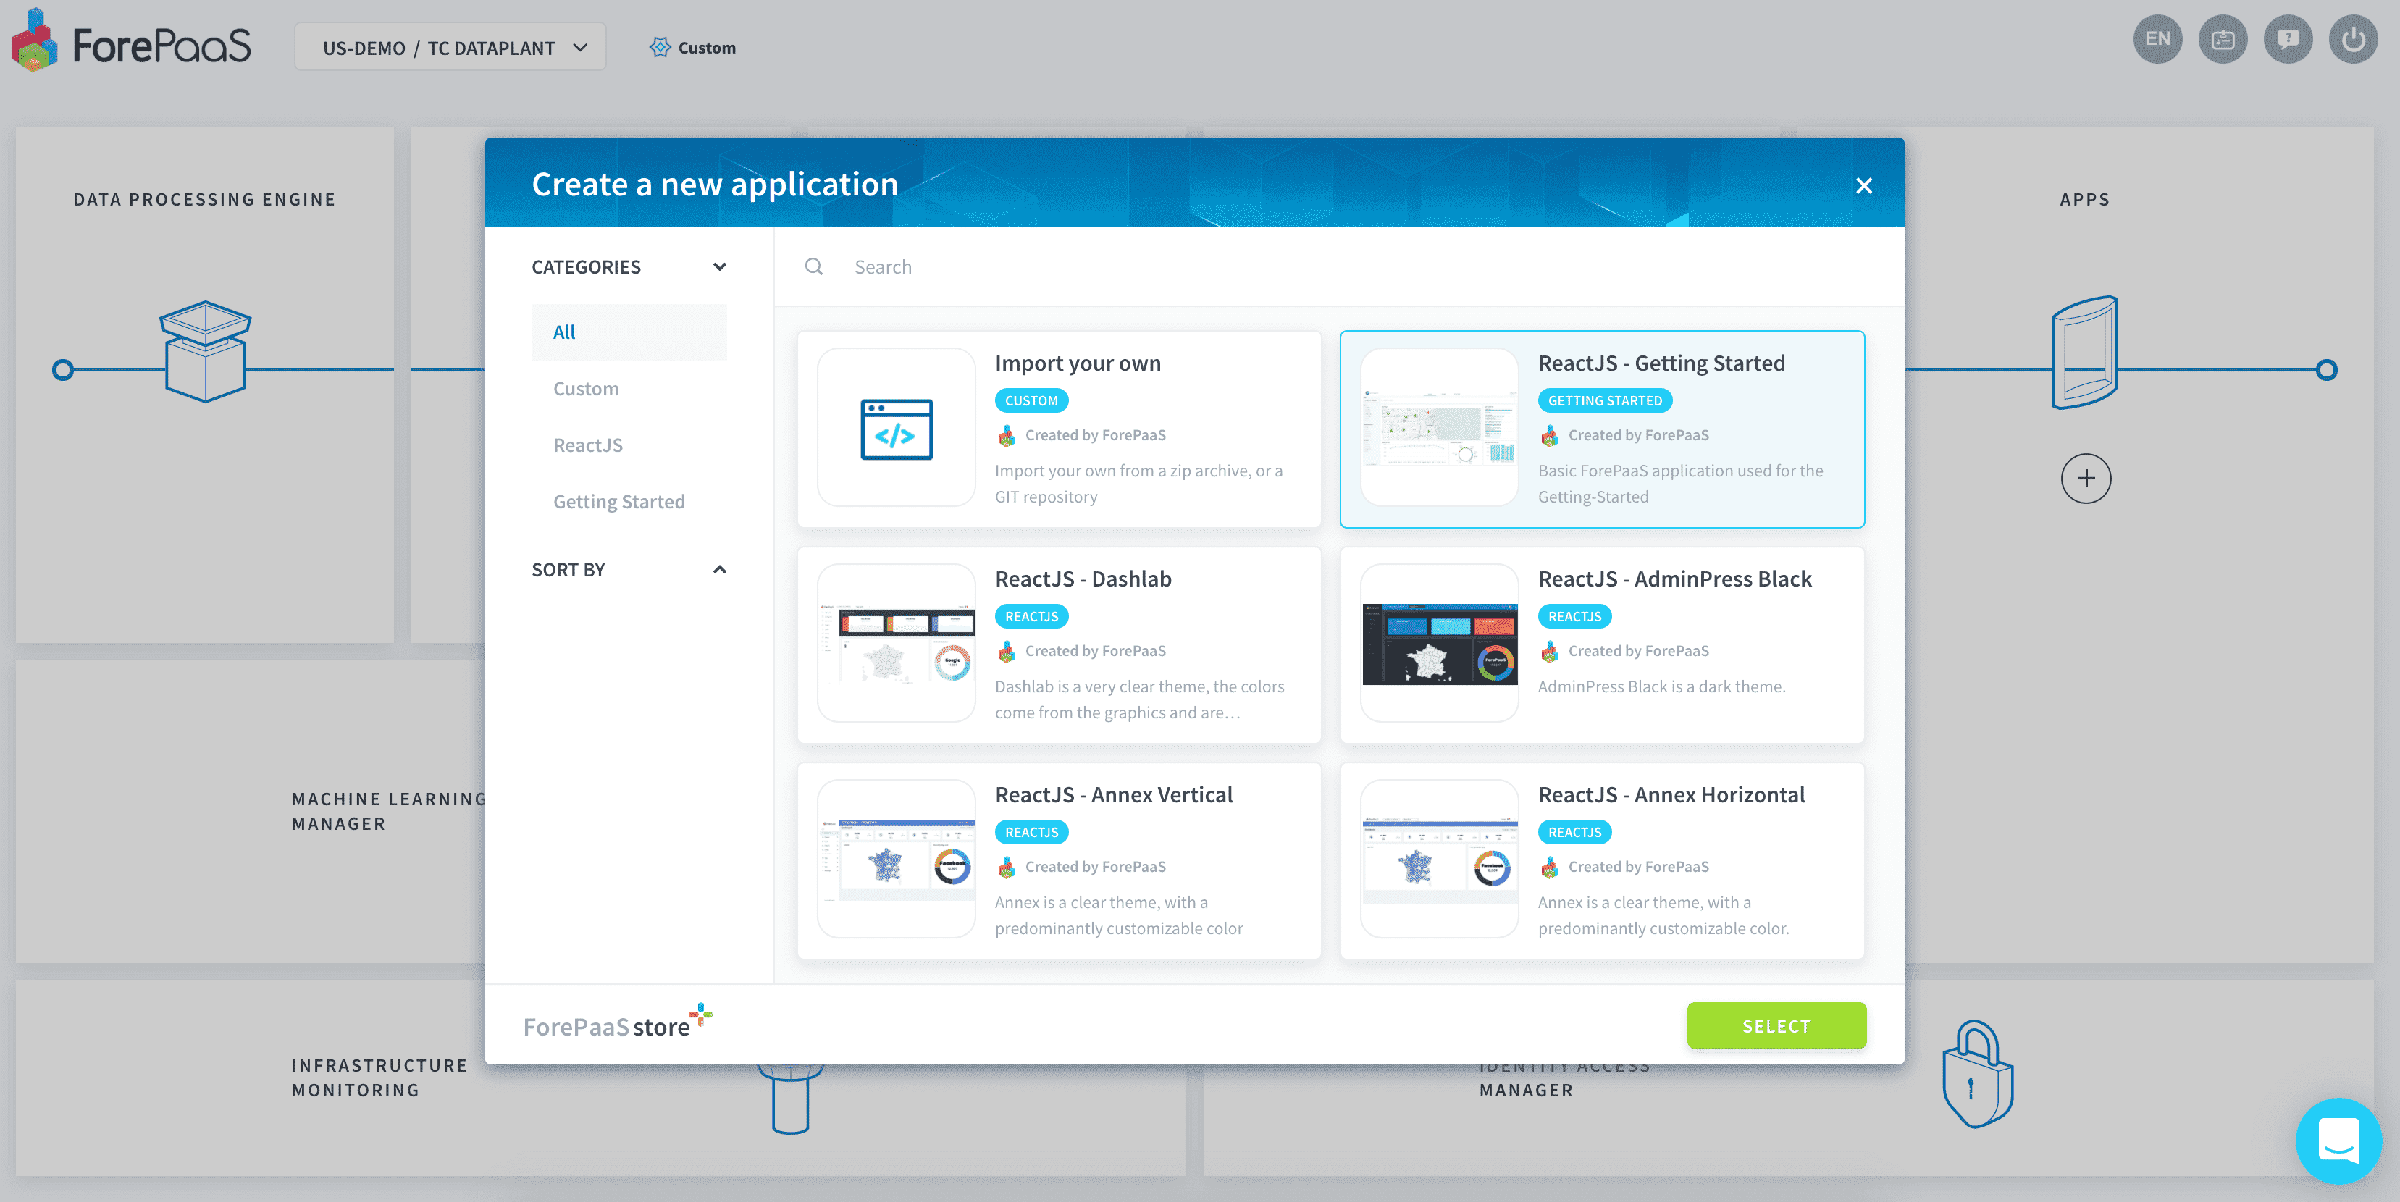
You will be able to choose between an existing app template from the internal Platform Store, or to import your own code by linking a Git repository.
Fill in the different fields as shown in the screenshot below and press Confirm.
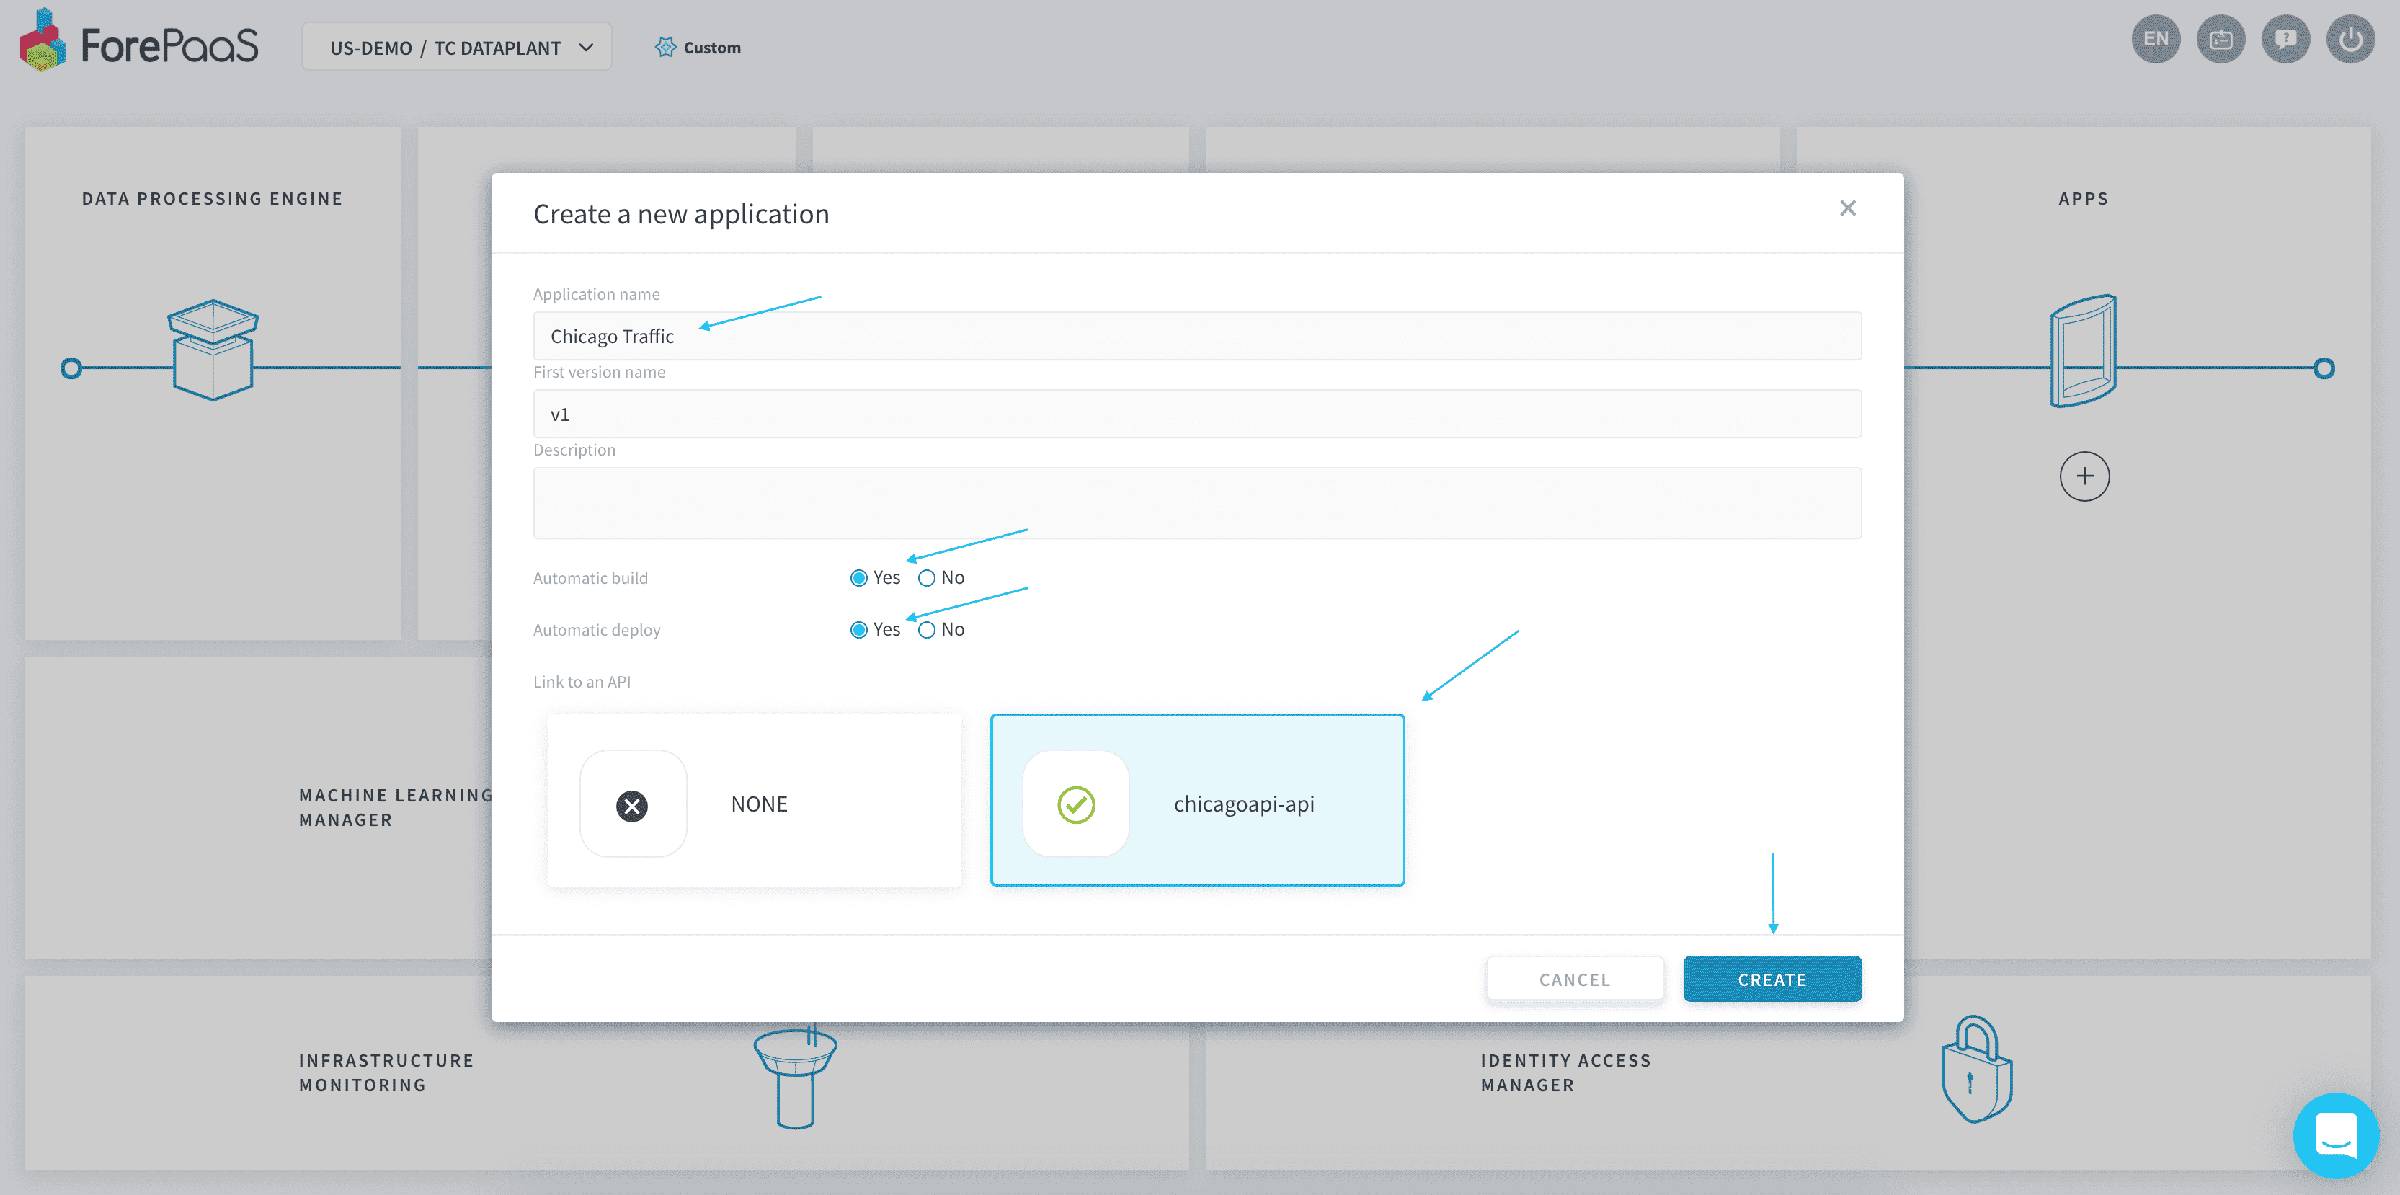
Click on Confirm, your app will automatically build and deploy. The whole process should take a couple of minutes.
From the APP manager component, you can then edit your app and manage its versions and deployments.
Manage an app through the interface
The Preview tab
In the management interface of an application, the Preview tab allows to monitor the life cycle of an application in an easy way.
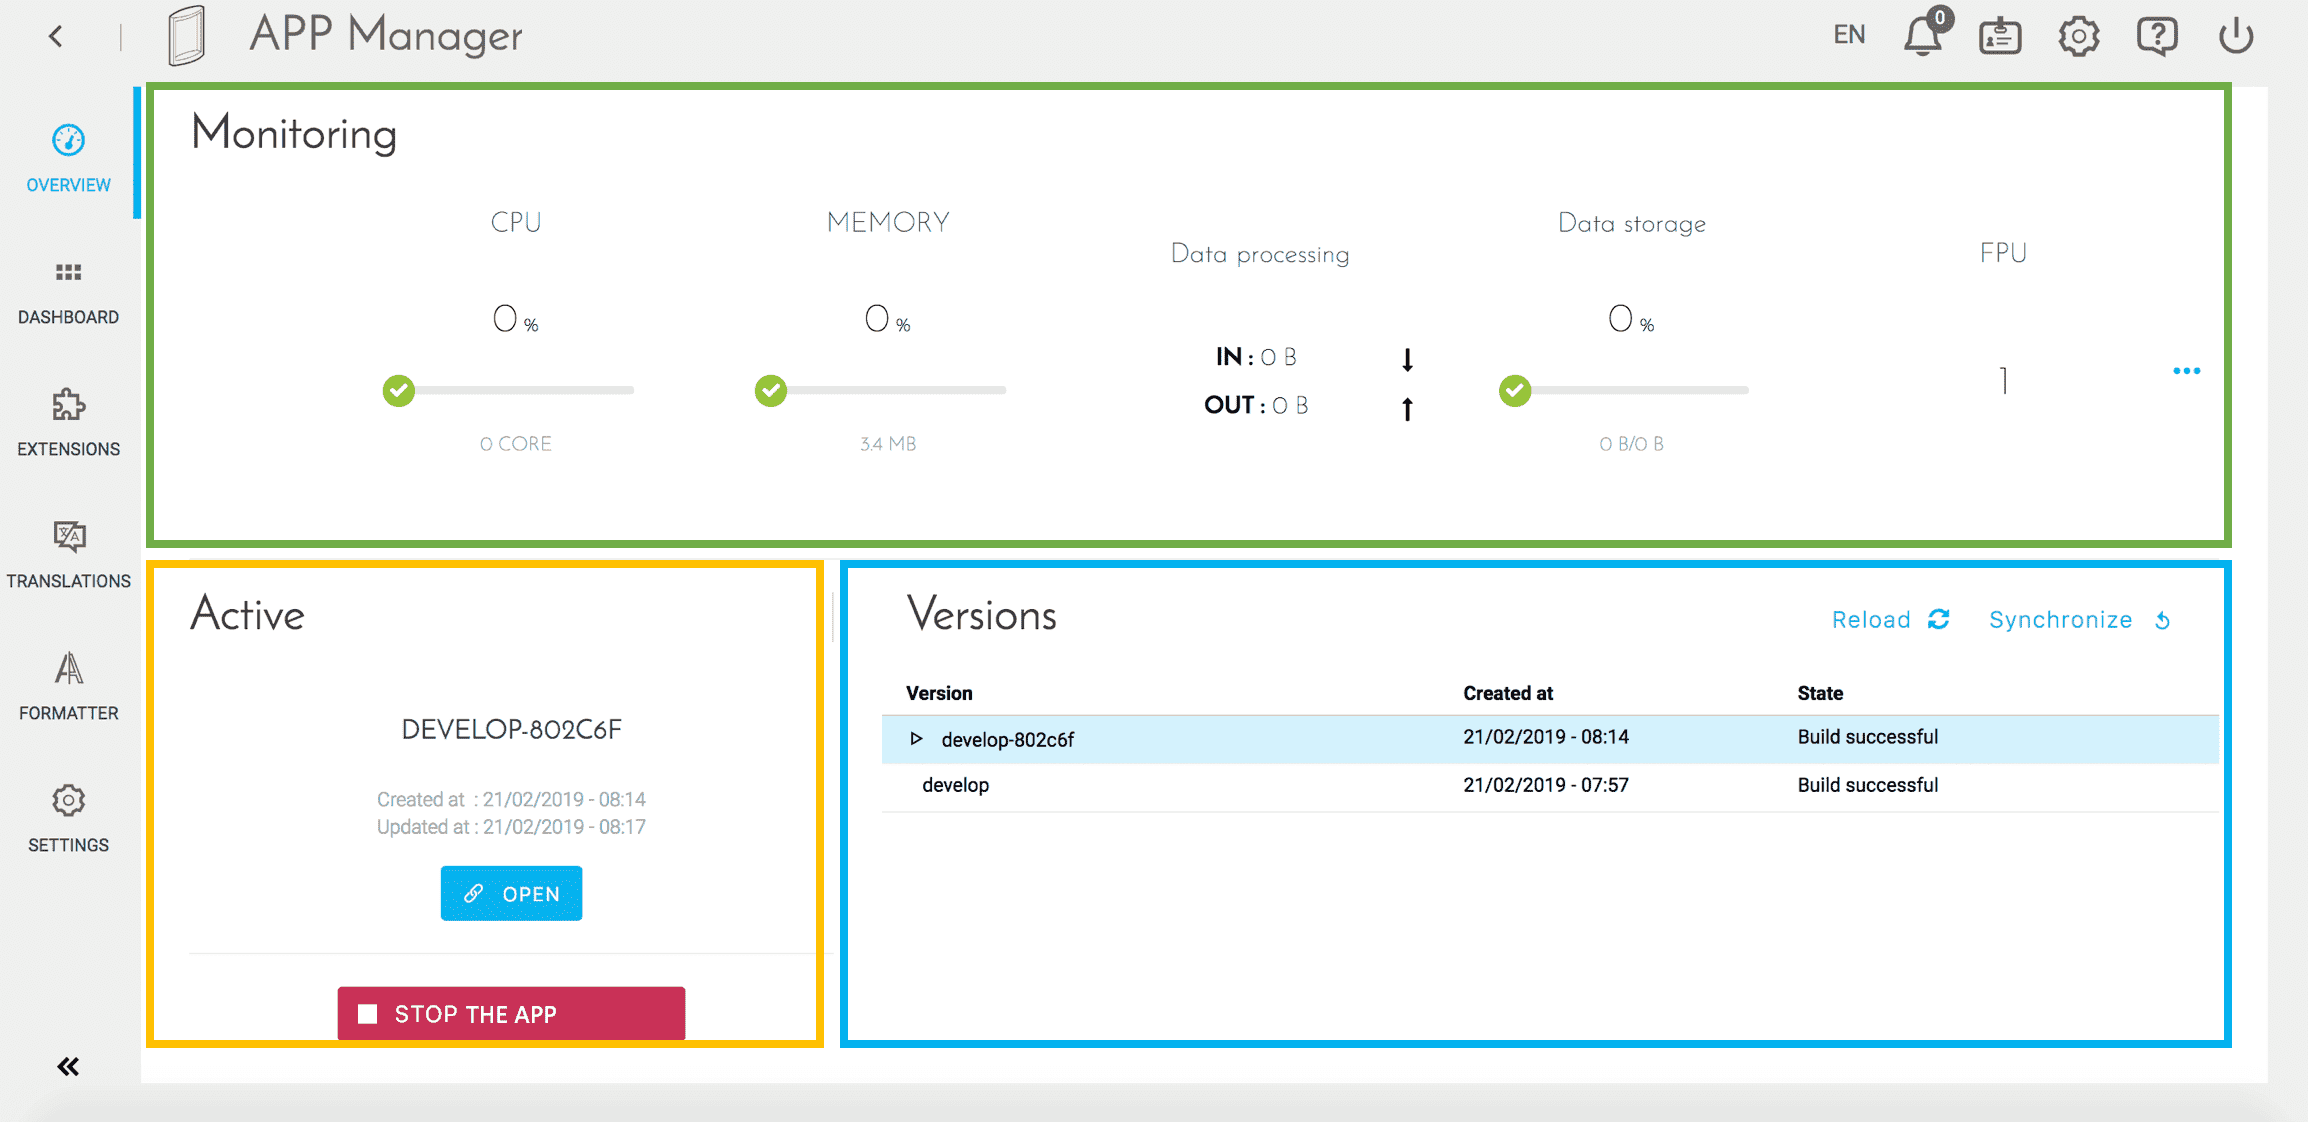
The screen is divided into 3 parts:
-
The top block (green) shows some indicators related to the resources used by the application. These indicators are useful, for example, to know if it is necessary to increase the number of instances.
-
The left block (yellow) indicates the status of the active version (in production). Some shortcuts are possible according to the state (New / Constructed / Deployed) of the version.
-
The right block (blue) displays different versions of the application. The active version is displayed in blue. Different actions are possible for each version:
- Synchronize / Download - action depending on the type of code source (ZIP file or GIT repository)
- Duplicate version
- Build this version
- Deploy / Stop version
- Open the building console
- Remove version - requires the version not to be deployed
Manage versions and deployments
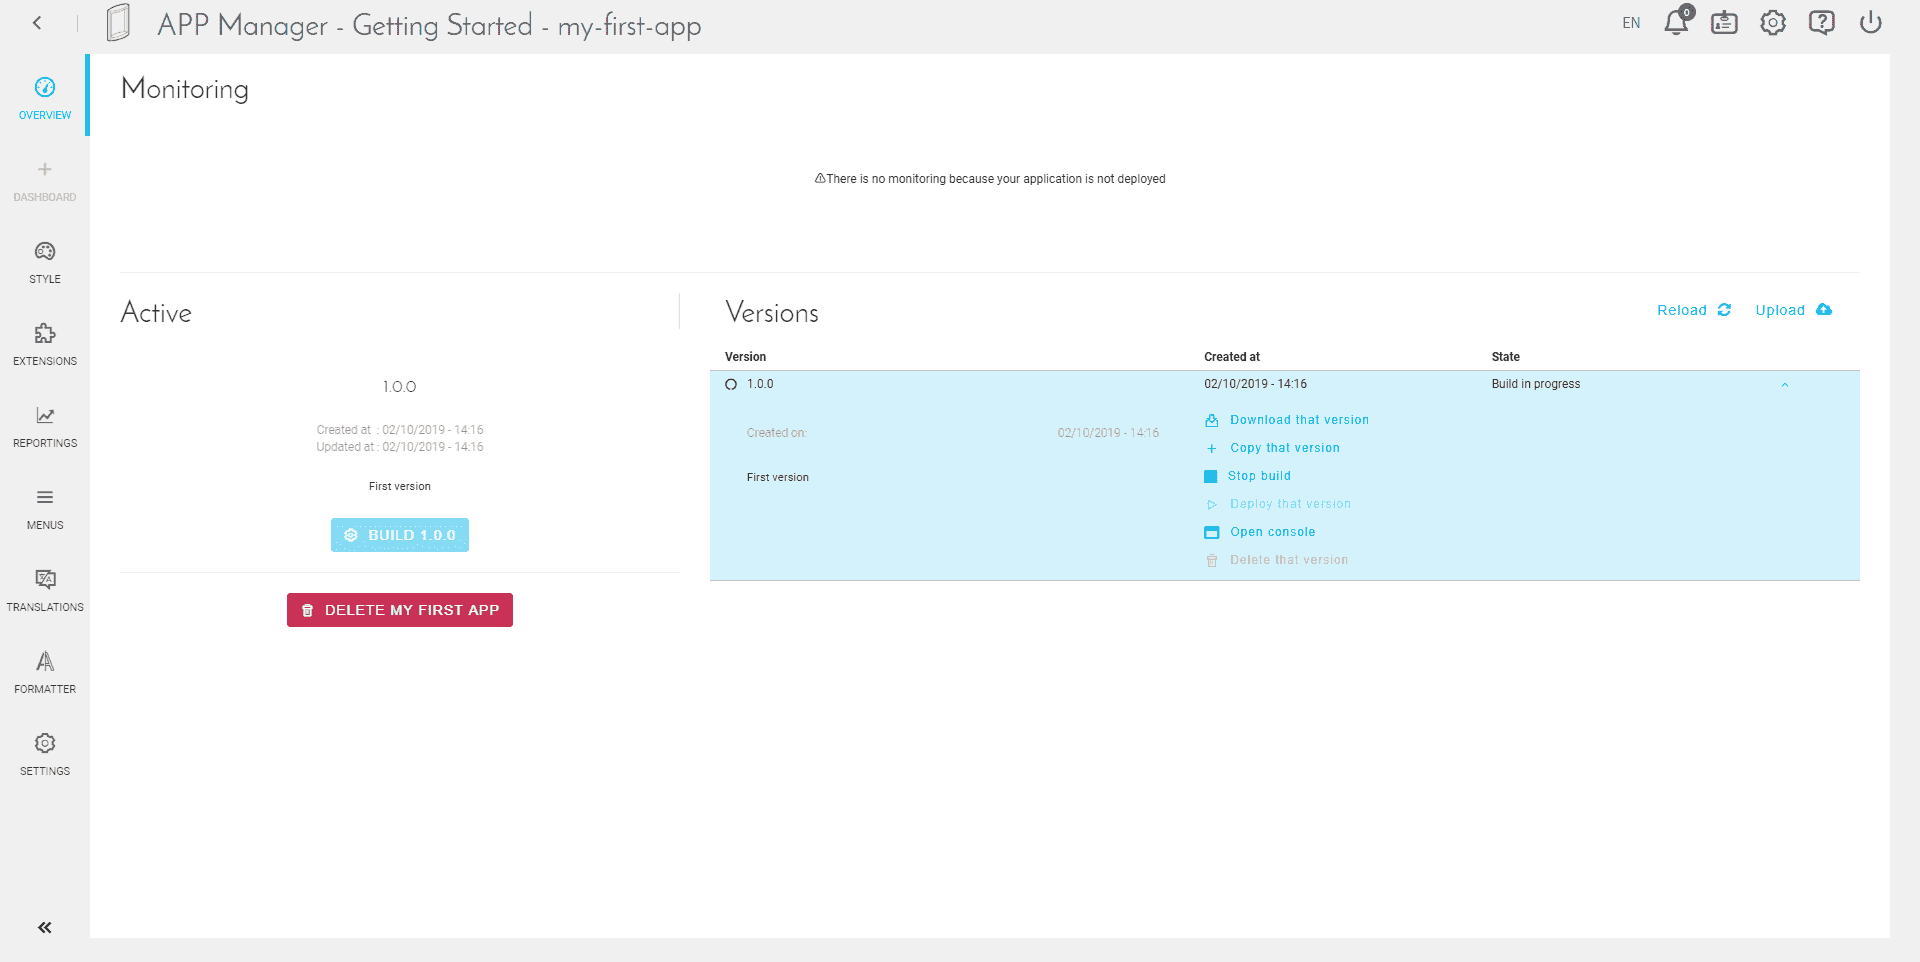
You will arrive on the "Dashboard" of your application. Here are three elements:
- Summary: status of your application once it has been deployed
- Active: status of your "active" version, that is to say, the one you are currently working on
- Tags: list of all the versions available in your application
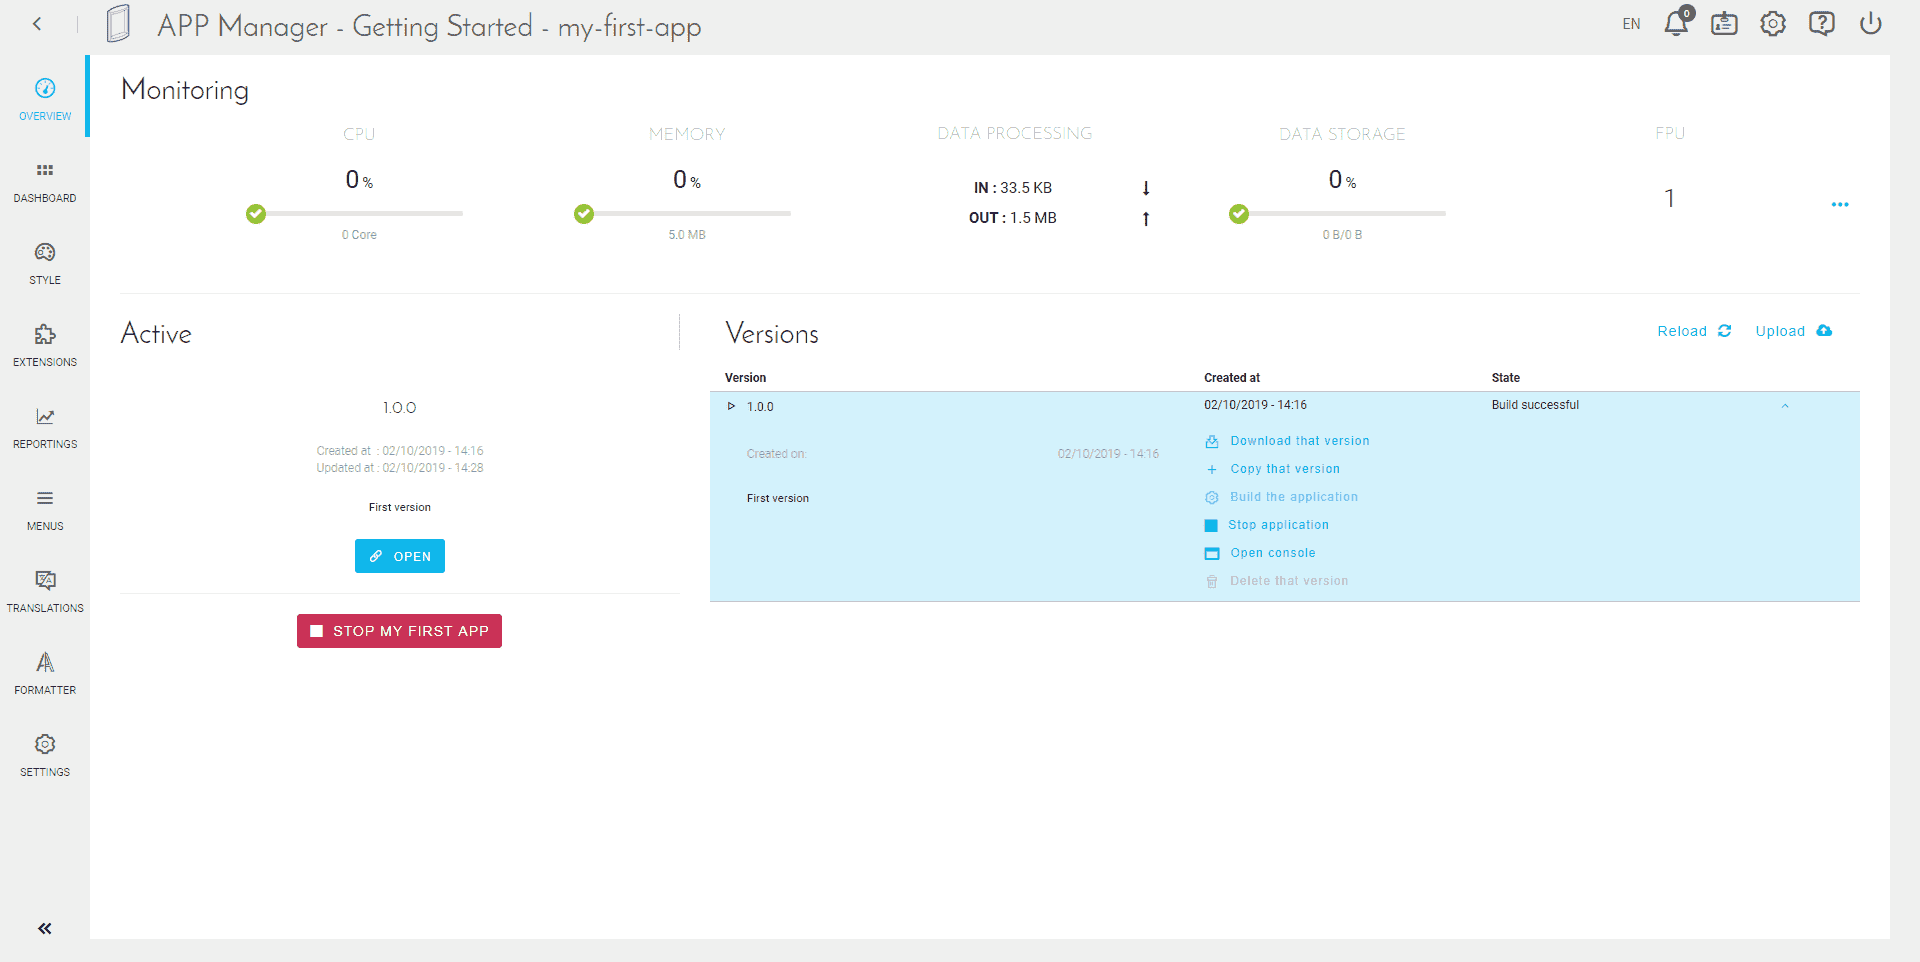
You can see more details about the version you just created using the arrow on the right of it.
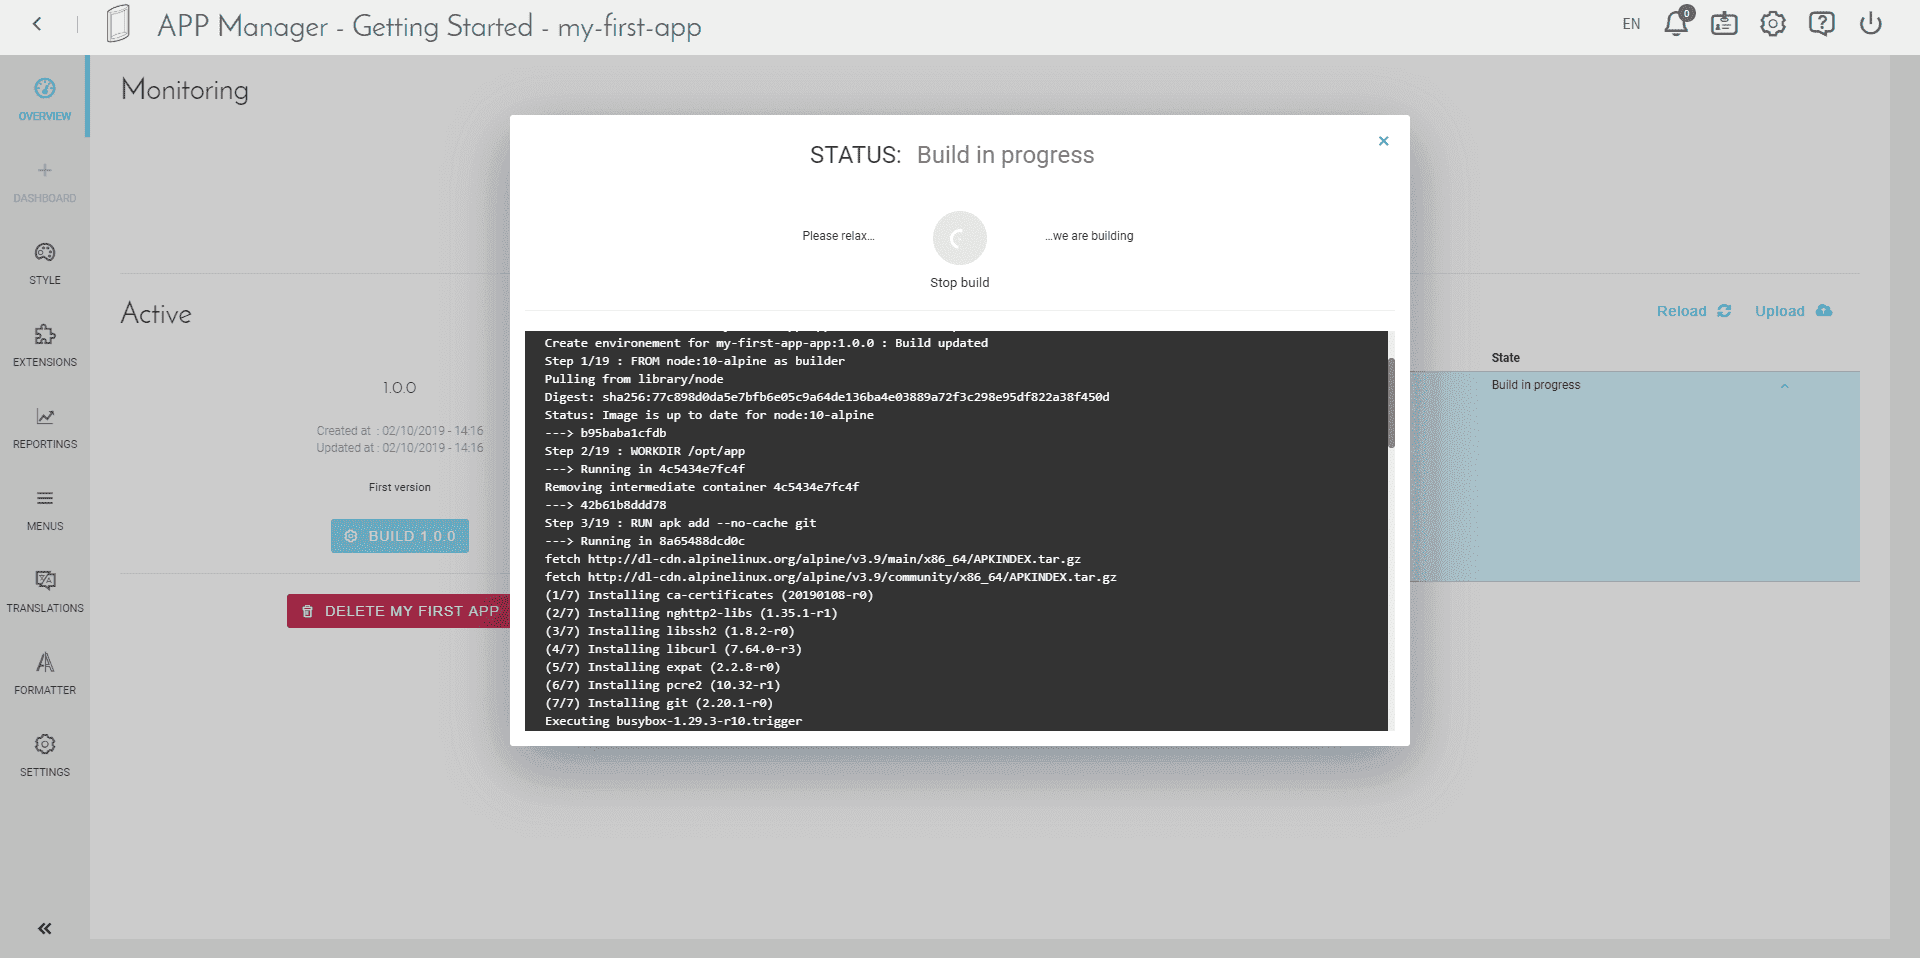
Since you activated auto-build, it has already started. You can check the activity log by clicking on "Open Console".
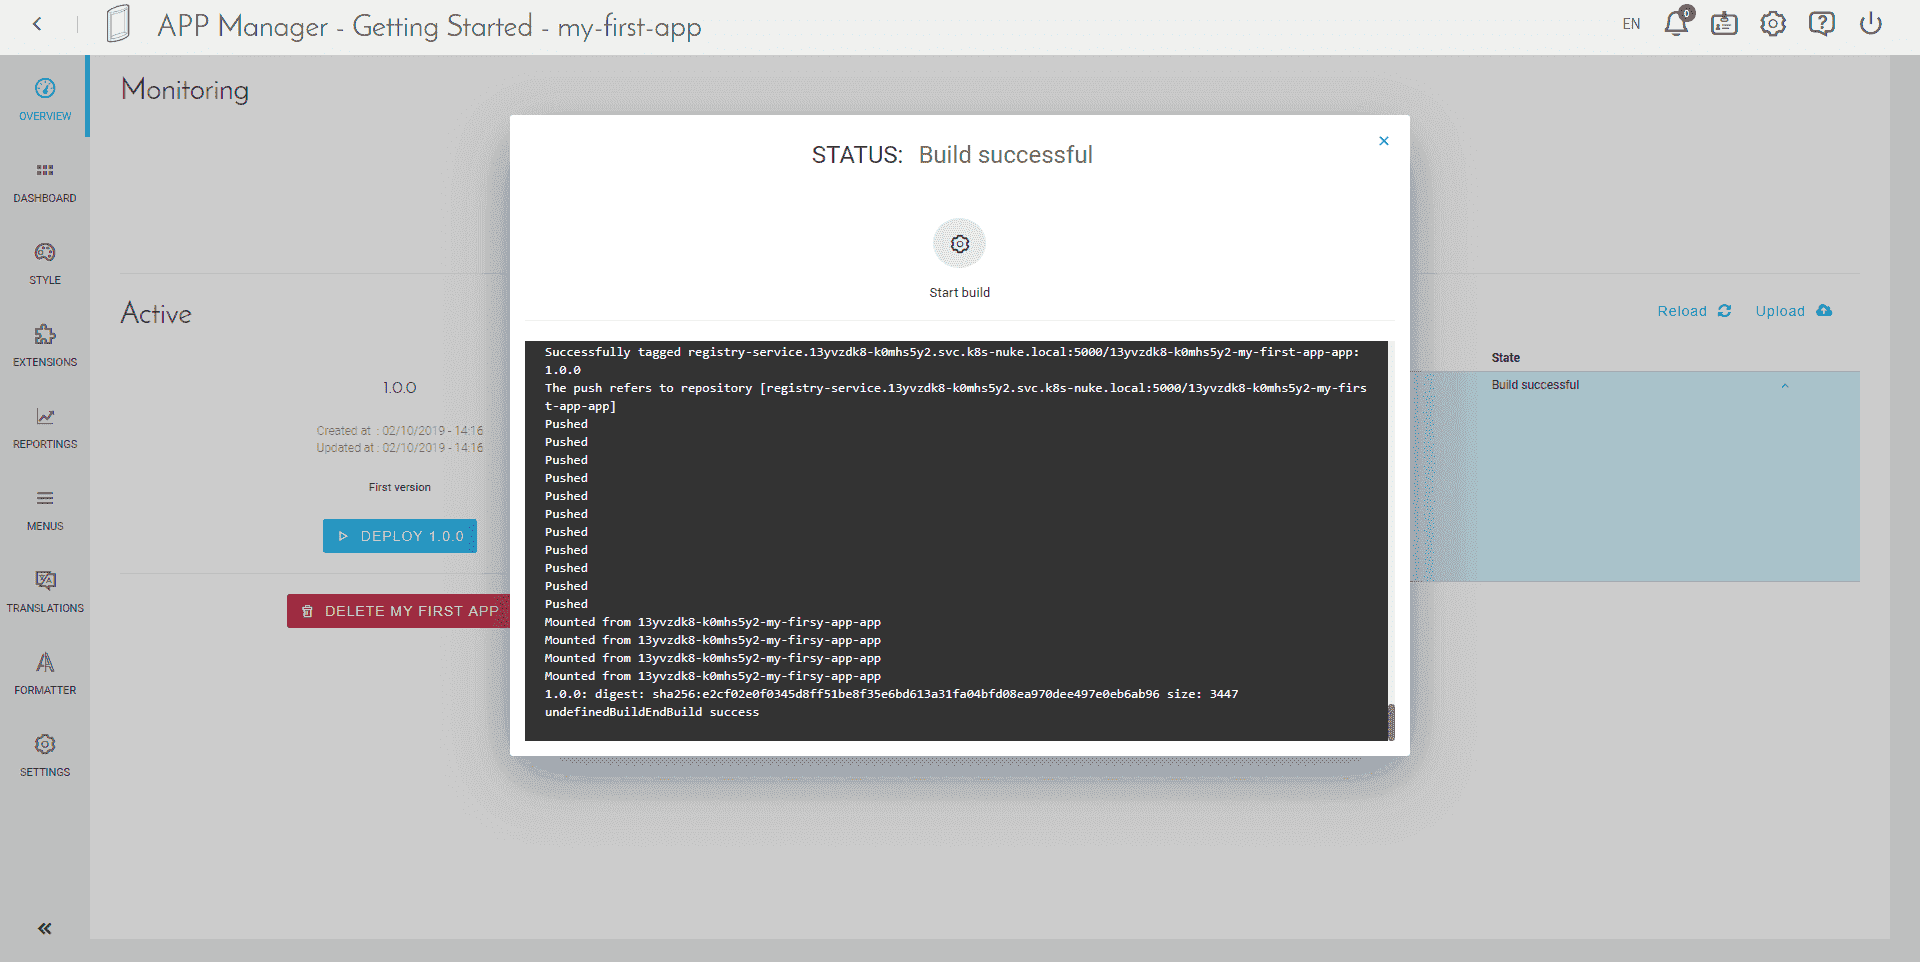
When it is done, you should see a last log "EndBuild success".
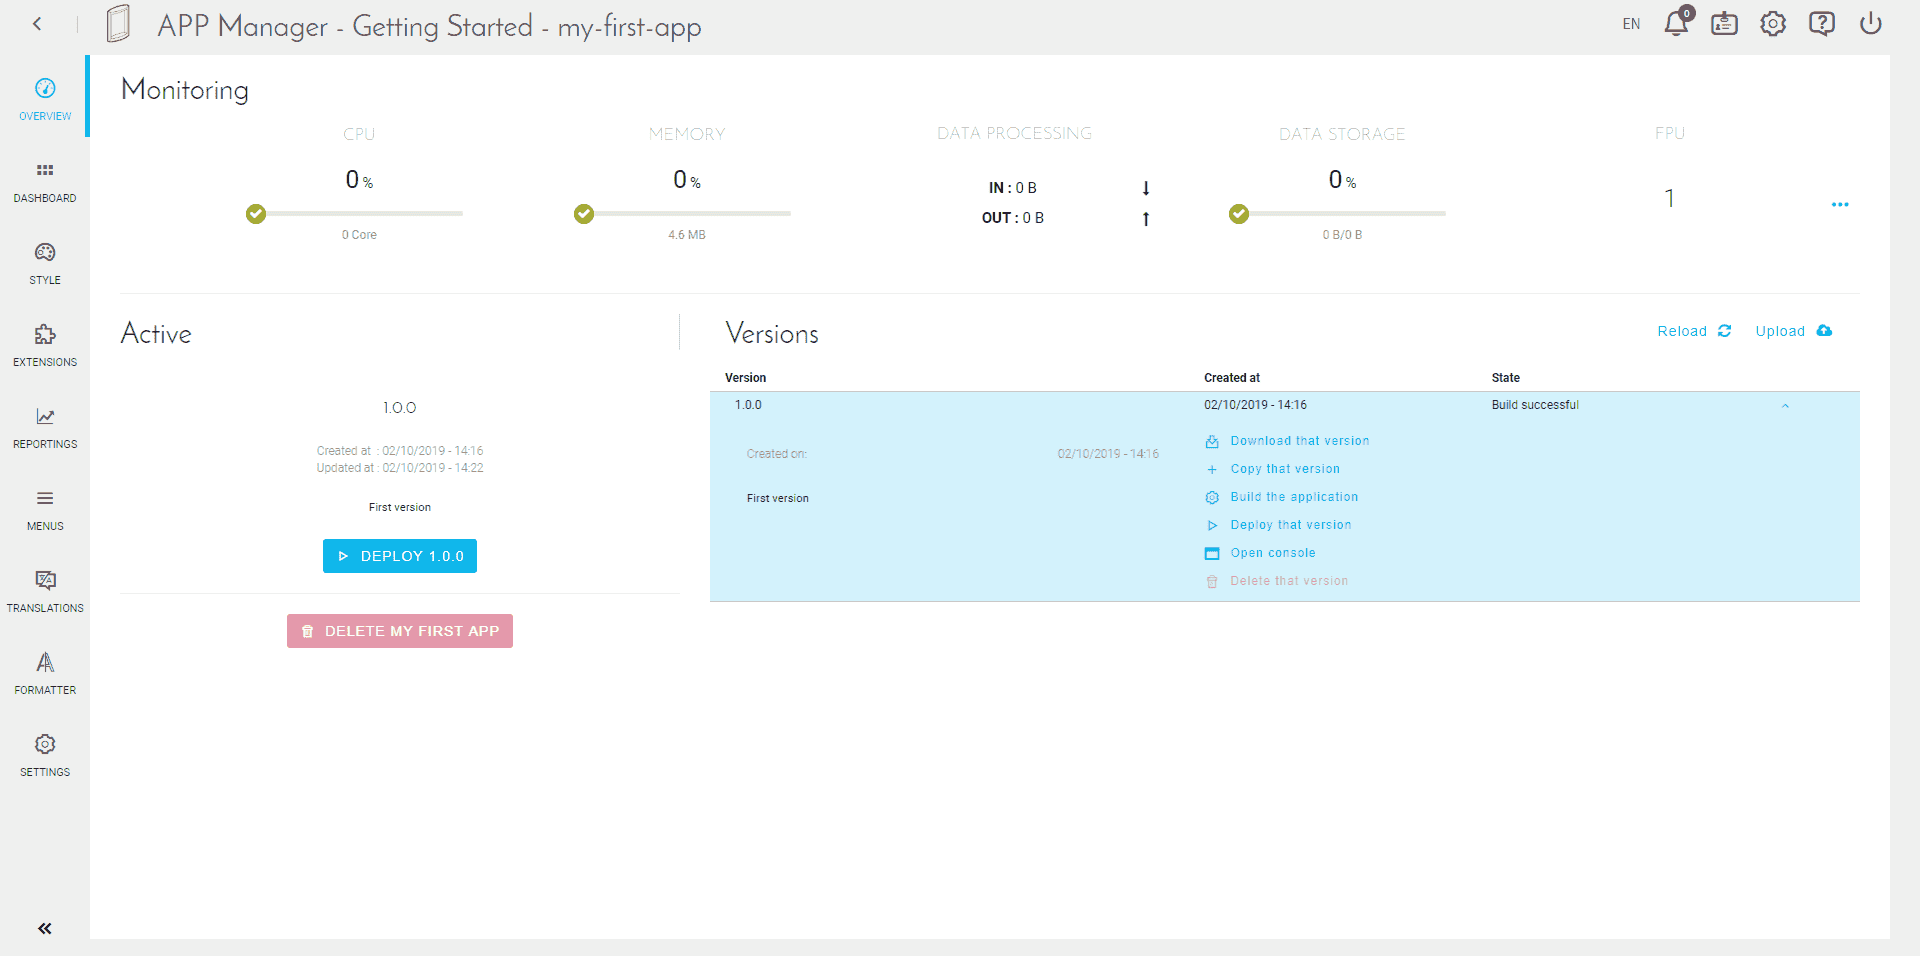
To start the deployment, please click on "Deploy 1.0.0".
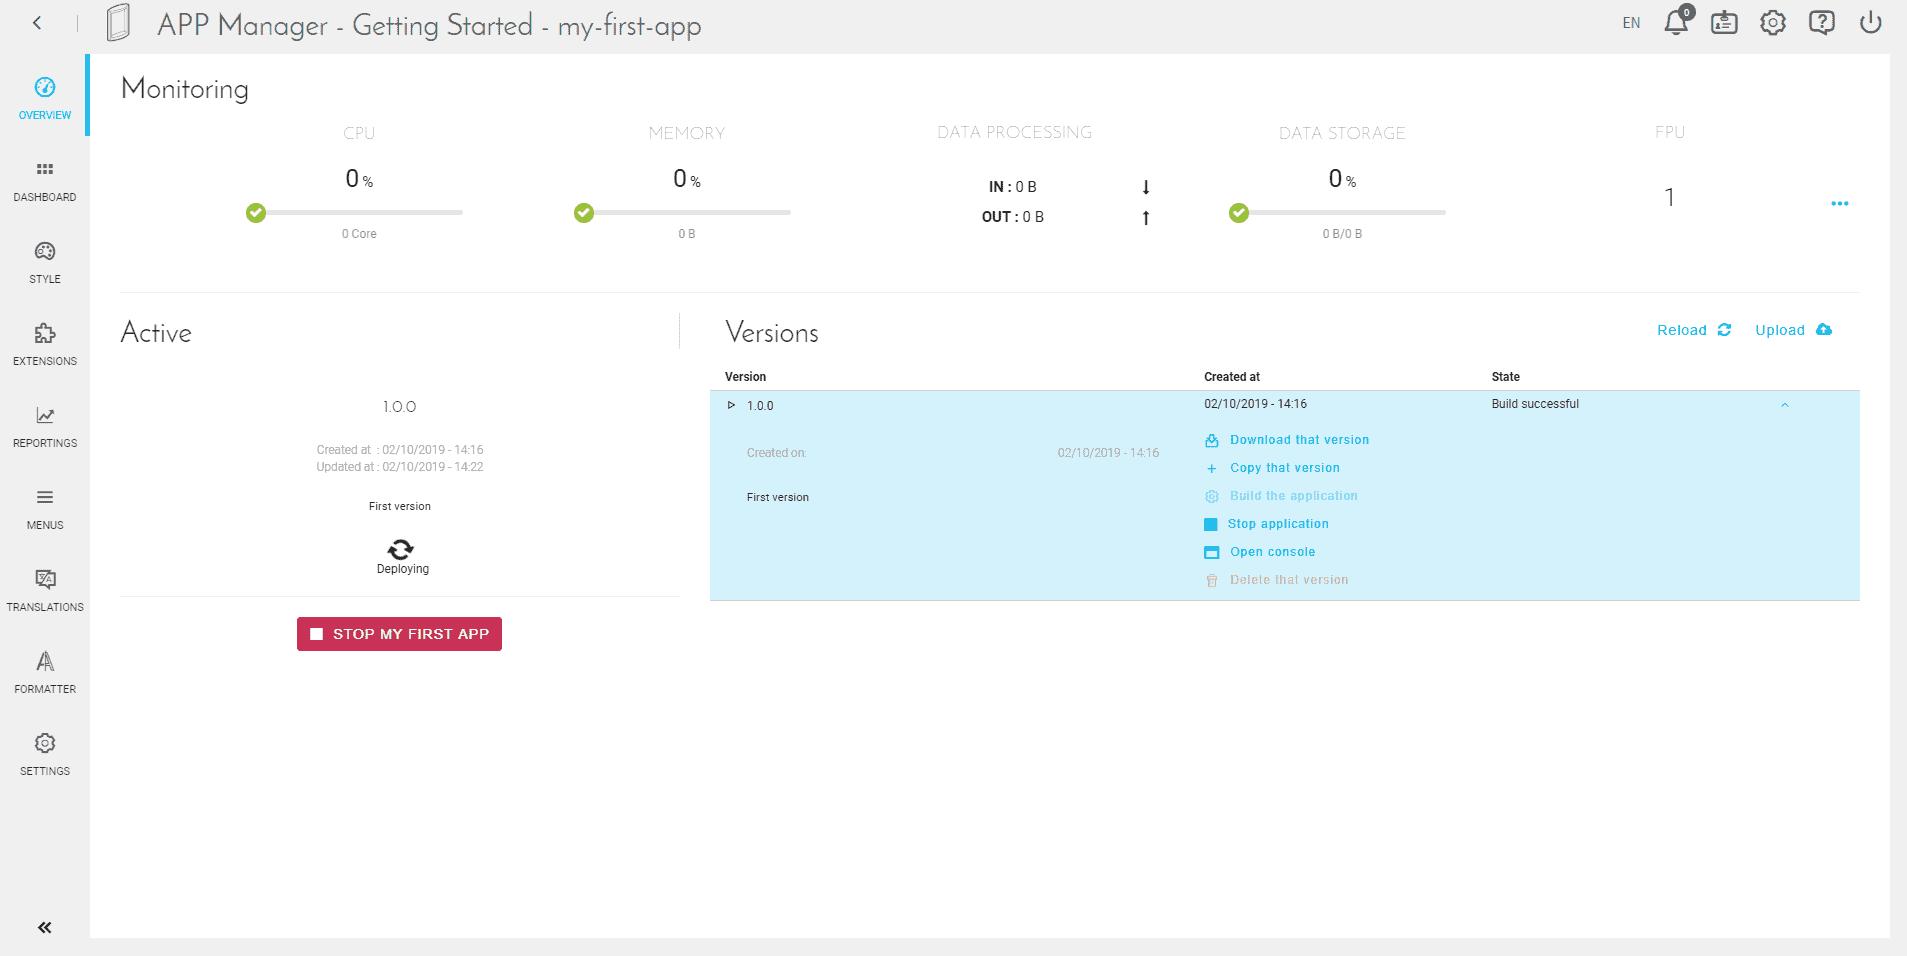
Deployment starts and may take some time.
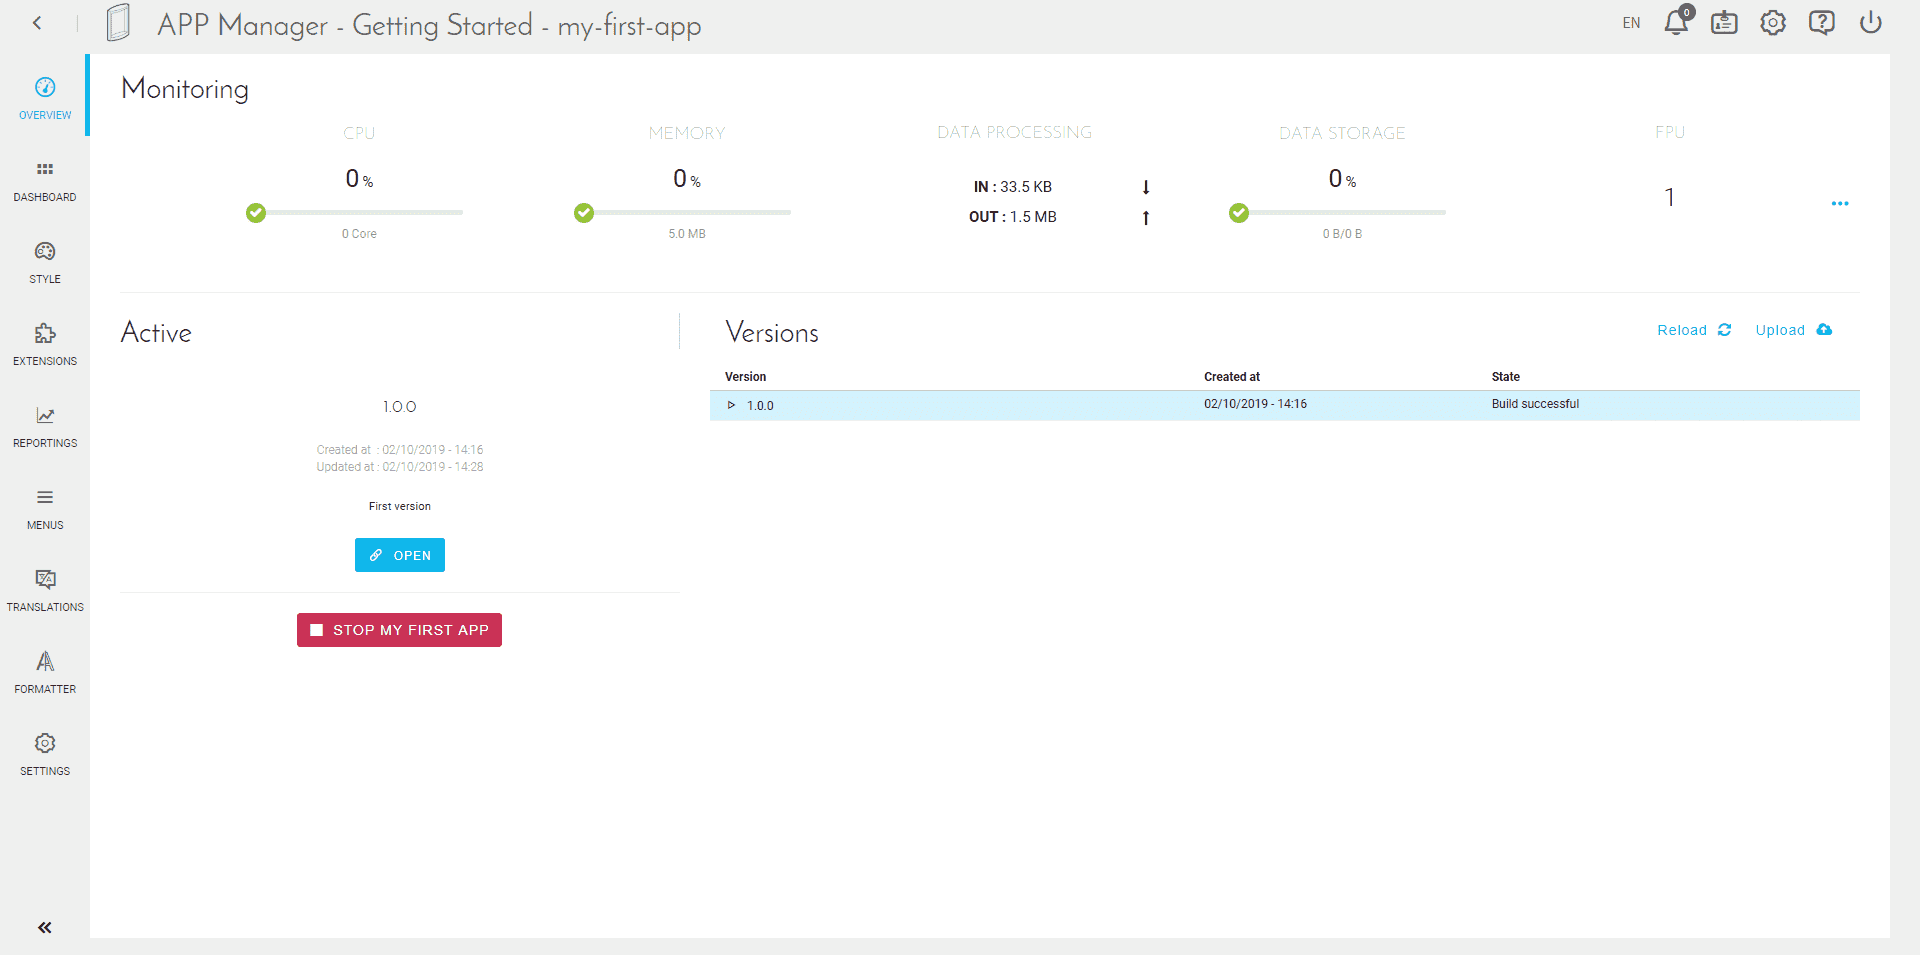
When the deployment is complete, the "Open" button appears. If you open your application, you should see this screen.
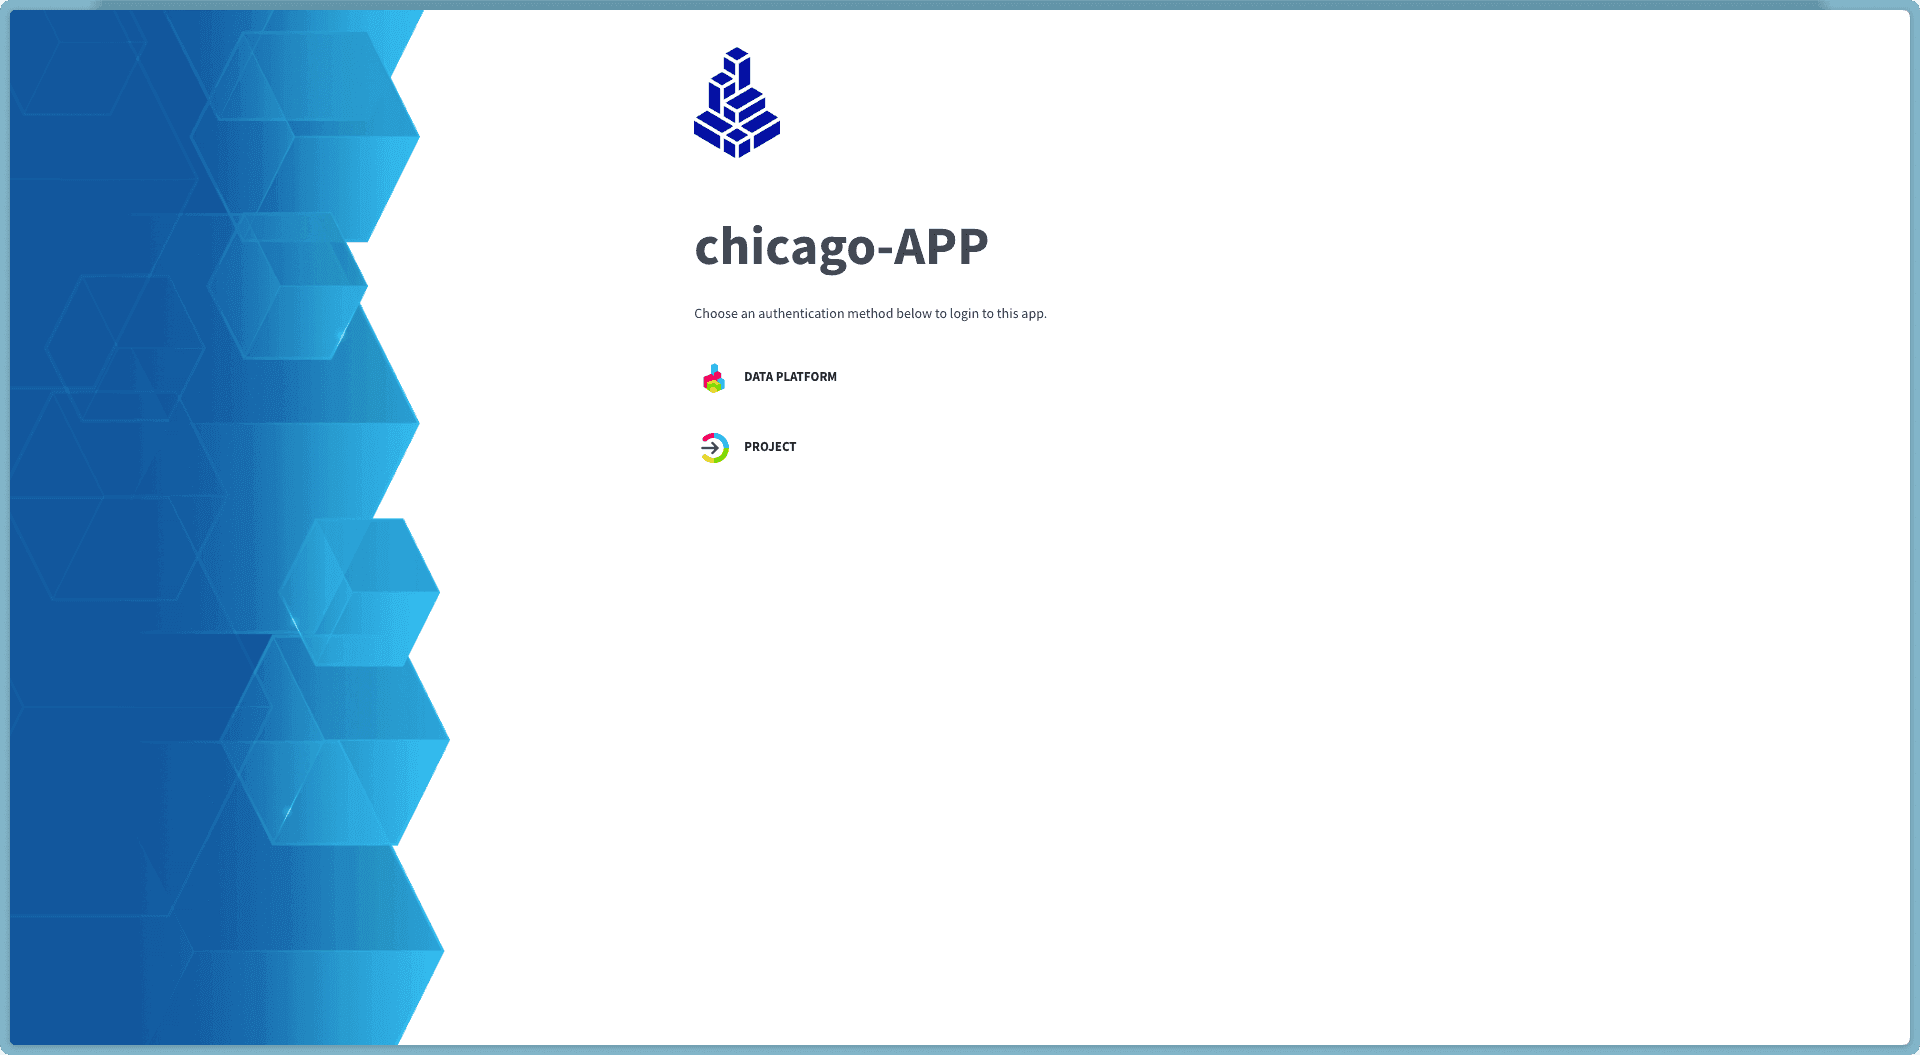
You can now login with your "DataPlatform" account or with a "Project" account created directly within your IAM.
Application settings
The settings of a deployed application hold its global information (name, description and main image), its environment variables, its Git repository link and its domain names.
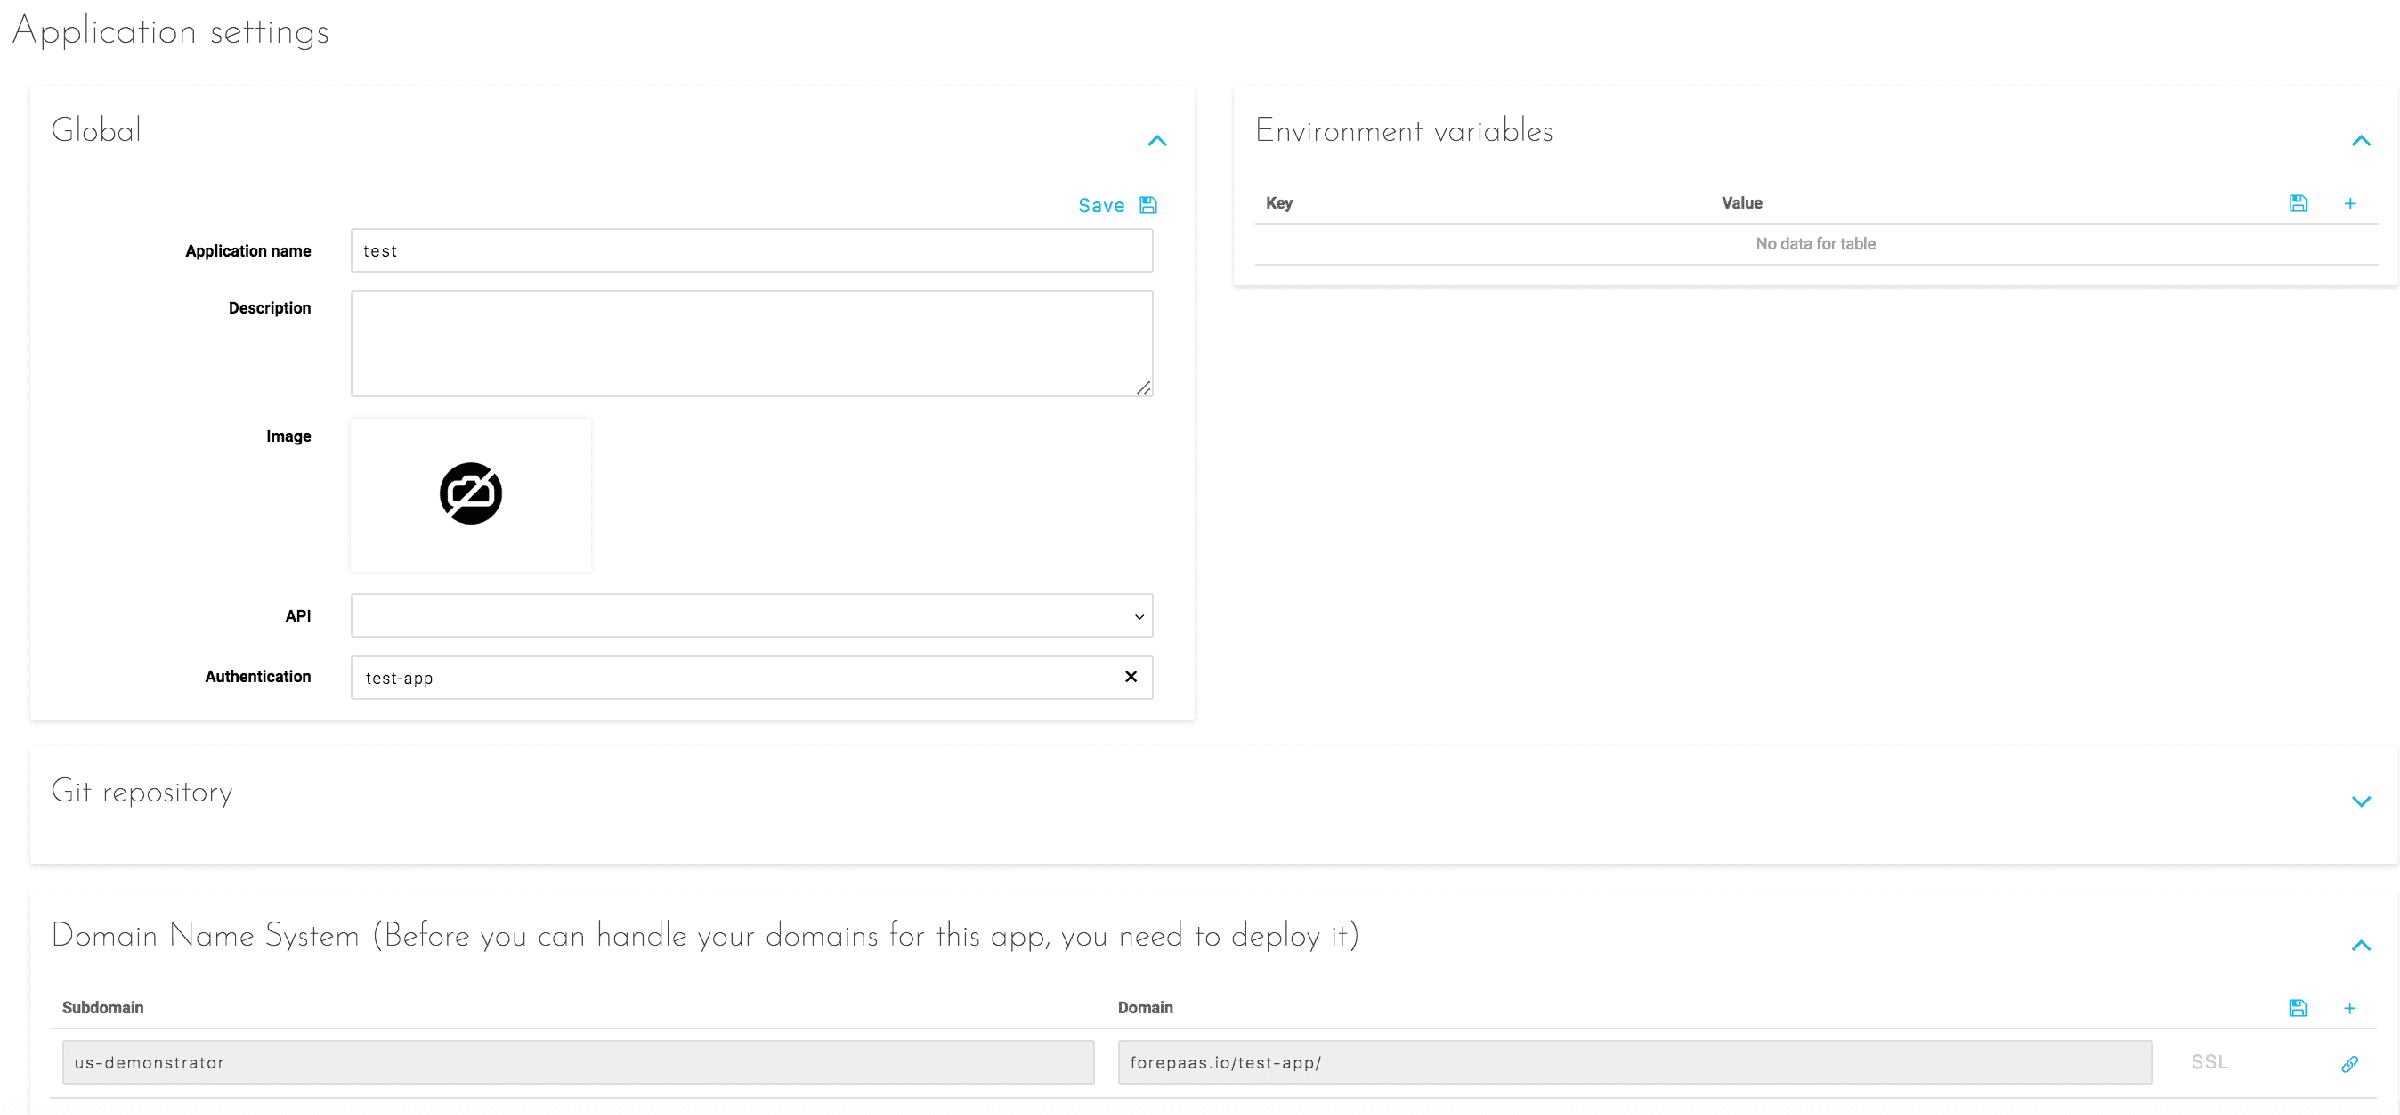
Environment variables are the values an application needs at runtime. Those required by the application itself and by its extensions are filled in automatically, so only the variables specific to a business need appear here.
An application is always reachable on a generated URL under the eu.dataplatform.ovh.net domain, unless another domain is set at organization level. Additional URLs can be added on top of that one.
Go further
If you need training or technical assistance to implement our solutions, contact your sales representative or click on this link to get a quote and ask our Professional Services experts for a custom analysis of your project.
Ask questions, give your feedback and interact directly with the team building the Data Platform on the dedicated Discord channel.
If you need support with your OVHcloud services, create a request in our Help Centre.
Join our community of users.