

Deploying Apache Superset on OVHcloud Data Platform
This guide provides a comprehensive walkthrough for deploying Apache Superset on the OVHcloud Data Platform, covering installation, configuration
Objective
This guide provides a comprehensive walkthrough for deploying Apache Superset on the OVHcloud Data Platform, covering installation, configuration, and Trino integration for a secure and reliable setup.
Before you begin: You will need an active Trino connection string. The easiest way is to create a Trino consumer in the Connectors; alternatively, build one manually by following Integrating Trino with External Tools. This connection string is crucial for configuring Trino within Apache Superset.
Steps to Connect Apache Superset to Data Platform via Trino
Step 1: Add Apache Superset into Application Services
- Navigate to your project.
- Click Create an application in the tile Application Services.
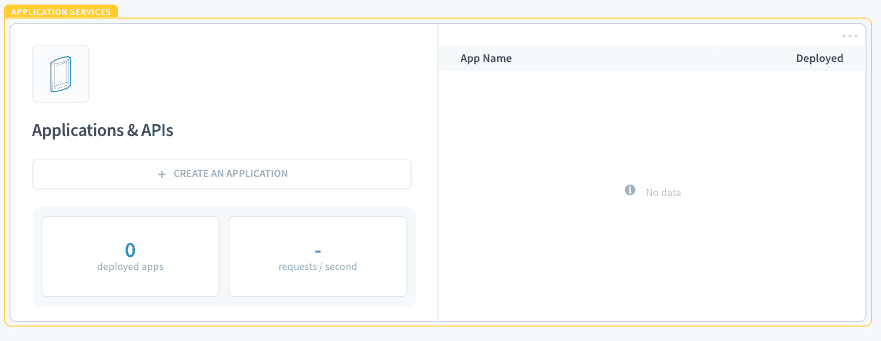
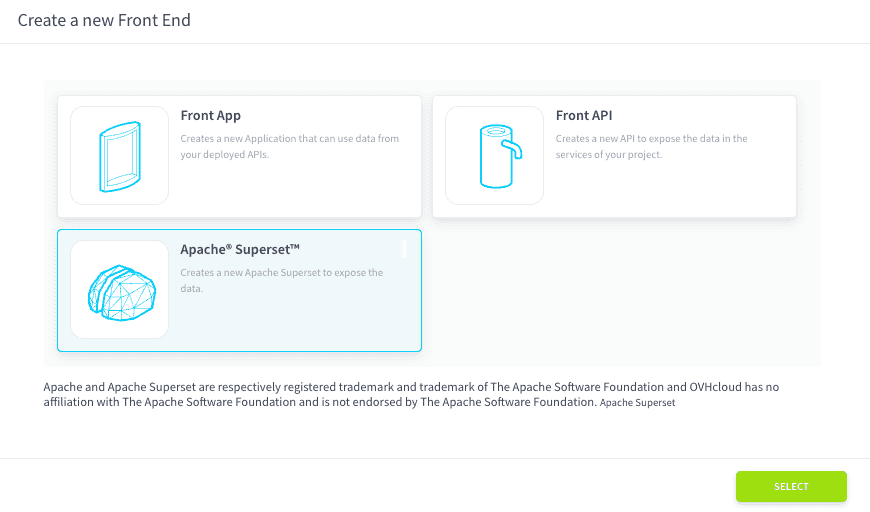
- Select Apache Superset.
- In the Apache Superset Store, select the Template you want (for this tutorial, we will select v5.0.0 with SQLite).
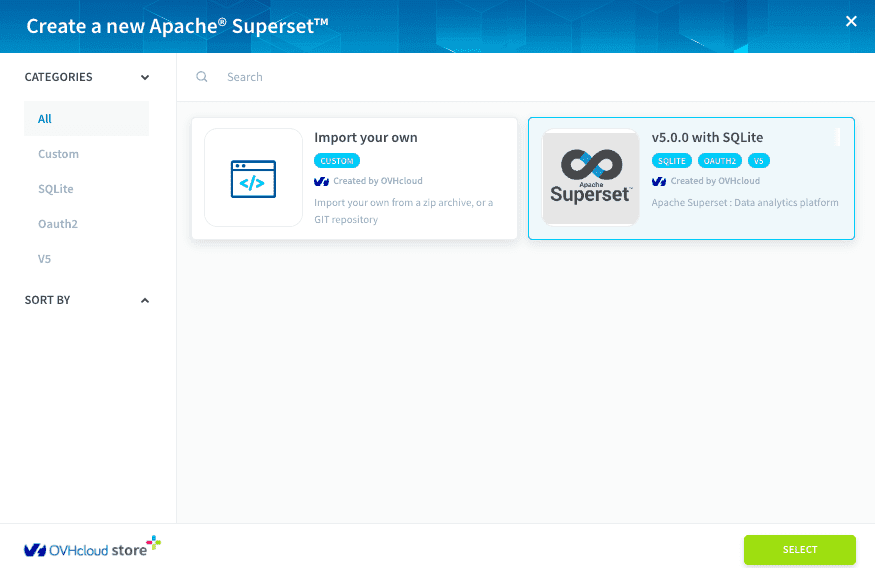
The SQLite file will be stored in the appservice folder of the S31 bucket (Lakehouse Manager section). We highly recommend backing up this file regularly.
- Provide a name for the new application (e.g.,
dashboard).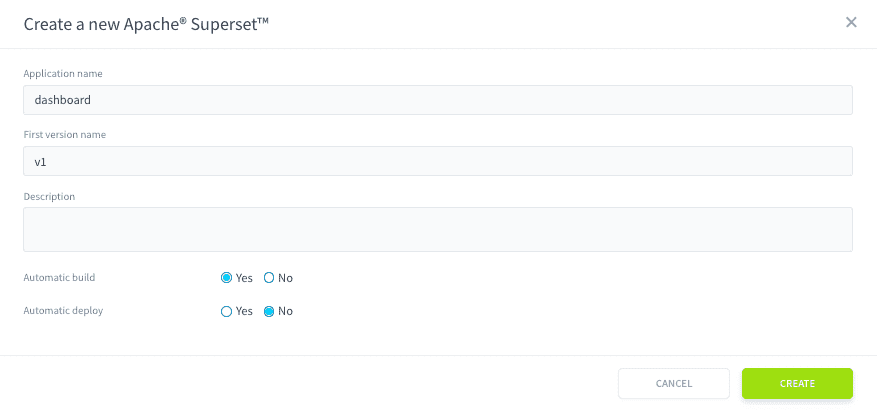
- Build the application.
- Once built, deploy the application by clicking on the Deploy button.
Step 2: Customize the Template (Editor Tab)
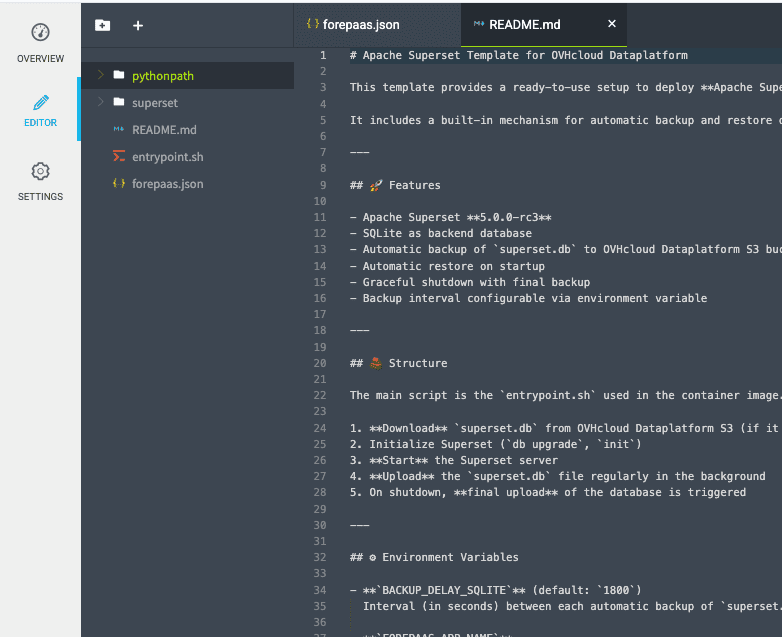
In the Editor tab of your application, you have access to the full source code of the template. You can modify it as needed.
This includes:
- The overridden Apache Superset source code used in the template.
- A technical
README.mdfile that explains the structure and customization points of the template. - The
entrypoint.shscript, which manages backup and restoration of thesqlite.dbfile. - The standard
forepaas.jsonfile, present in all AppService deployments, which defines:- The version of Apache Superset being used
- The configuration for role mapping and runtime parameters
Modifying this template allows advanced customization of Superset behavior, layout, and deployment logic.
Step 3: Configure Trino in Apache Superset
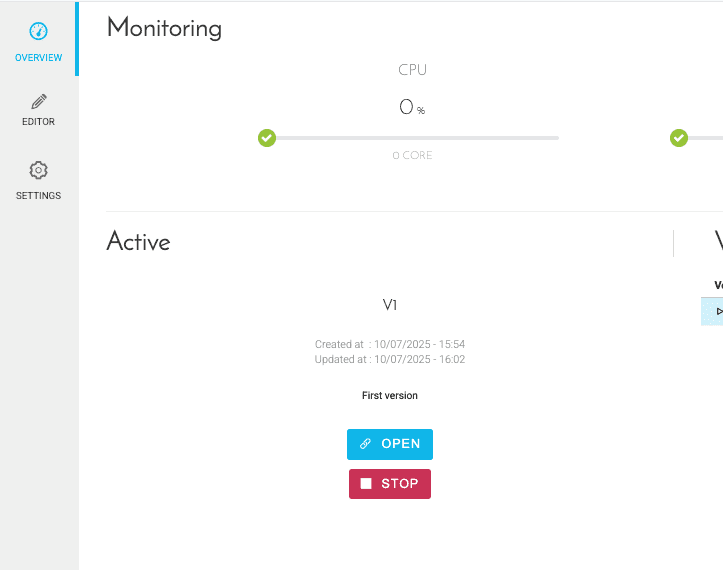
- Open Apache Superset by clicking on the Open button.
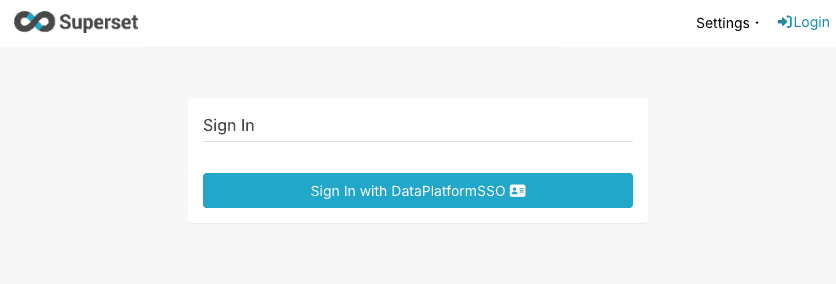
- Click Sign In With DataPlatformSSO. Once redirected, you will be connected to Superset.
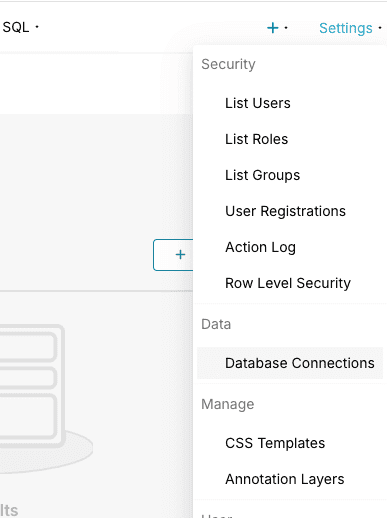
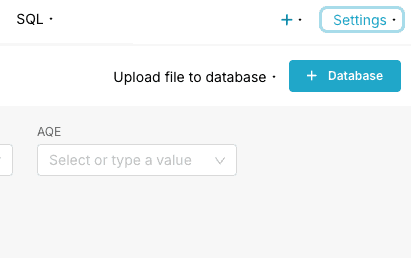
- In the Settings menu, click Database Connections.
- Click + Database.
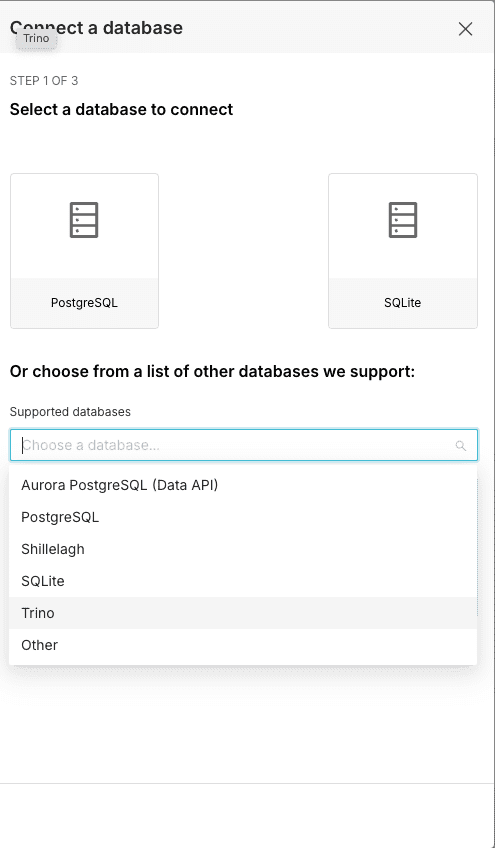
- Select Trino in the Supported databases list.
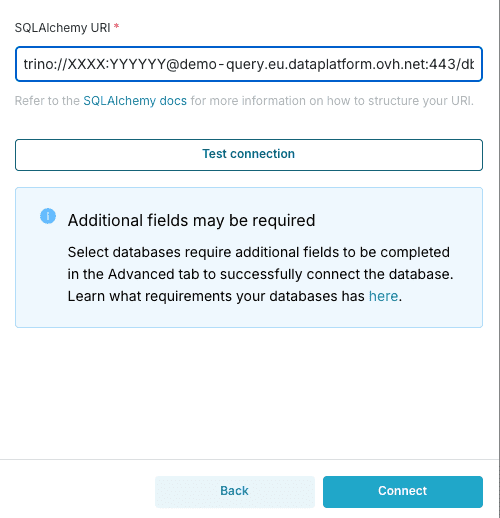
- Paste the full Trino connection string (from your Trino consumer, or built manually per the Integrating Trino with External Tools guide) into the SQLAlchemy URI field and validate the form.
Step 4: Create Your First Chart
-
Click
Datasetsin the main menu. -
Click the
+ Datasetbutton. -
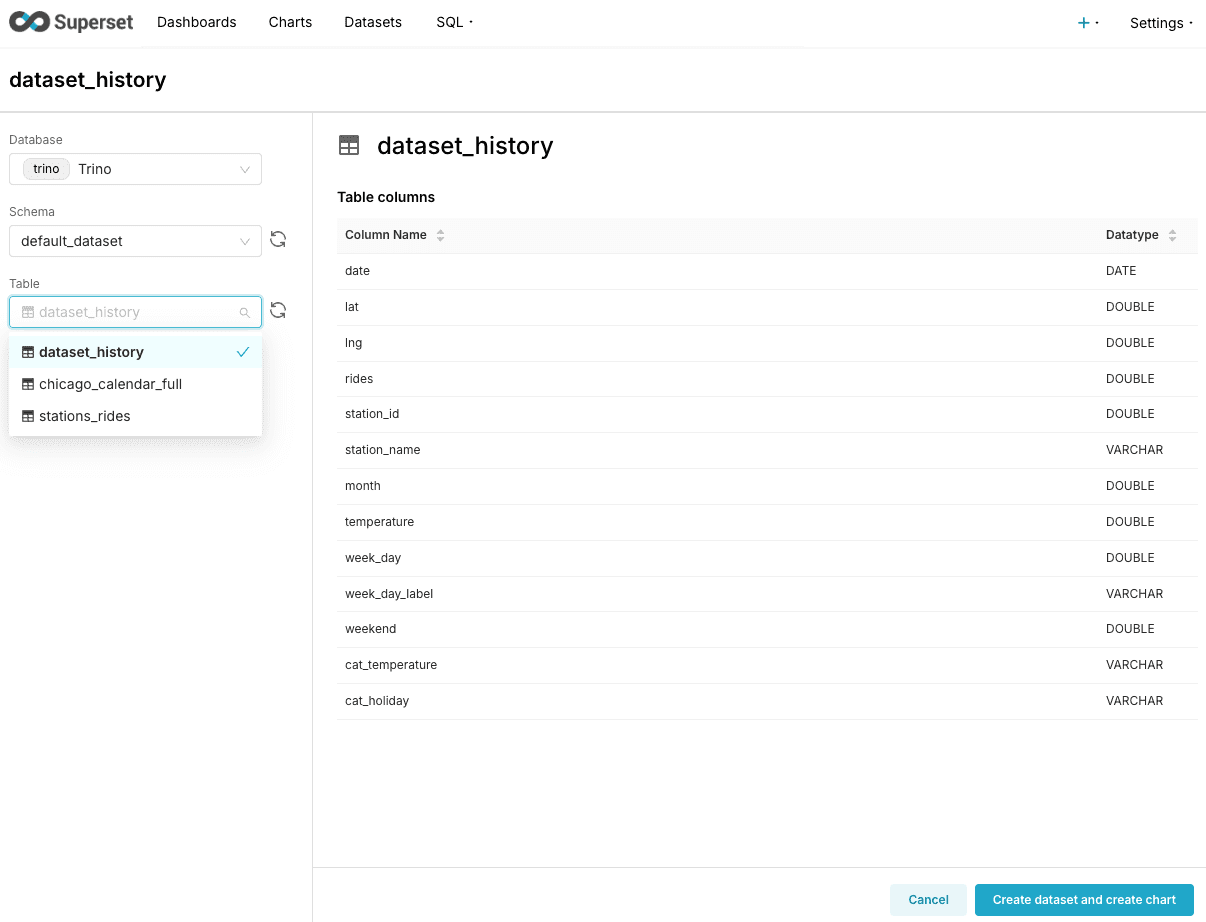
Once the New dataset page is loaded, fill out the form with the following:
- Database: The Trino database you have just created.
- Schema: The catalog you want to query (e.g.,
db_m8obb5ch_default_dataset). - Table: A table from your selected catalog (e.g.,
dataset_history).
-
Click the Create dataset and create chart button.
-
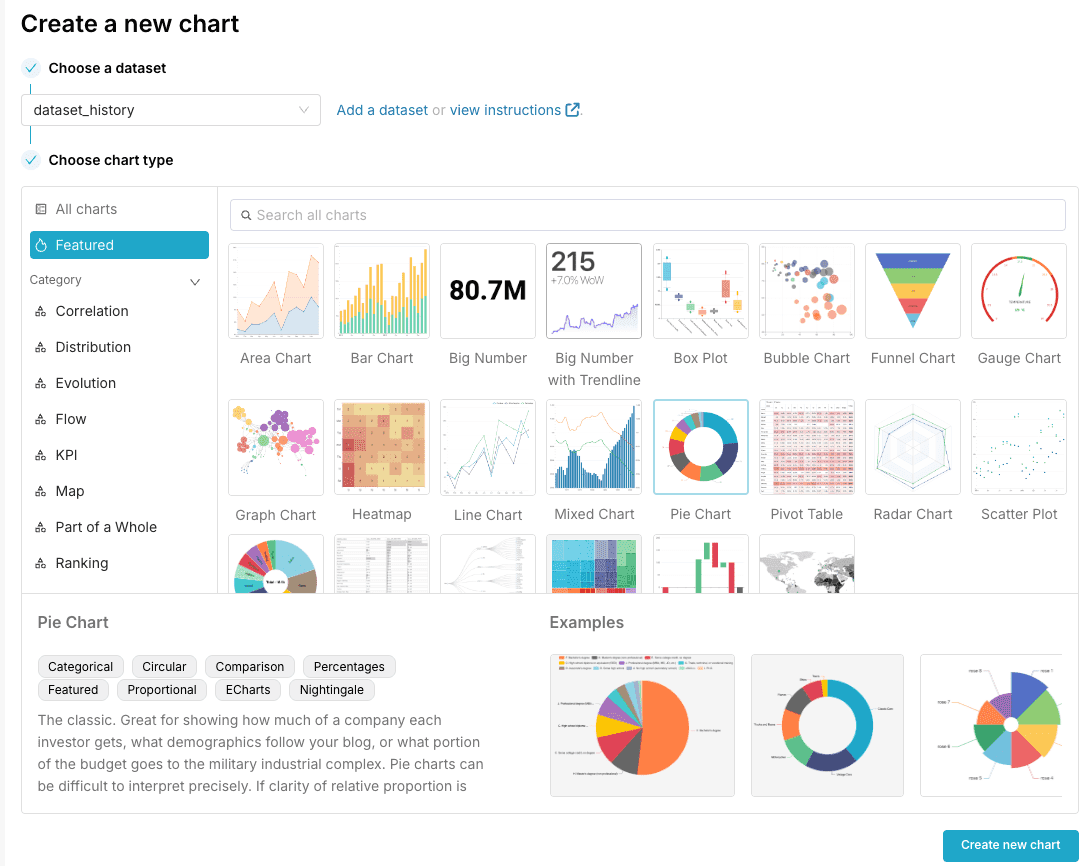
Once created, you will be redirected to the Create a new chart form.
-
Select a chart (e.g., Pie Chart).
-
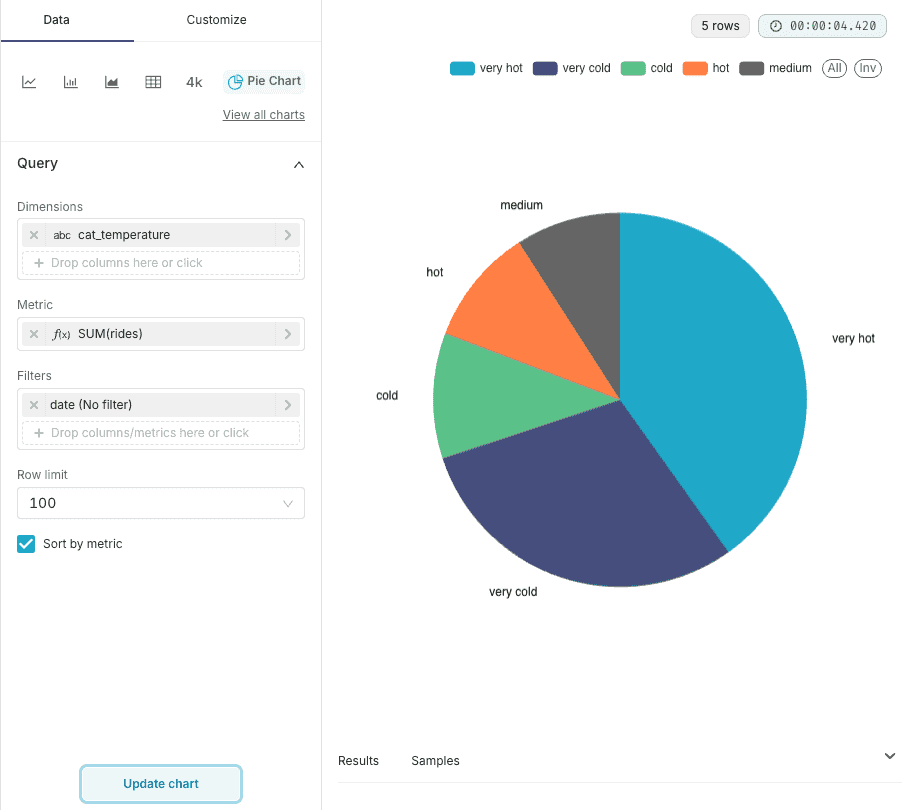
Complete the Query fields (e.g., Dimensions:
cat_temperature& Metric:Sum(rides)). -
Click the Create chart button.
For more information, see the Apache Superset documentation.
Go further
If you need training or technical assistance to implement our solutions, contact your sales representative or click on this link to get a quote and ask our Professional Services experts for a custom analysis of your project.
Ask questions, give your feedback and interact directly with the team building the Data Platform on the dedicated Discord channel.
If you need support with your OVHcloud services, create a request in our Help Centre.
Join our community of users.
1: S3 is a trademark of Amazon Technologies, Inc. OVHcloud's service is not sponsored by, endorsed by, or otherwise affiliated with Amazon Technologies, Inc.