

Connecting Metabase to Data Platform via Trino
This guide provides a step-by-step walkthrough to set up a connection between Metabase and Data Platform using Trino
Objective
This guide provides a step-by-step walkthrough to set up a connection between Metabase and Data Platform using Trino. The instructions include configuration details, common troubleshooting tips, and relevant screenshots to ensure a seamless setup.
Before you begin:
You will need the connection details for Trino on OVHcloud Data Platform (such as host, port, catalog, username (API Key), and password (Secret Key)). The easiest way is to create a Trino consumer, which generates a connection string containing all of these values. Alternatively, assemble them manually by following Integrating Trino with External Tools.
For the purpose of this tutorial, we will use a locally hosted instance of Metabase running on Docker. This setup allows for easy deployment and isolation while keeping the environment consistent across different systems.
Steps to Connect Metabase to Data Platform via Trino
Step 1: Set Up a Self-Hosted Metabase with Docker-Compose
1. Prepare the Environment
Ensure you have Docker and Docker Compose installed on your server or local machine.
2. Create a Docker Compose File
Create a docker-compose.yml file in your working directory and add the following configuration:
3. Create the Directory Structure
Before running docker-compose up, you need to create the directory structure that the docker-compose.yml file expects. This ensures that Metabase can properly store its data and plugins.
Create the following directories in your working directory:
- ./data/metabase
- ./data/metabase/plugins :::
You can create these directories using the following commands in your terminal:
This will create the necessary directory structure for Metabase to persist its data and store plugins.
To start Metabase using Docker, run the following command:
Once started, you can access Metabase at http://localhost:3000 or replace localhost with your server's IP/domain.
:::info First-Time Setup: If you are running Metabase for the first time, the setup process may take some time. You can monitor the logs to check when Metabase is fully up and running by using:
This command will display real-time logs, allowing you to verify that the service has started successfully.
Step 2: Download and Add the Starburst Plugin
Visit the Starburst plugin page and download the latest JDBC driver for Starburst. This driver enables Metabase to connect to Trino (formerly Starburst/PrestoSQL).
Locate the downloaded JDBC file (e.g., starburst-6.1.0.metabase-driver.jar) and copy it to the Metabase plugin directory (./data/metabase/plugins as configured in docker-compose.yml).
Ensure the Metabase container has access to the plugin directory, and restart Metabase if necessary, using:
Step 3: Configure Trino in Metabase
Once Metabase is running, you will need to complete a few initial steps to create your account and set up the application before accessing your admin dashboard.
- Go to Admin Settings > Databases.
- Click on Add Database.

- Choose Starburst as the database type from the available options.
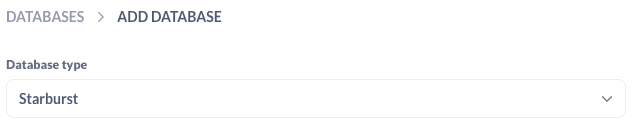
Step 4: Provide Connection Details
Using the Trino connection details from your Trino consumer connection string (or built manually via the integration guide), fill in the Metabase connection form with the following values:
- Host: The Trino host, e.g.,
{ProjectName}-query.eu.dataplatform.ovh.net. - Port: The Trino port, typically
443. - Catalog: The Trino catalog name you wish to connect to.
- Schema (optional): Enter the desired schema name, or leave it blank to allow access to all schemas within the catalog. (Note: In Metabase, 'Schema' refers to a logical grouping of tables, not a single table.)
- Username: Your Trino API Key.
- Password: Your Trino Secret Key.
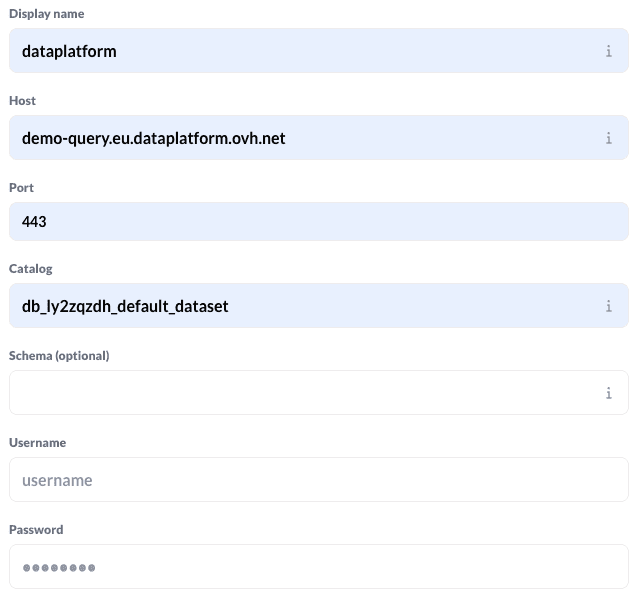
Step 5: Advanced Settings
Expand the Advanced Options and configure the following:
- Enable SSL: Check this option to use secure communication. This is highly recommended for production environments.

- Extra JDBC Parameters: Include any additional necessary parameters for your specific setup. Leave blank if unsure.
Step 6: Finalize and Test the Connection
After entering all the necessary details, click the Save button to finalize the database connection. Metabase will attempt to connect to your OVHcloud Data Platform Trino instance using the provided credentials.
You can now exit the Admin panel.
Step 7: Allow Time for Database Synchronization
After saving the connection, Metabase will begin synchronizing with your OVHcloud Data Platform database. This process can take some time, especially if you have a large number of tables.
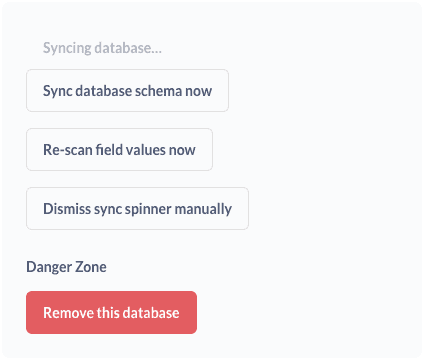
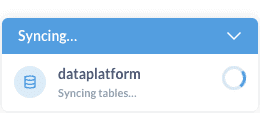
Recommendation: Allow Metabase sufficient time to complete the synchronization process. The duration depends on the size and complexity of your database. You can monitor the progress in the background or check the Metabase logs (docker logs -f metabase) for completion.
Step 8: Explore and Utilize Metabase Features
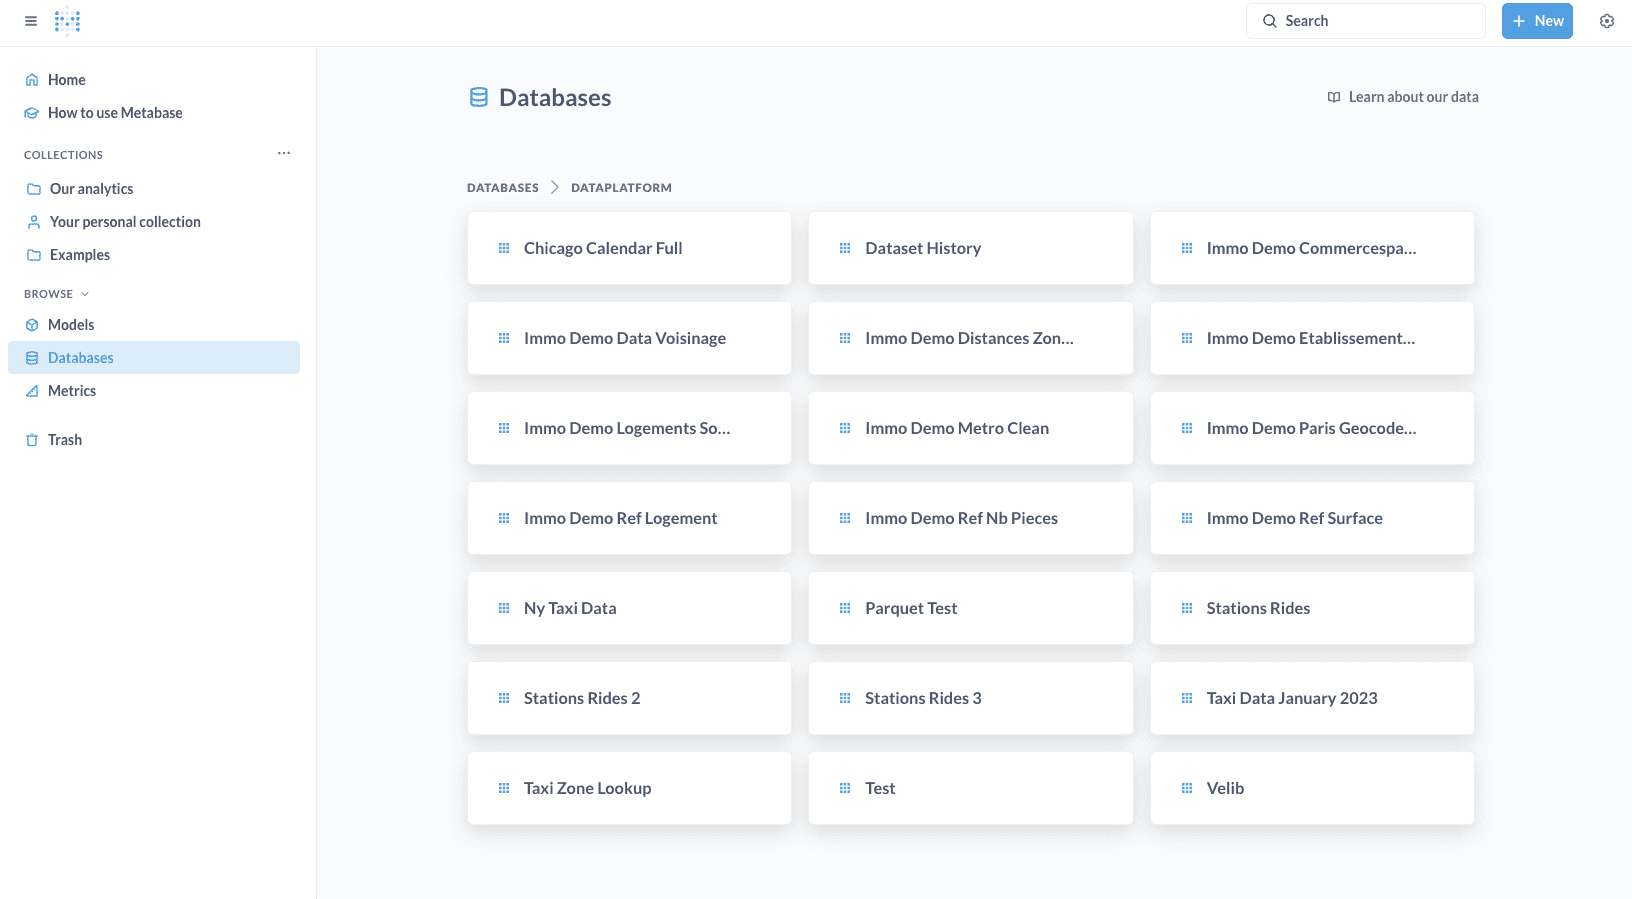
Once the database synchronization is complete, you can fully explore and utilize Metabase's features:
- Data Exploration: Browse your OVHcloud Data Platform databases and tables directly within Metabase.
- Querying: Use the Metabase query builder to create custom SQL queries and retrieve specific data.
- Dashboard Creation: Build interactive dashboards with visualizations to monitor key metrics and trends.
- Reporting: Generate and schedule reports to share insights with your team.
- Alerting: Set up alerts to notify you of important changes in your data.
With the connection successfully established, you can now leverage Metabase's powerful features to analyze and visualize your data stored in OVHcloud Data Platform via Trino.
Go further
If you need training or technical assistance to implement our solutions, contact your sales representative or click on this link to get a quote and ask our Professional Services experts for a custom analysis of your project.
Ask questions, give your feedback and interact directly with the team building the Data Platform on the dedicated Discord channel.
If you need support with your OVHcloud services, create a request in our Help Centre.
Join our community of users.