

File Transfer Action
This action is designed to efficiently duplicate data, always preserving the source's full path structure within the destination
Objective
The File Transfer action allows you to copy files and folders between buckets, or from a configured source in your Connectors to a destination bucket. This action is designed to efficiently duplicate data, always preserving the source's full path structure within the destination.
Configure a File Transfer action
To create a new File Transfer action, follow these steps within the Data Processing Engine (DPE):
- Navigate to the Action tab within the Data Processing Engine (DPE) interface.
- Click on the "New Action" button.
- From the list of available actions, select "File Transfer".
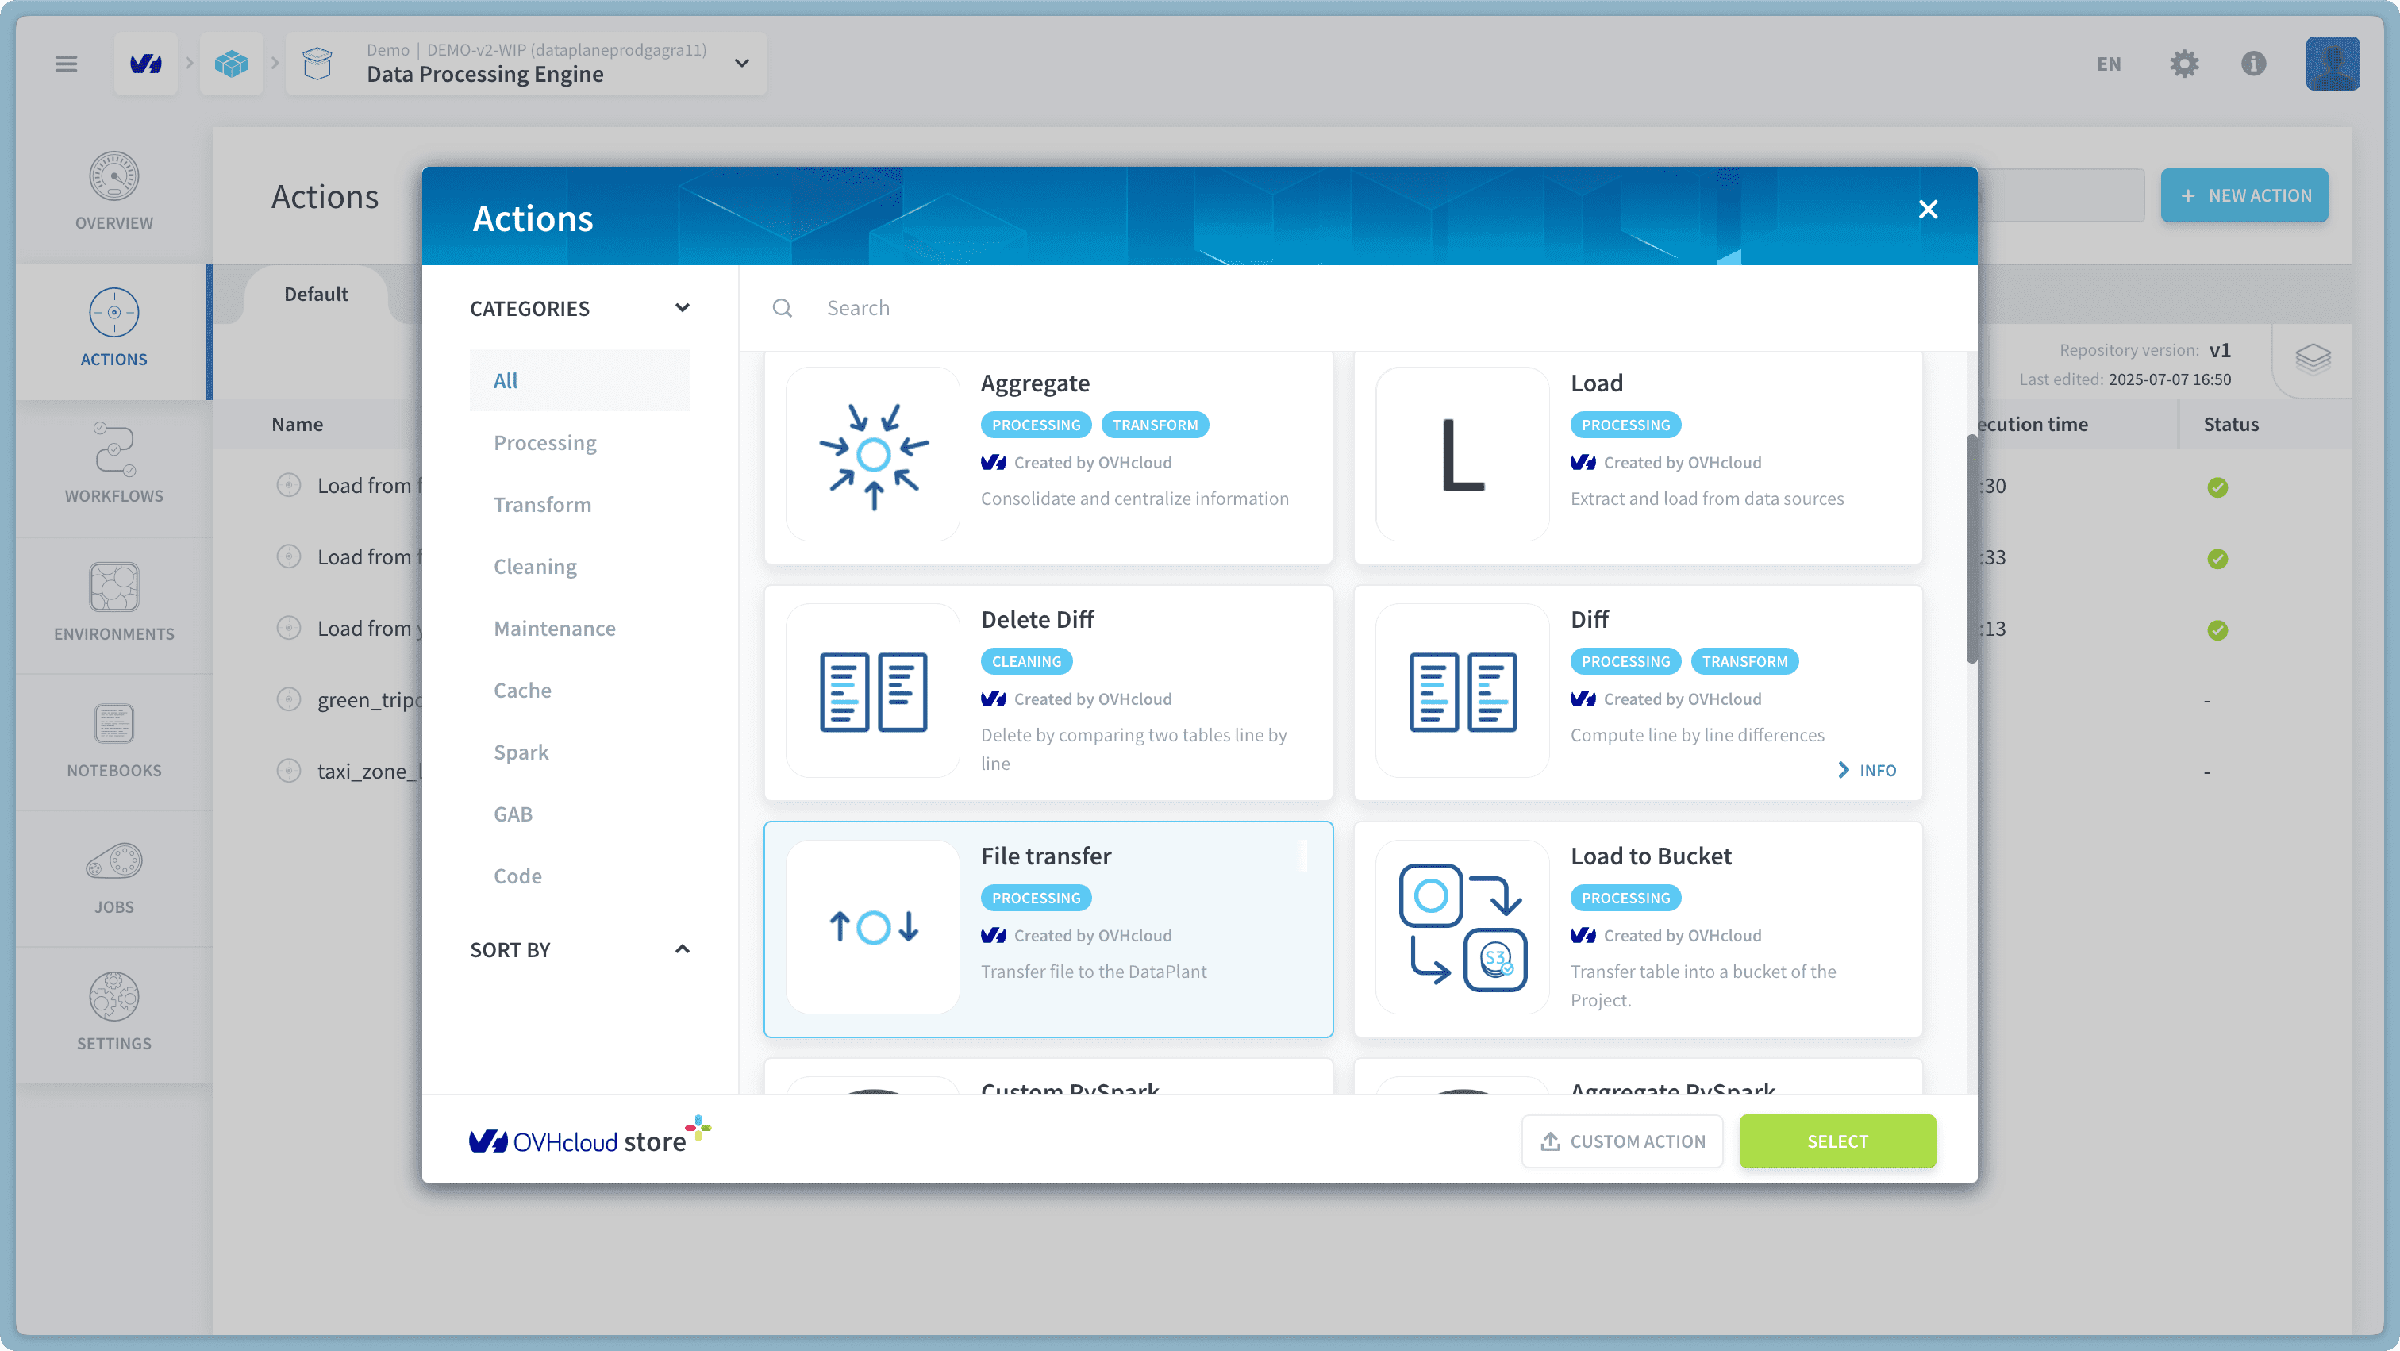
Choose a Source for Transfer
First, you need to define where the files will be copied from.
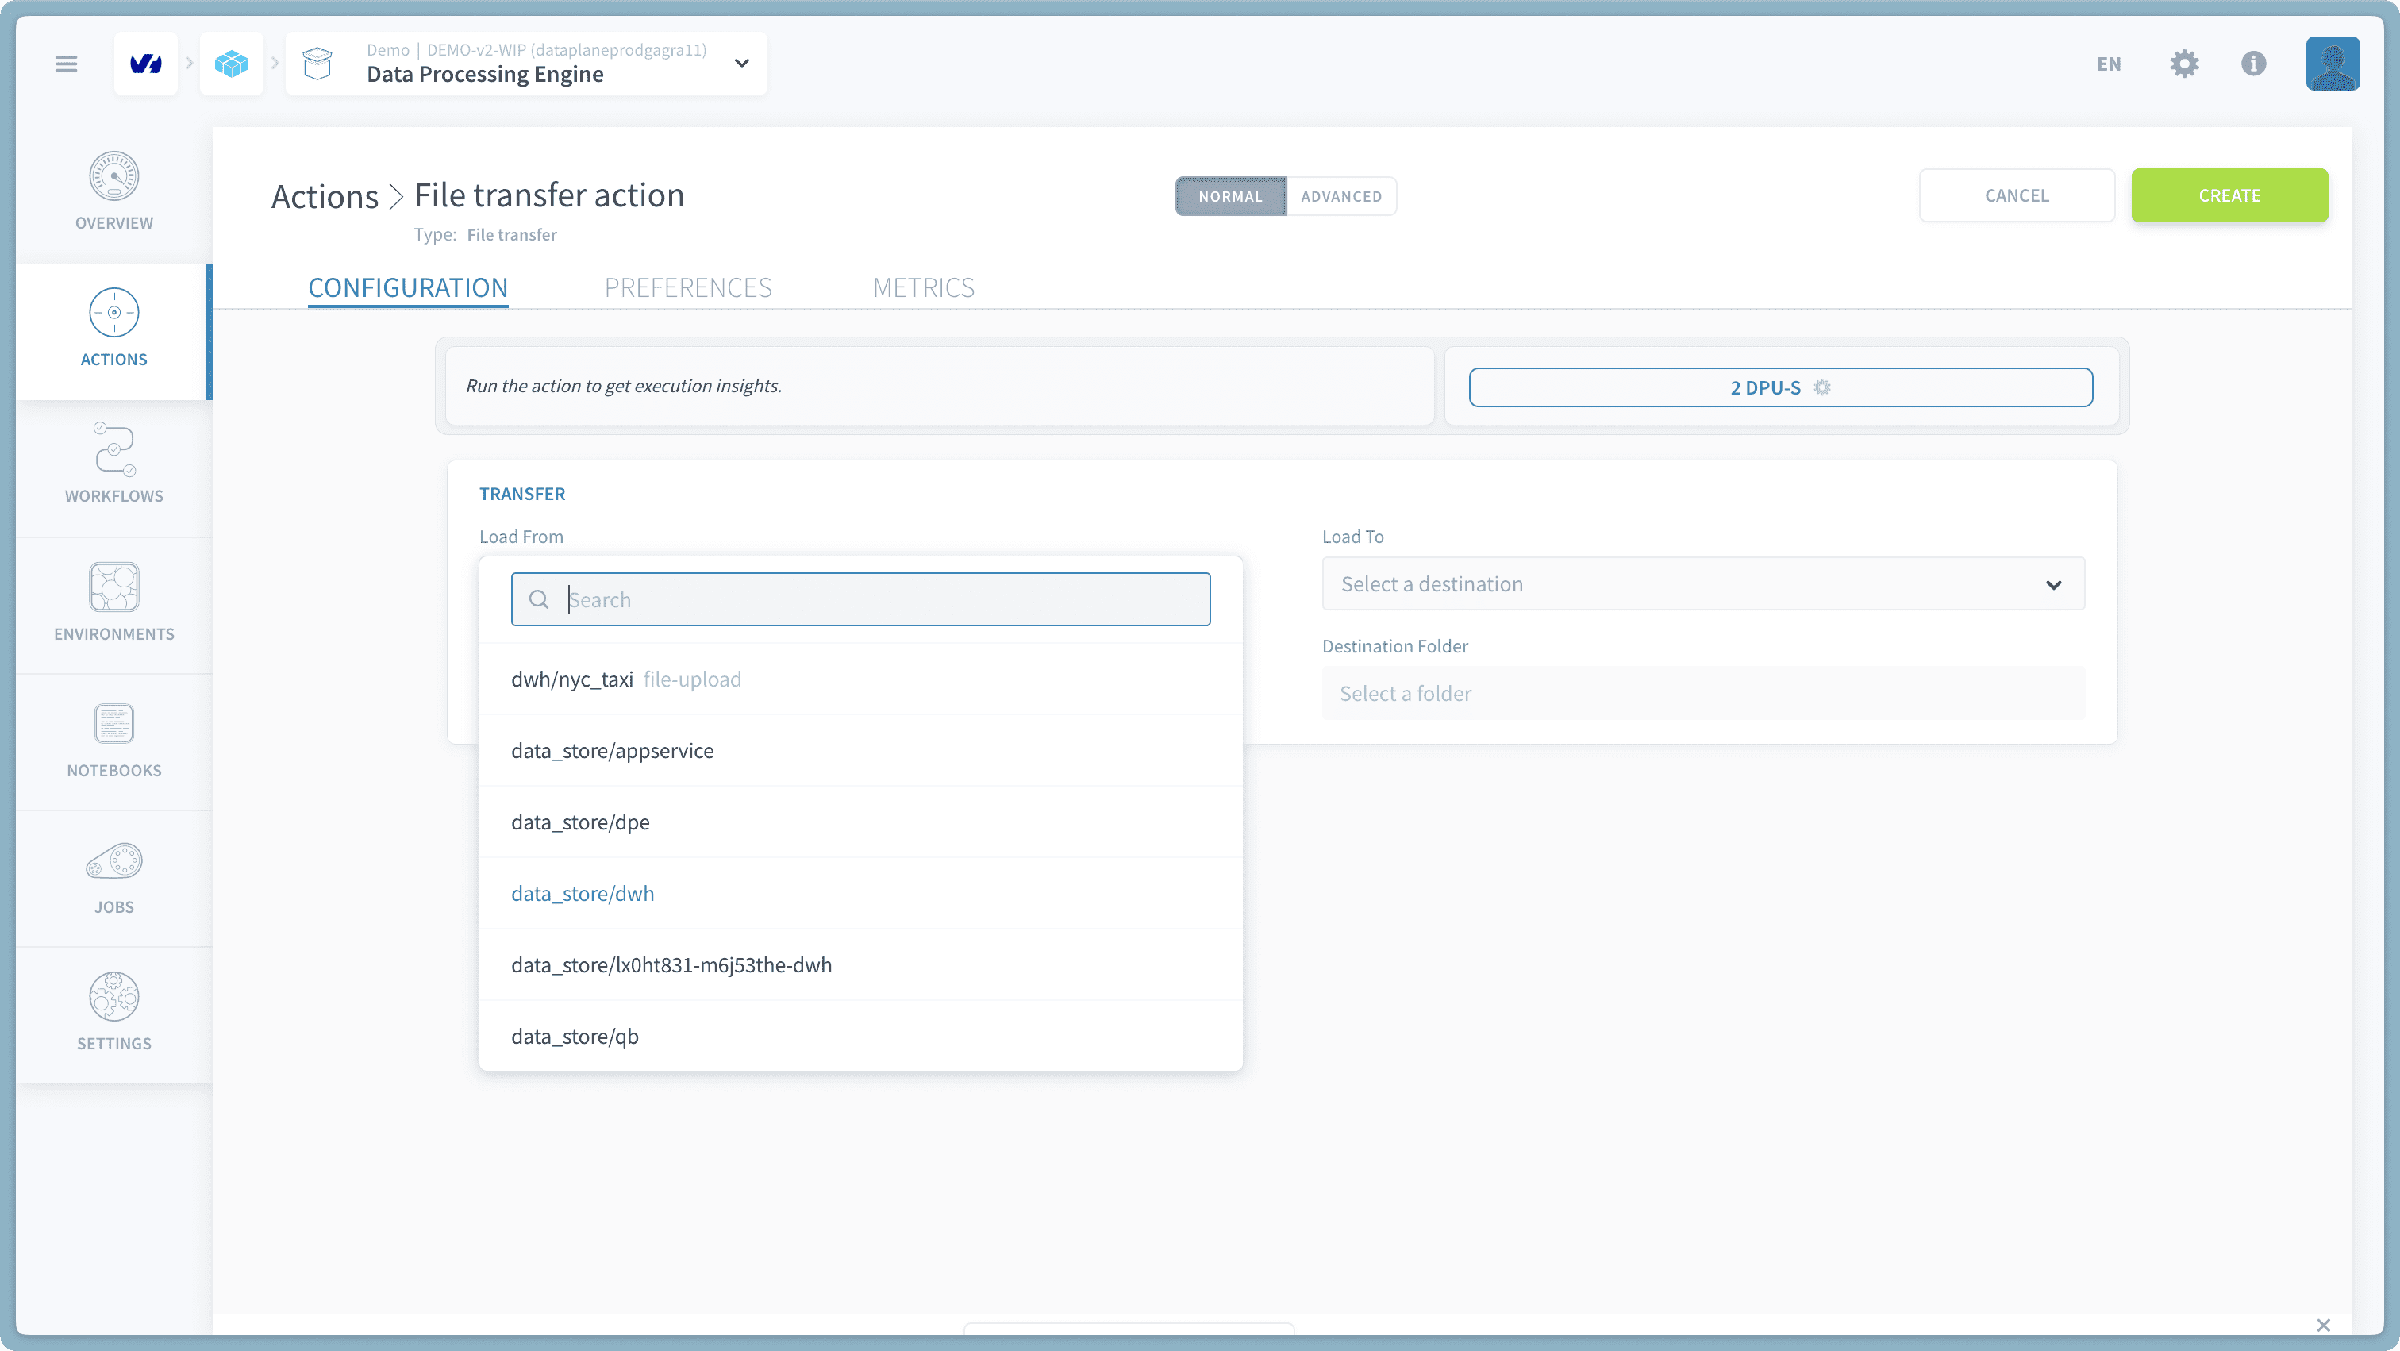
Figure: Selecting the source for your file transfer.
You have two main options for your source:
- Connectors Source: Select one of the sources you have already configured in the Sources tab of the Connectors. This is ideal for bringing data from external systems (e.g., databases, other object storage providers) into your project buckets.
- Project Bucket: Select an existing Project bucket directly from the list. This is useful for copying data between buckets within your OVHcloud environment.
Once you've selected your source, you will need to specify the Source File Path. This path indicates which files or folders within your chosen source should be copied.
- To transfer specific files: Enter the full path to the file, e.g.,
folderA/subfolderB/my_file.csv. - To transfer an entire folder and its contents: Use a wildcard
*at the end of the folder path.- Example Path:
uploads/nyc_taxi/*- This example path indicates that all files and sub-folders directly within the
nyc_taxifolder (which itself is located inside theuploadsfolder) will be included in the transfer. - If you want to transfer the entire content of the root of your source, you would specify
*.
- This example path indicates that all files and sub-folders directly within the
- Example Path:
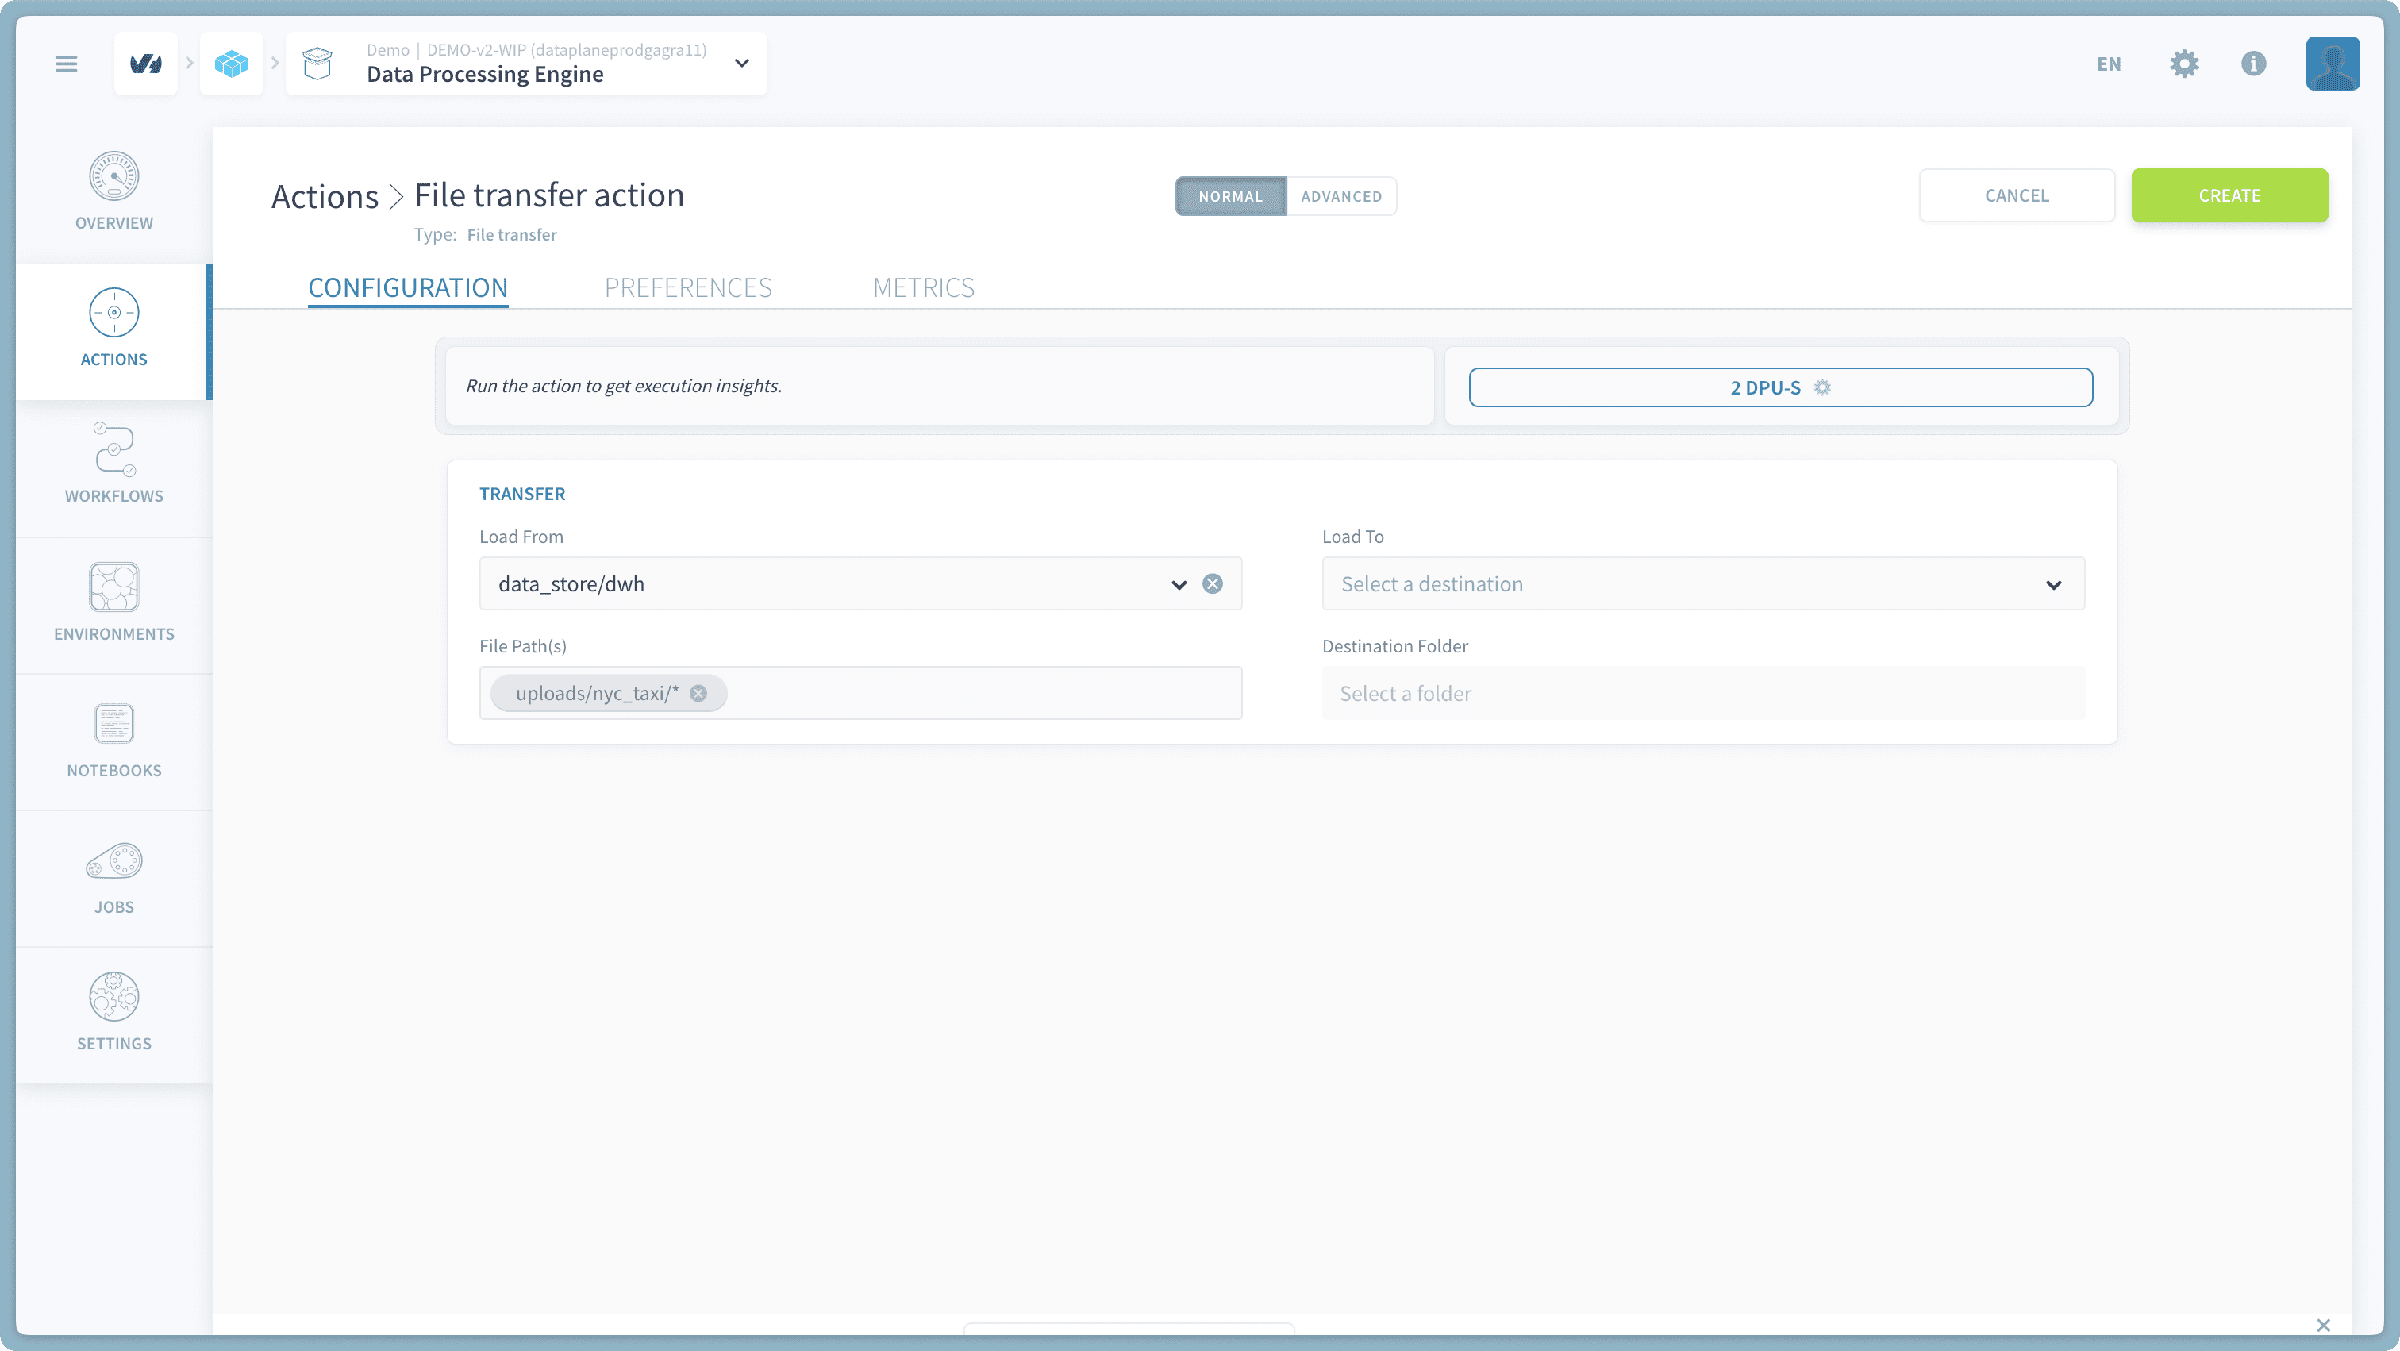
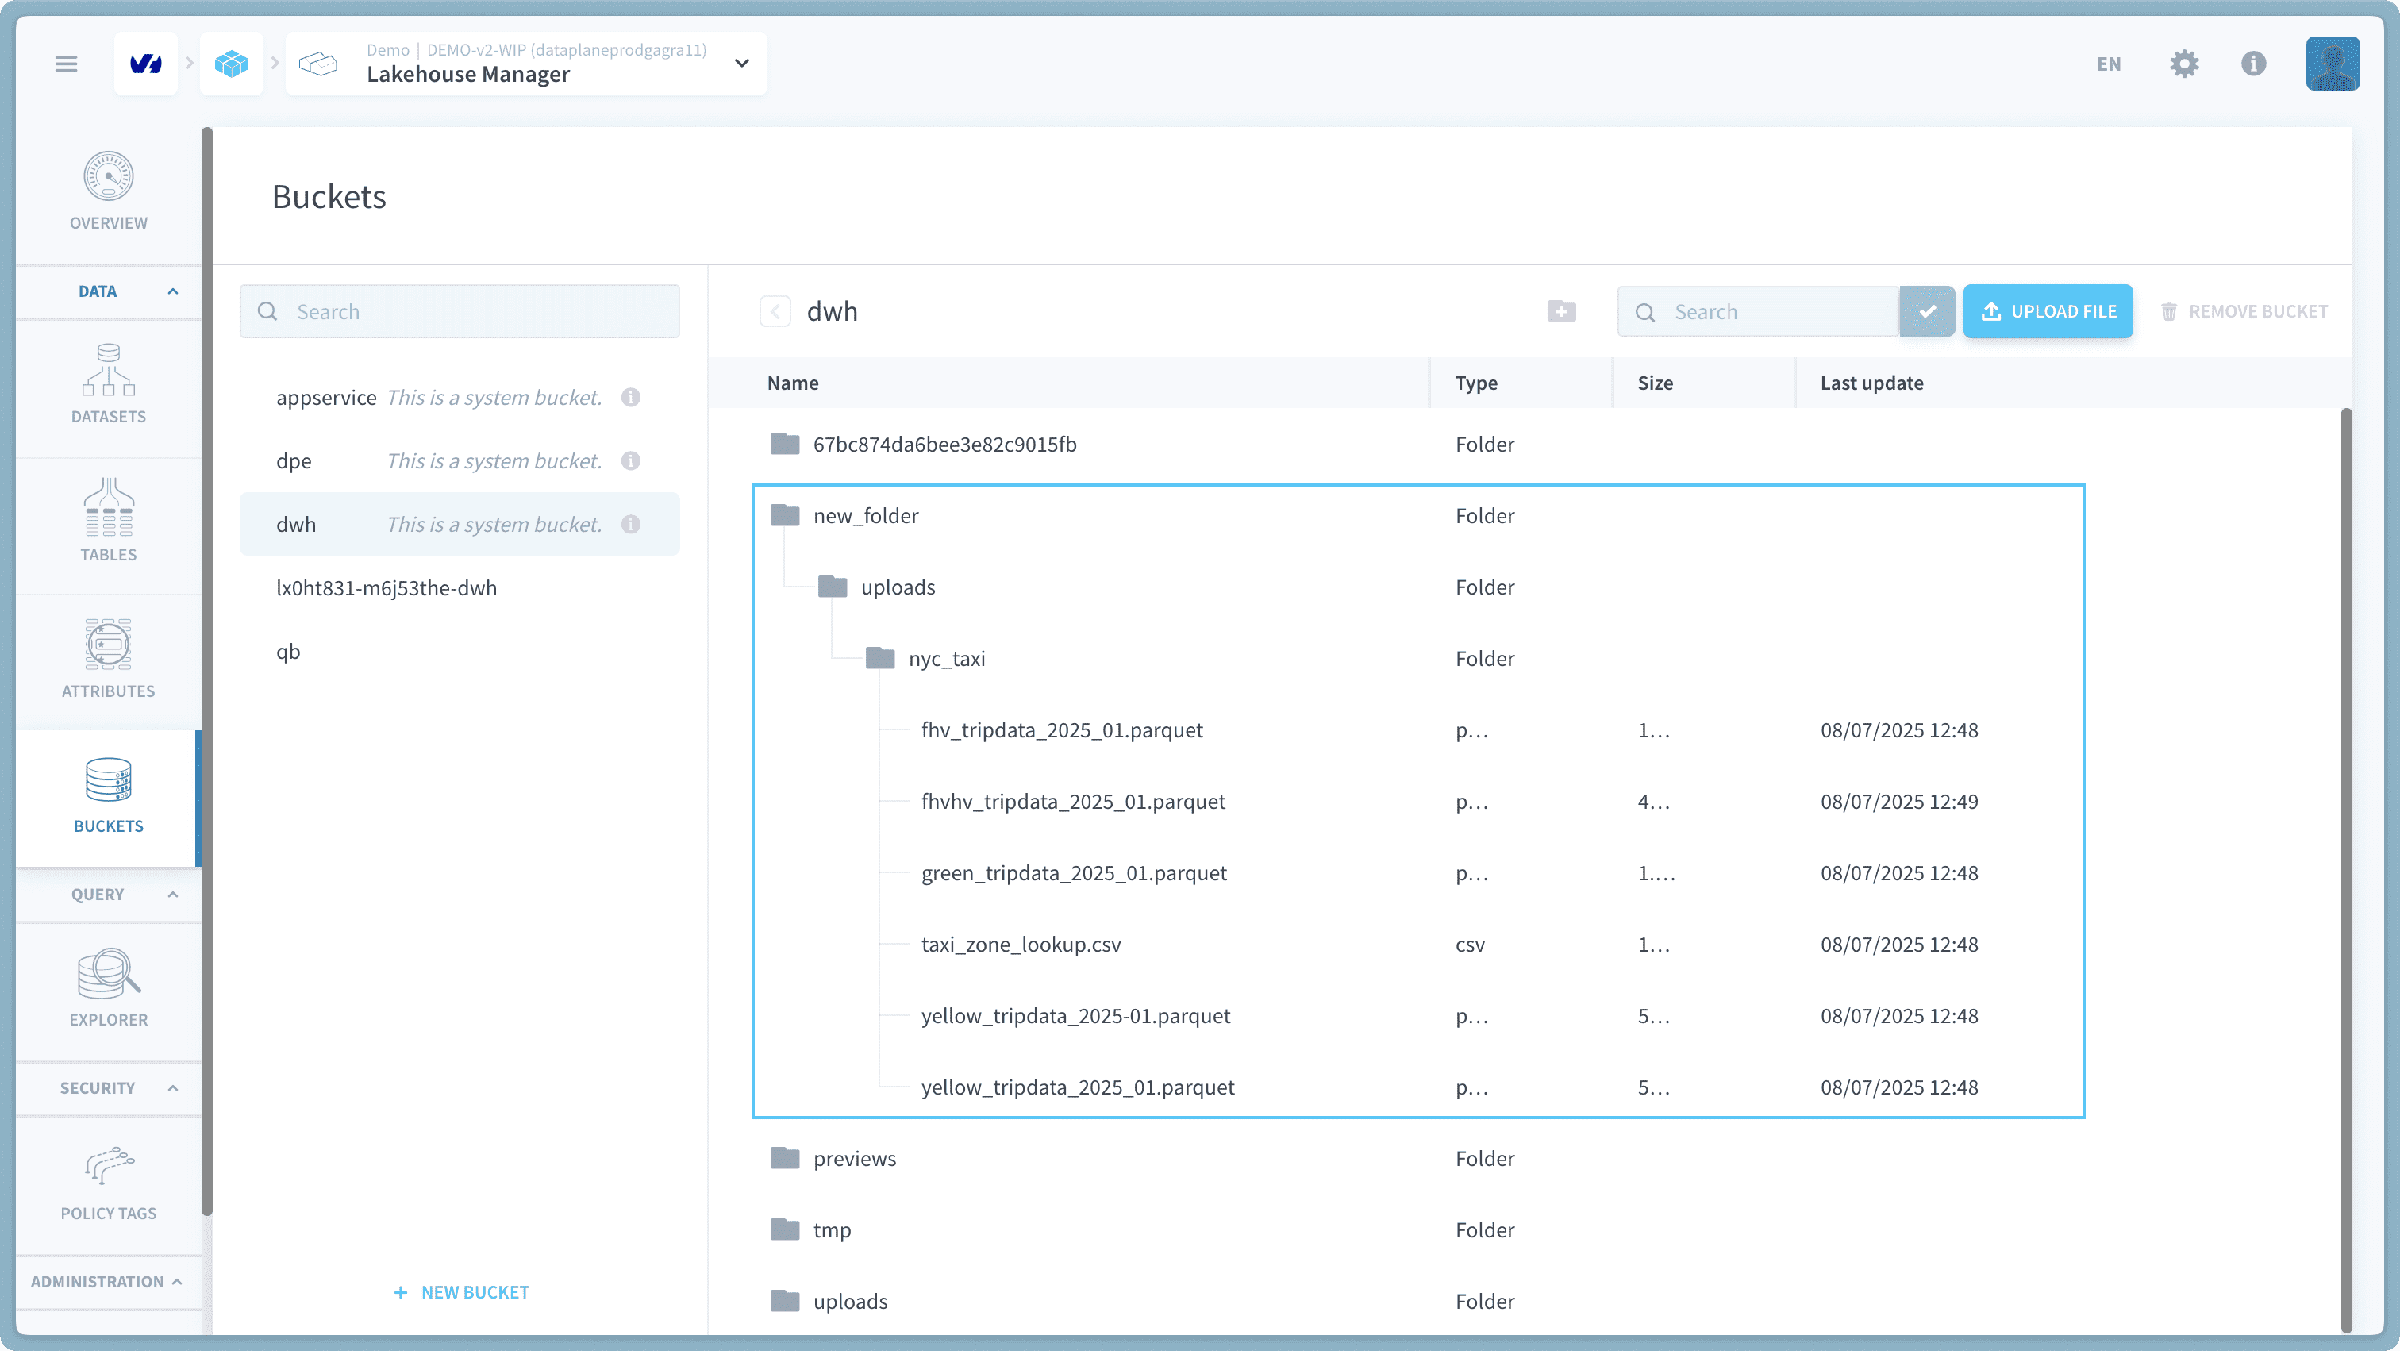
Important: The File Transfer action always preserves the full source path under the destination. For example, if you copy the folder uploads/nyc_taxi/ (using uploads/nyc_taxi/*) from your source to a destination bucket with a destination path /my_new_data/, the nyc_taxi folder and its contents will appear as /my_new_data/uploads/nyc_taxi/ in the destination.
Specify Destination Bucket
Next, you will define the destination where your files will be copied to.
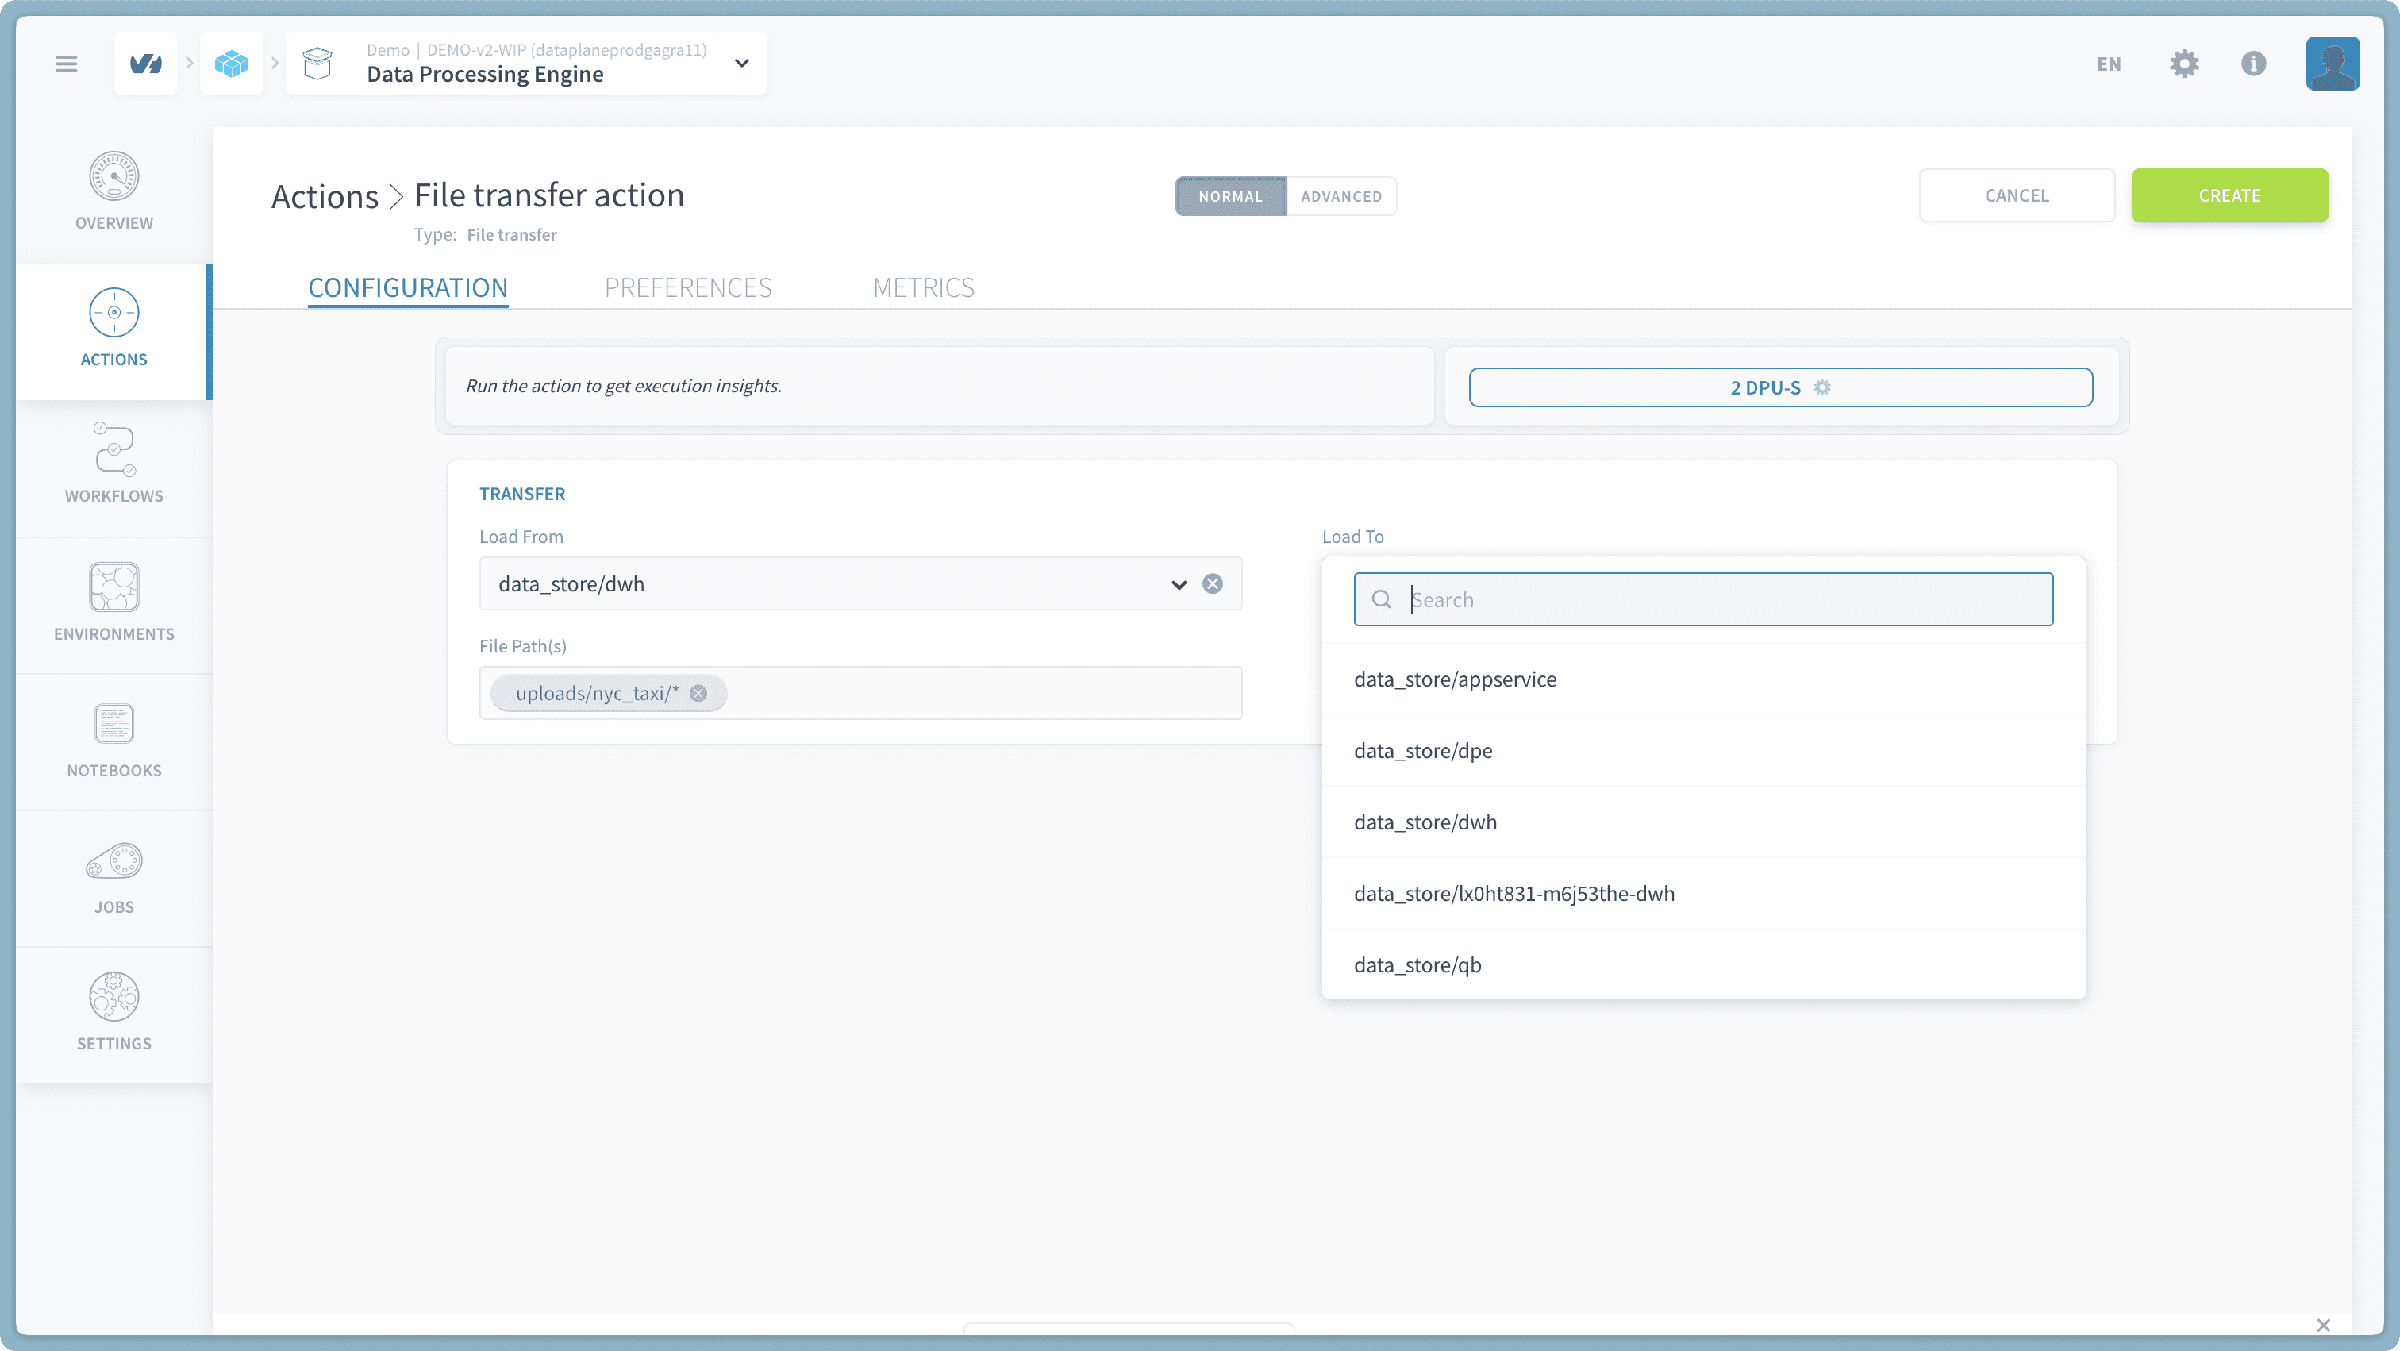
Figure: Specifying the destination bucket and path.
- Choose Destination Bucket: Select the target Project bucket from the provided list.
- Enter Destination Path: In the field below the destination bucket selection, you can specify a path within the destination bucket.
- If you enter a forward slash (
/), the system will provide a list of available paths and folders within that destination bucket, allowing you to easily select an existing location.
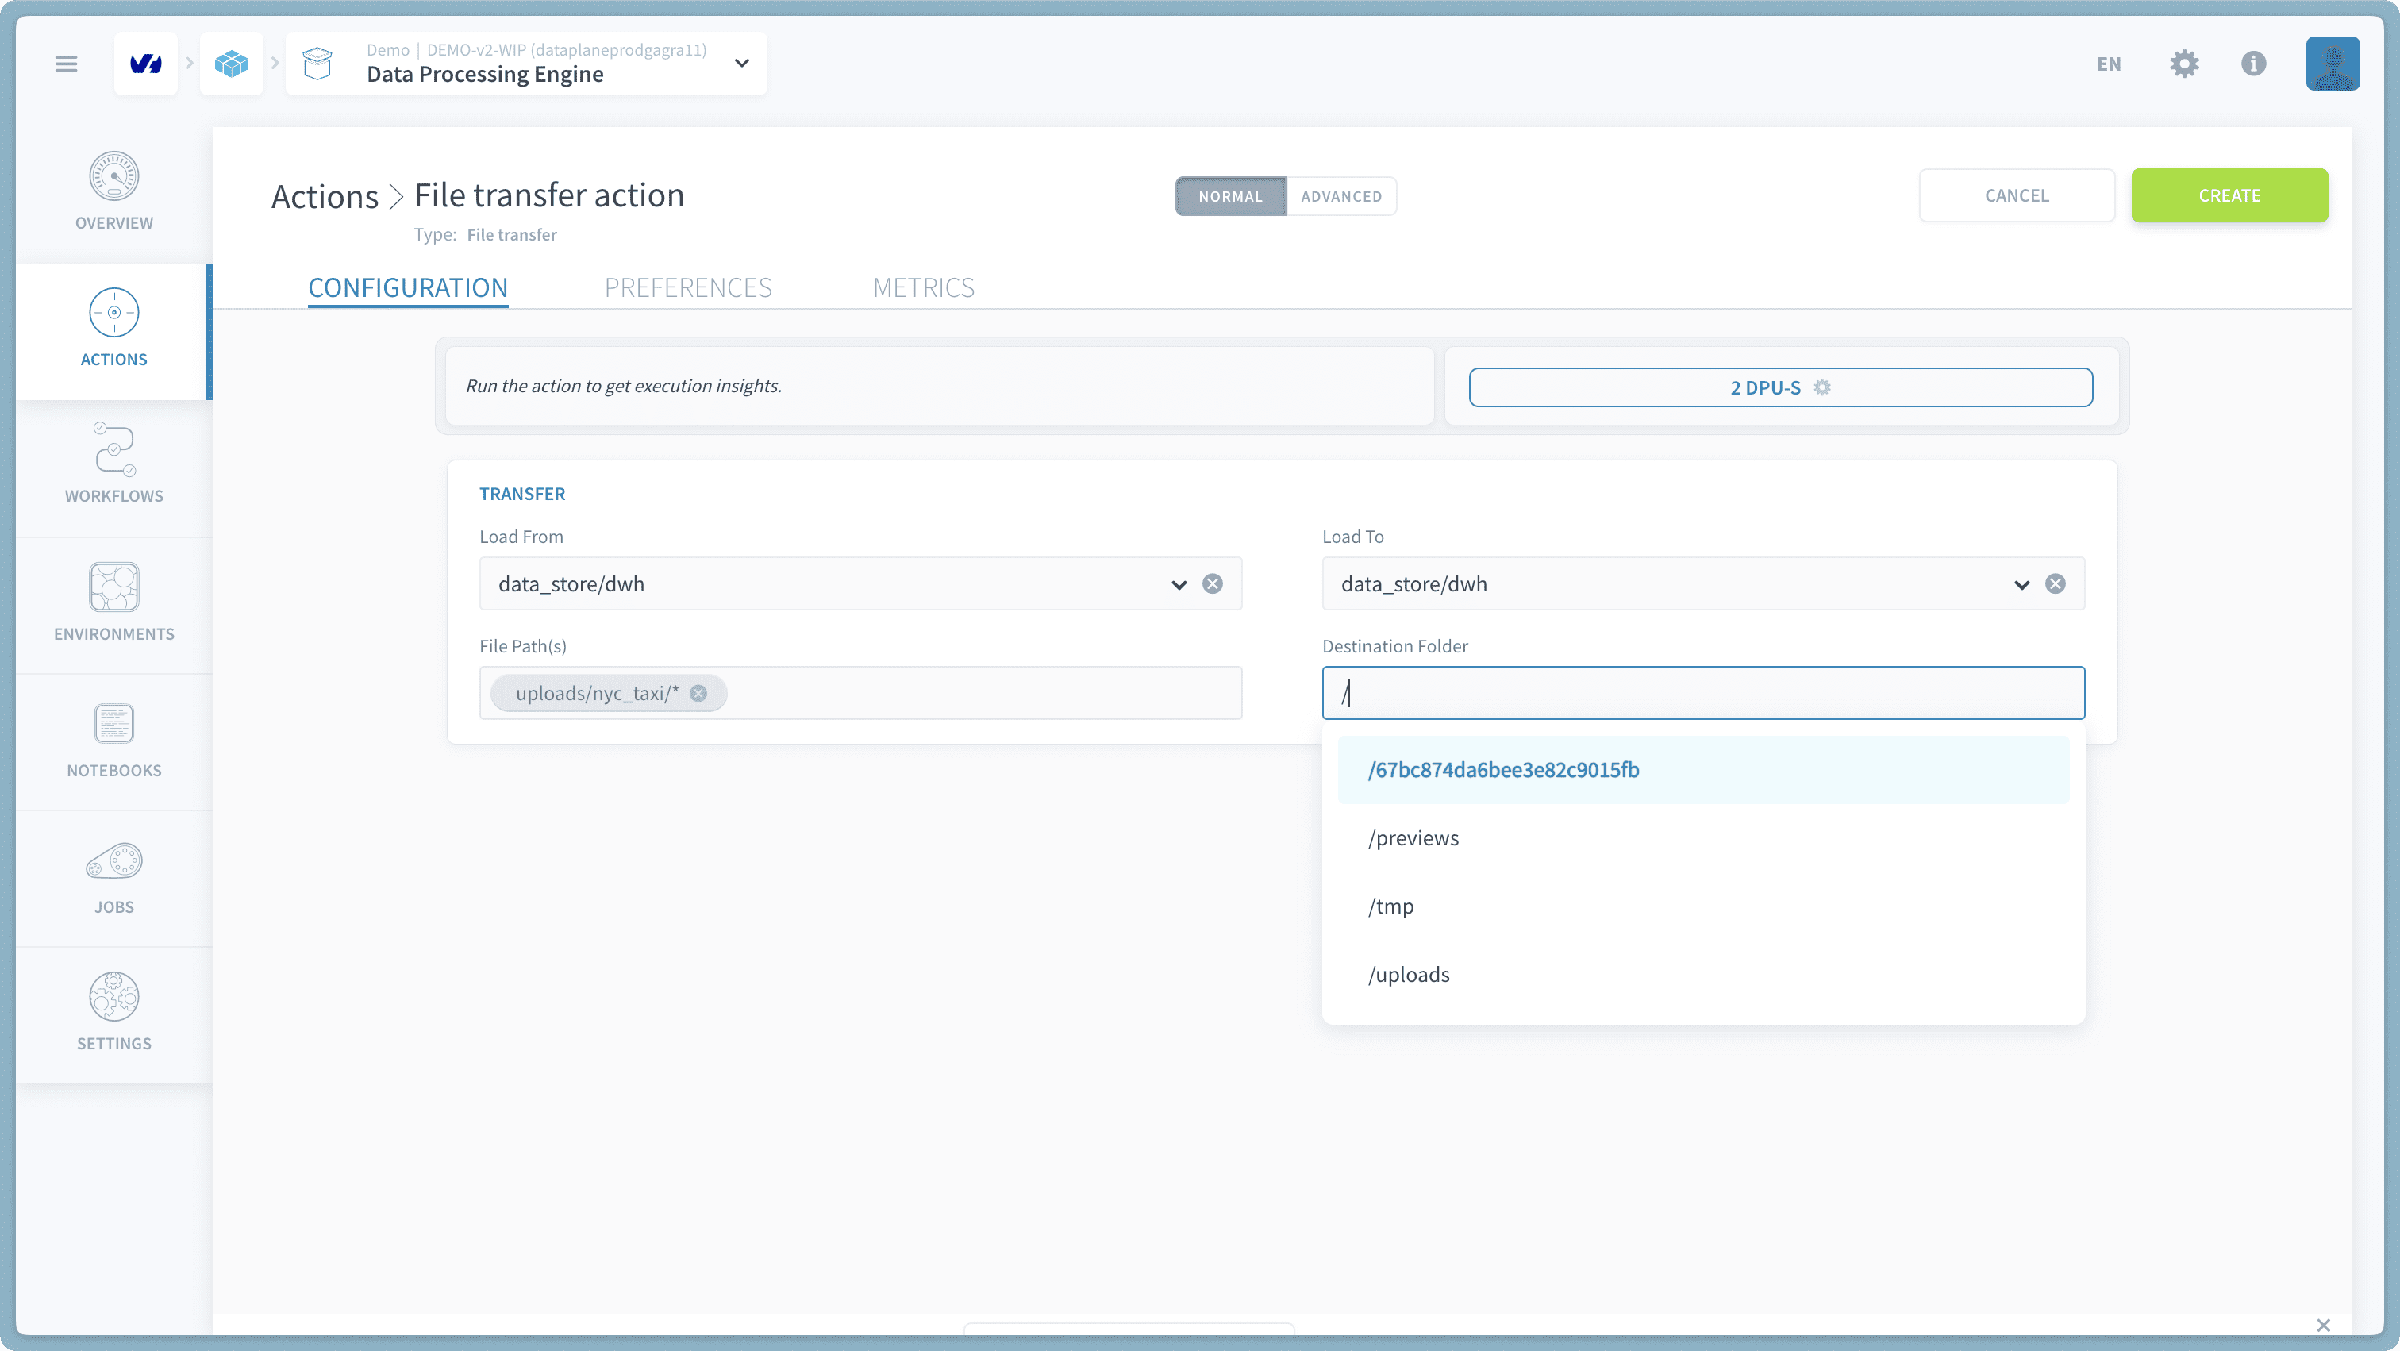
- You can also type a new path, and the system will create the necessary folders if they don't already exist.
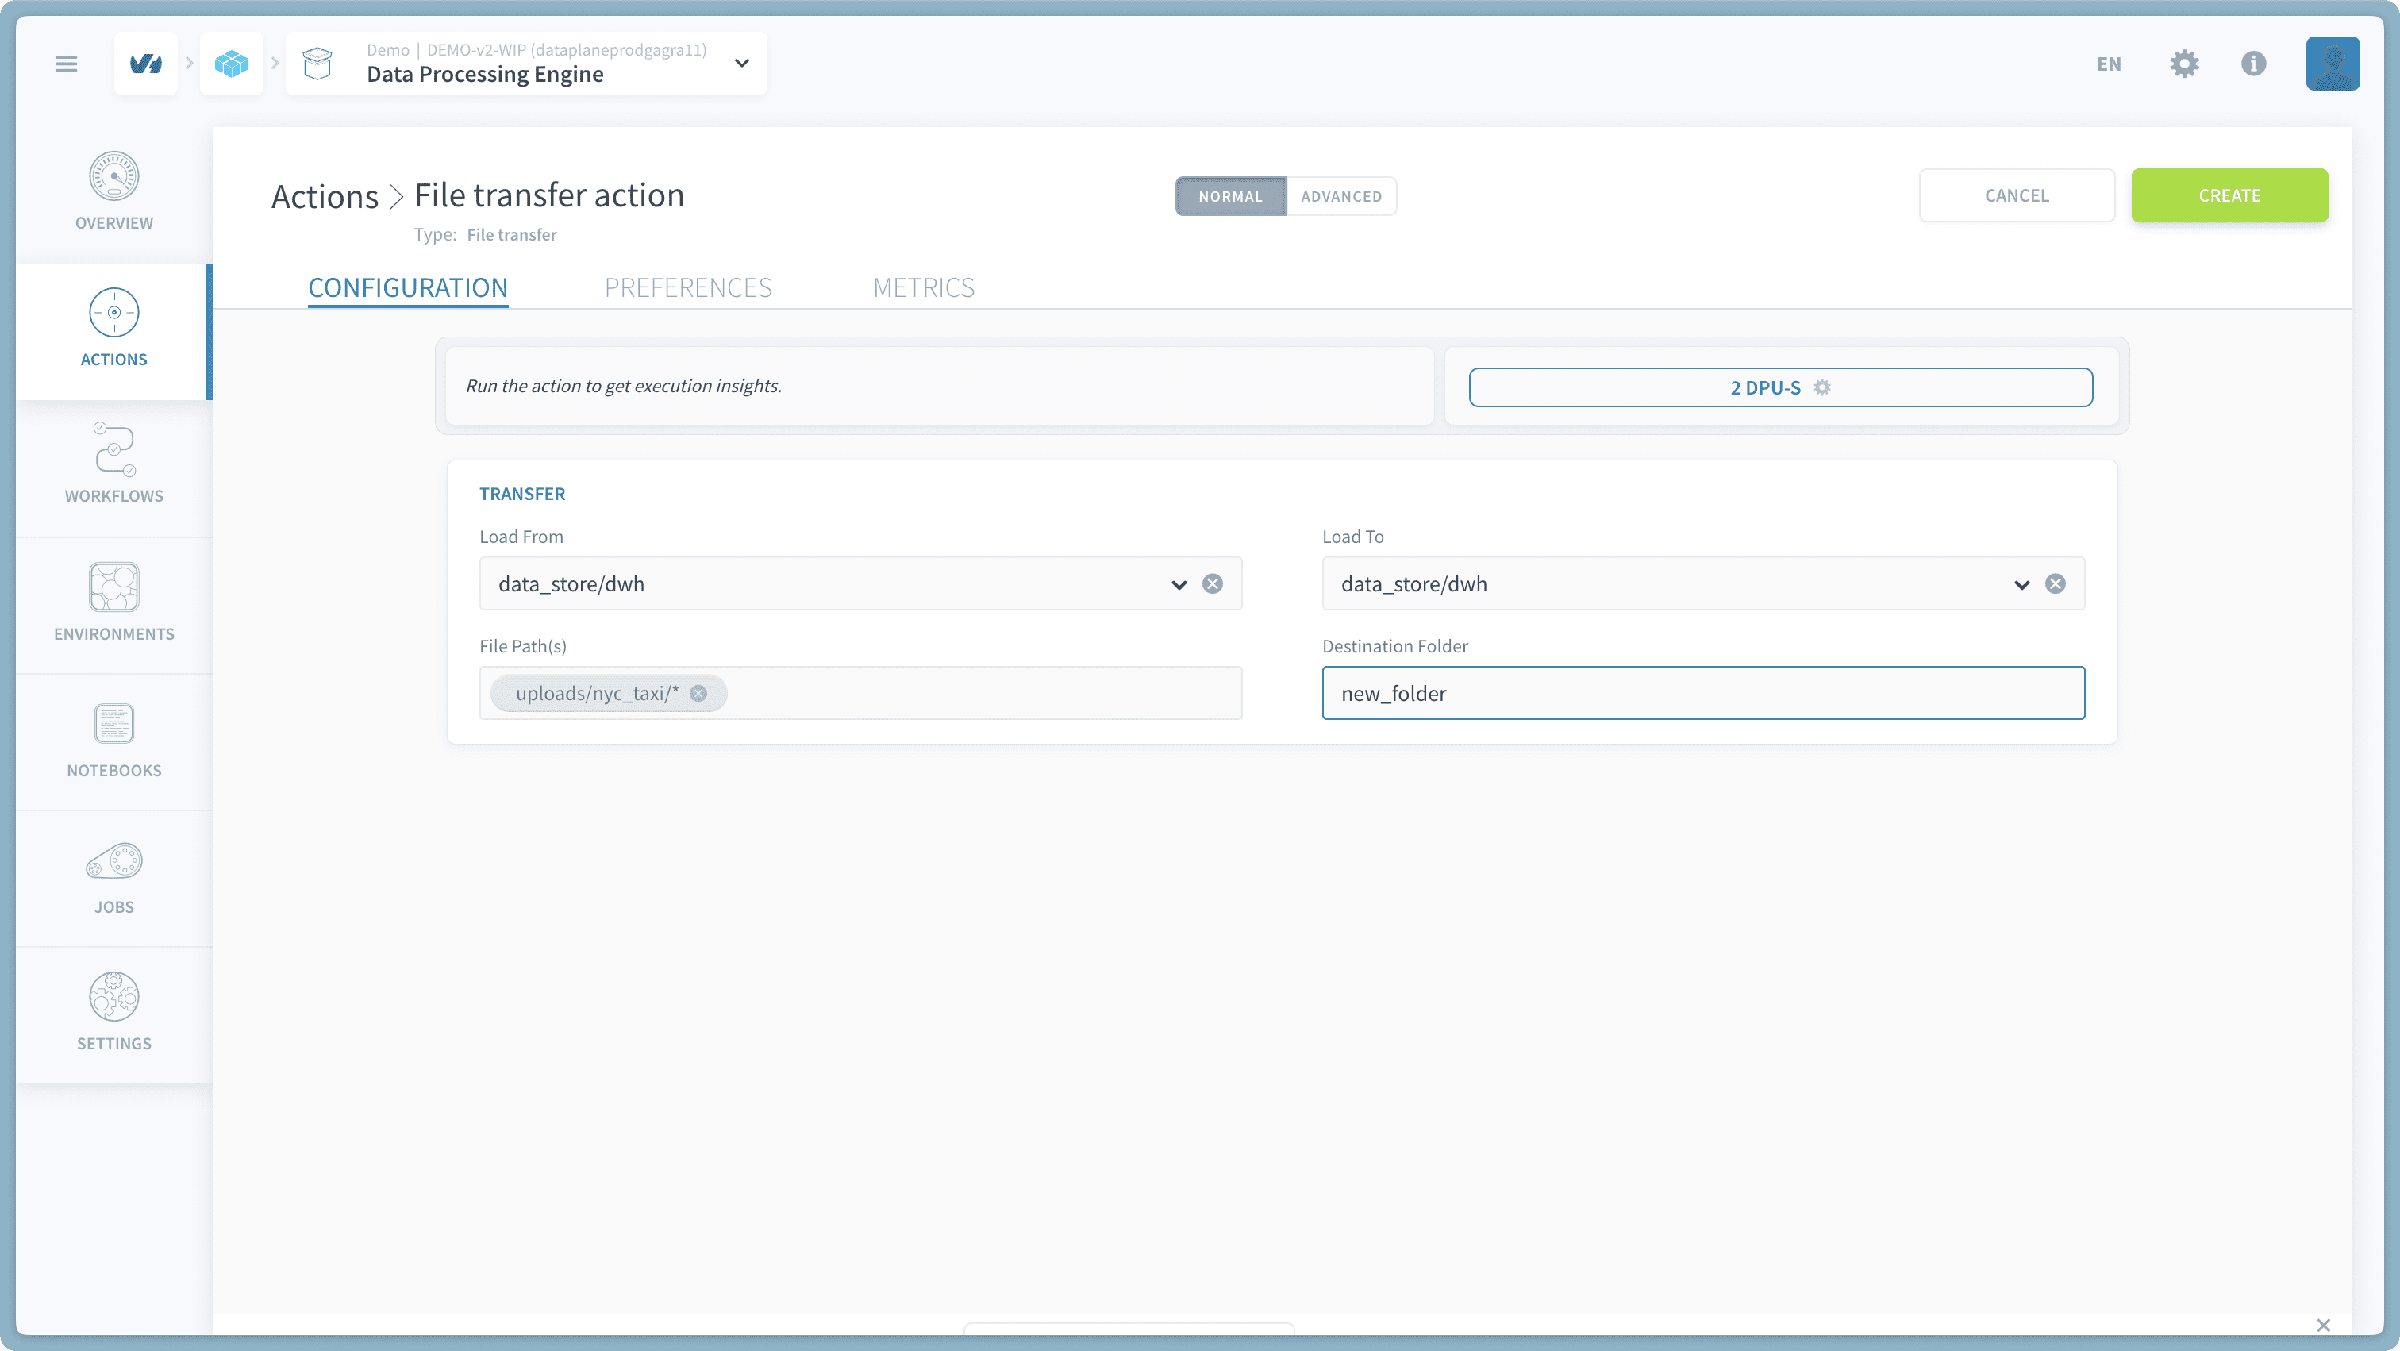
- If you enter a forward slash (
- Run the Action: Once both your source and destination are configured, click the "Run" button to initiate the file transfer.
Verify Your Transfer
After the File Transfer action completes successfully, you can visually confirm the changes by navigating to the Buckets section within the Lakehouse Manager. Here, you will see the copied files and folders appear in your destination bucket, reflecting the structure preserved from the source.
Go further
If you need training or technical assistance to implement our solutions, contact your sales representative or click on this link to get a quote and ask our Professional Services experts for a custom analysis of your project.
Ask questions, give your feedback and interact directly with the team building the Data Platform on the dedicated Discord channel.
If you need support with your OVHcloud services, create a request in our Help Centre.
Join our community of users.