

Integrate OVH AI Endpoints with Jupyter AI
The Jupyter AI extension brings the power of generative AI directly into your notebook environment, allowing you to interact with large language models
Objective
The Jupyter AI extension brings the power of generative AI directly into your notebook environment, allowing you to interact with large language models, generate code, explain concepts, and perform various AI-powered tasks without leaving JupyterLab.
Data Platform Notebooks come with the Jupyter AI extension pre-installed, allowing you to start leveraging AI immediately. By integrating your OVH AI Endpoints, you can leverage custom models and services directly within your notebooks.
This guide will walk you through the process of configuring and using the Jupyter AI extension with your OVH AI Endpoints on Data Platform.
Requirements
Before you begin, ensure you have:
- An active Data Platform Notebook instance (Jupyter AI is pre-installed).
- An AI Endpoints API key for the OVH AI service you wish to integrate.
Configure Jupyter AI with OVH AI Endpoints
Once your Data Platform notebook is open, you can configure the pre-installed Jupyter AI extension to connect to your OVH AI Endpoints.
:::info Important Notes:
- This configuration needs to be performed once per notebook instance. It will be retained automatically for that specific notebook upon restart, but it is not synced across different notebook instances.
- Jupyter AI often configures models using environment variables. While you'll set these through the UI here, understanding this helps with advanced configurations or troubleshooting. :::
-
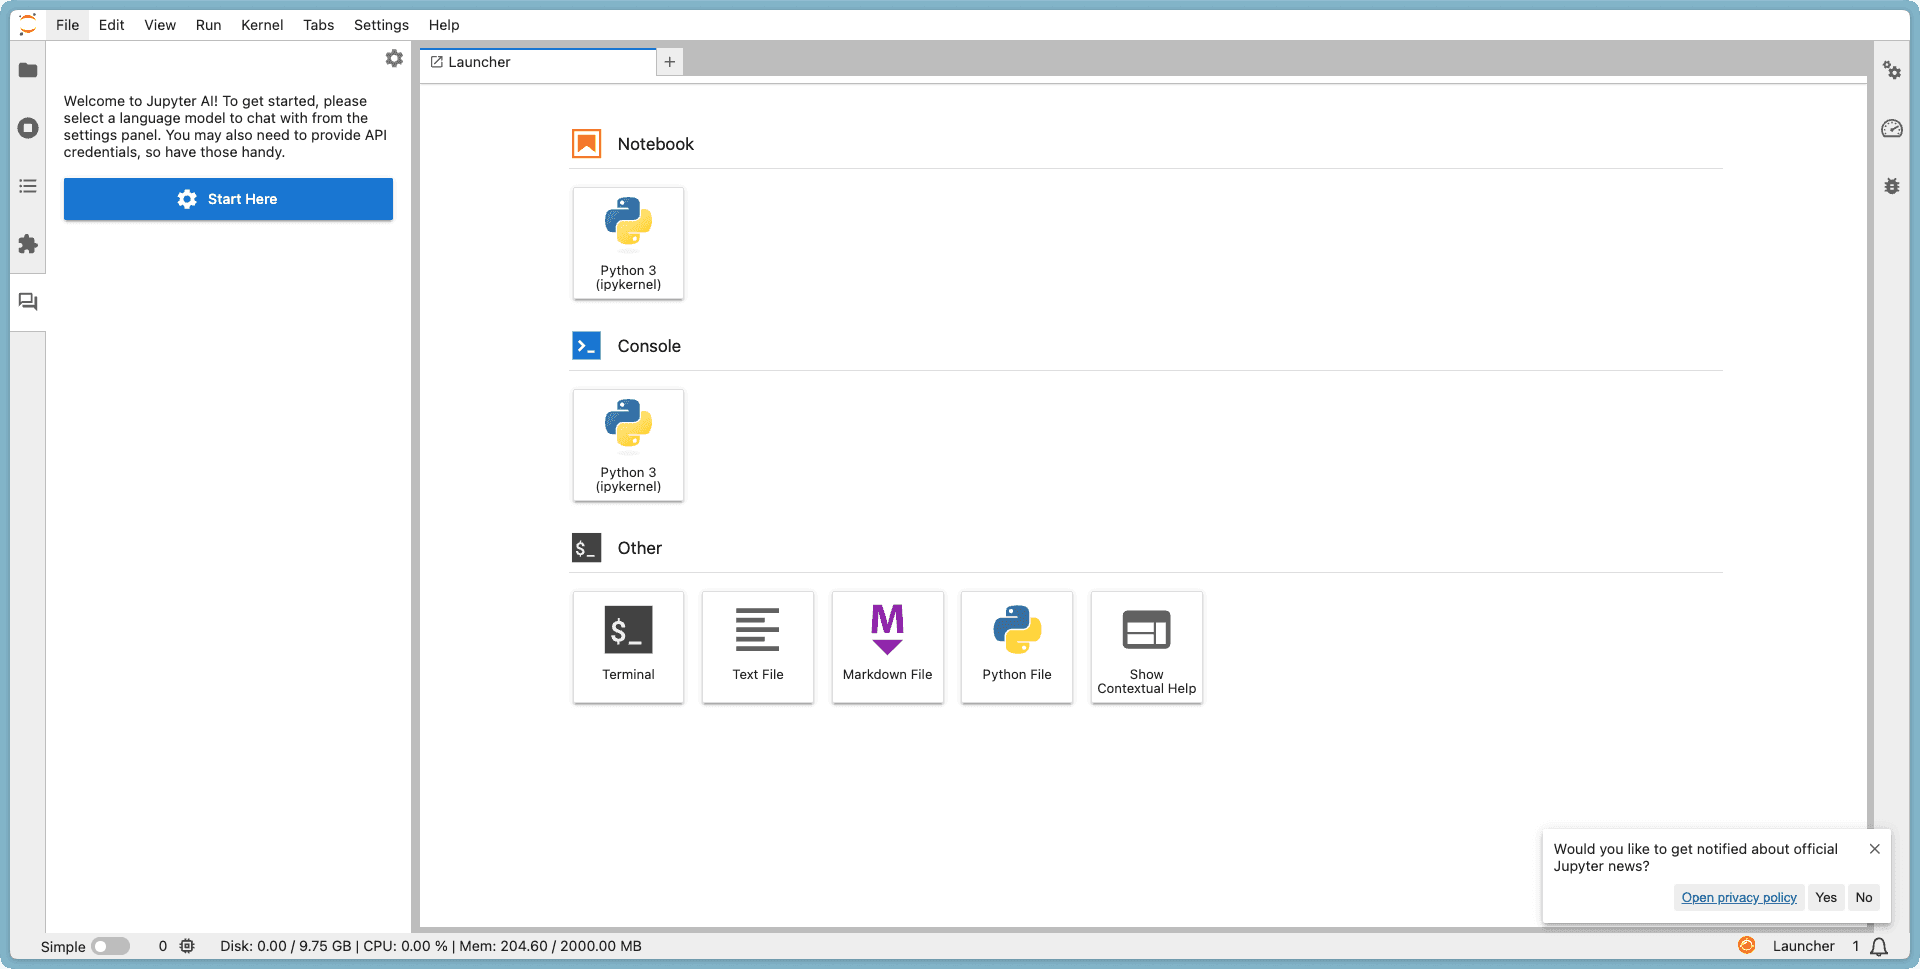
Access Jupyter AI Panel: In your JupyterLab interface, locate and click the "Chat" icon on the left sidebar.
-
Start Configuration: Click on ⚙️ Start Here within the chat panel to begin the configuration process.
-
Define Completion Model:
- 3.1 Completion Model: Select
OpenAI (General Interface). This will reveal further configuration settings for the model ID, base URL, and API key. - 3.2 Model ID: Enter the ID of your desired model from the AI Endpoints Catalog. For example, let's use
Qwen2.5-Coder-32B-Instruct. - 3.3 Base API URL: Enter the base URL for your OVH AI Endpoints, such as
https://oai.endpoints.kepler.ai.cloud.ovh.net/v1/. - 3.4 API Keys: Enter your OVH AI Endpoints API Key in the designated field.
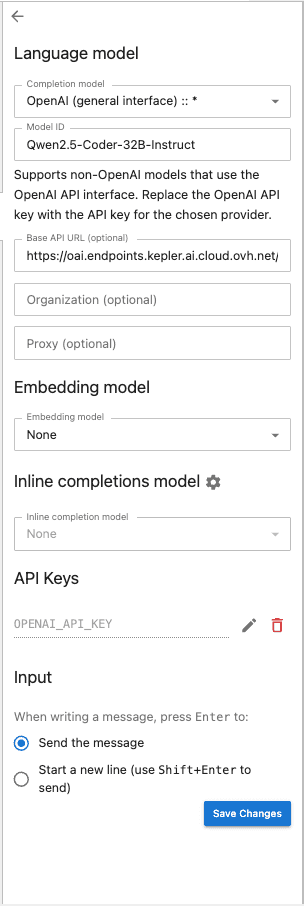
- 3.1 Completion Model: Select
-
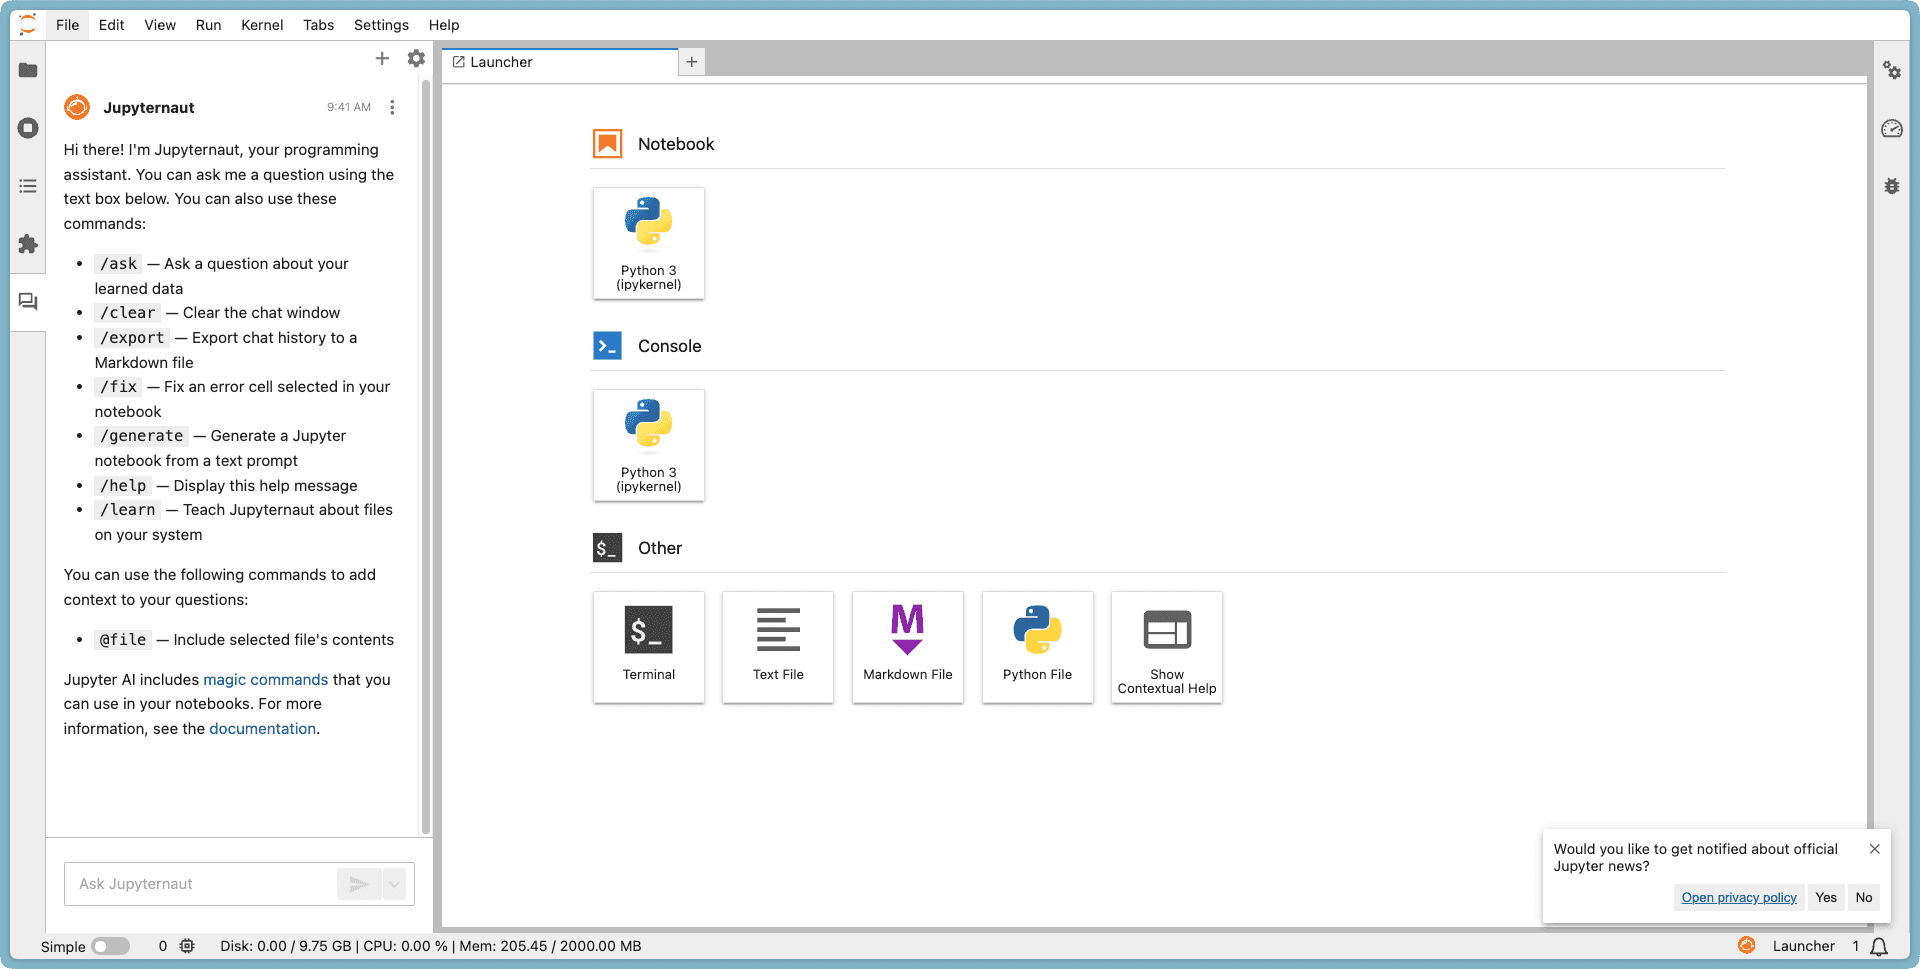
Save and Return: Click Save Changes, and then click the back arrow to return to the Jupyter AI Chat panel. Your Jupyter AI extension is now configured and ready for use.
Using Jupyter AI in your Notebook
Once your OVH AI Endpoint is configured with Jupyter AI, you can interact with it directly within your notebook environment using the Jupyter AI Chat Panel.
Jupyter AI Chat Panel
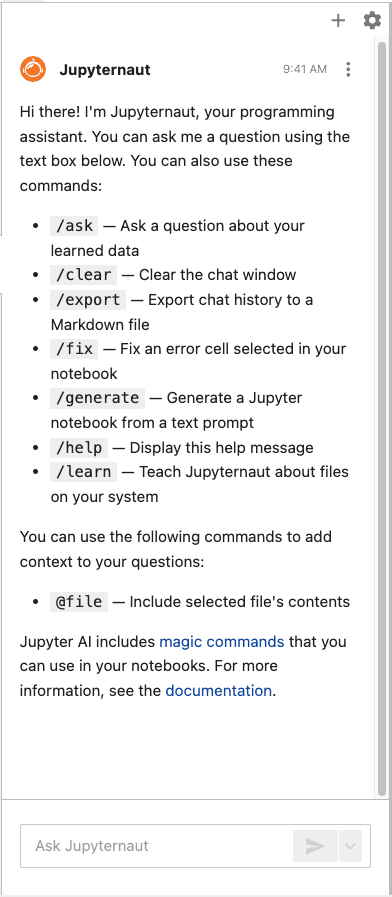
The Jupyter AI chat panel, powered by Jupyternaut, enables conversational interaction directly within JupyterLab. This is your primary interface for interacting with your configured OVH AI Endpoint. You can use it to get programming help, generate notebooks, and much more with ease.
You can:
- Ask questions about your data or code using the chat box.
- Generate new Jupyter notebooks from text prompts using the
/generatecommand. - Fix errors in selected notebook cells using the
/fixcommand. - Export chat history to a Markdown file using the
/exportcommand. - Teach Jupyternaut about files on your system using the
/learncommand. - Use
@fileto include selected file contents in your question for more accurate responses, providing context to the AI directly from your files.
For more detailed information on all capabilities, explore the Jupyter AI documentation.
Example Workflow: Generating a Machine Learning Notebook from Kaggle Hub Data
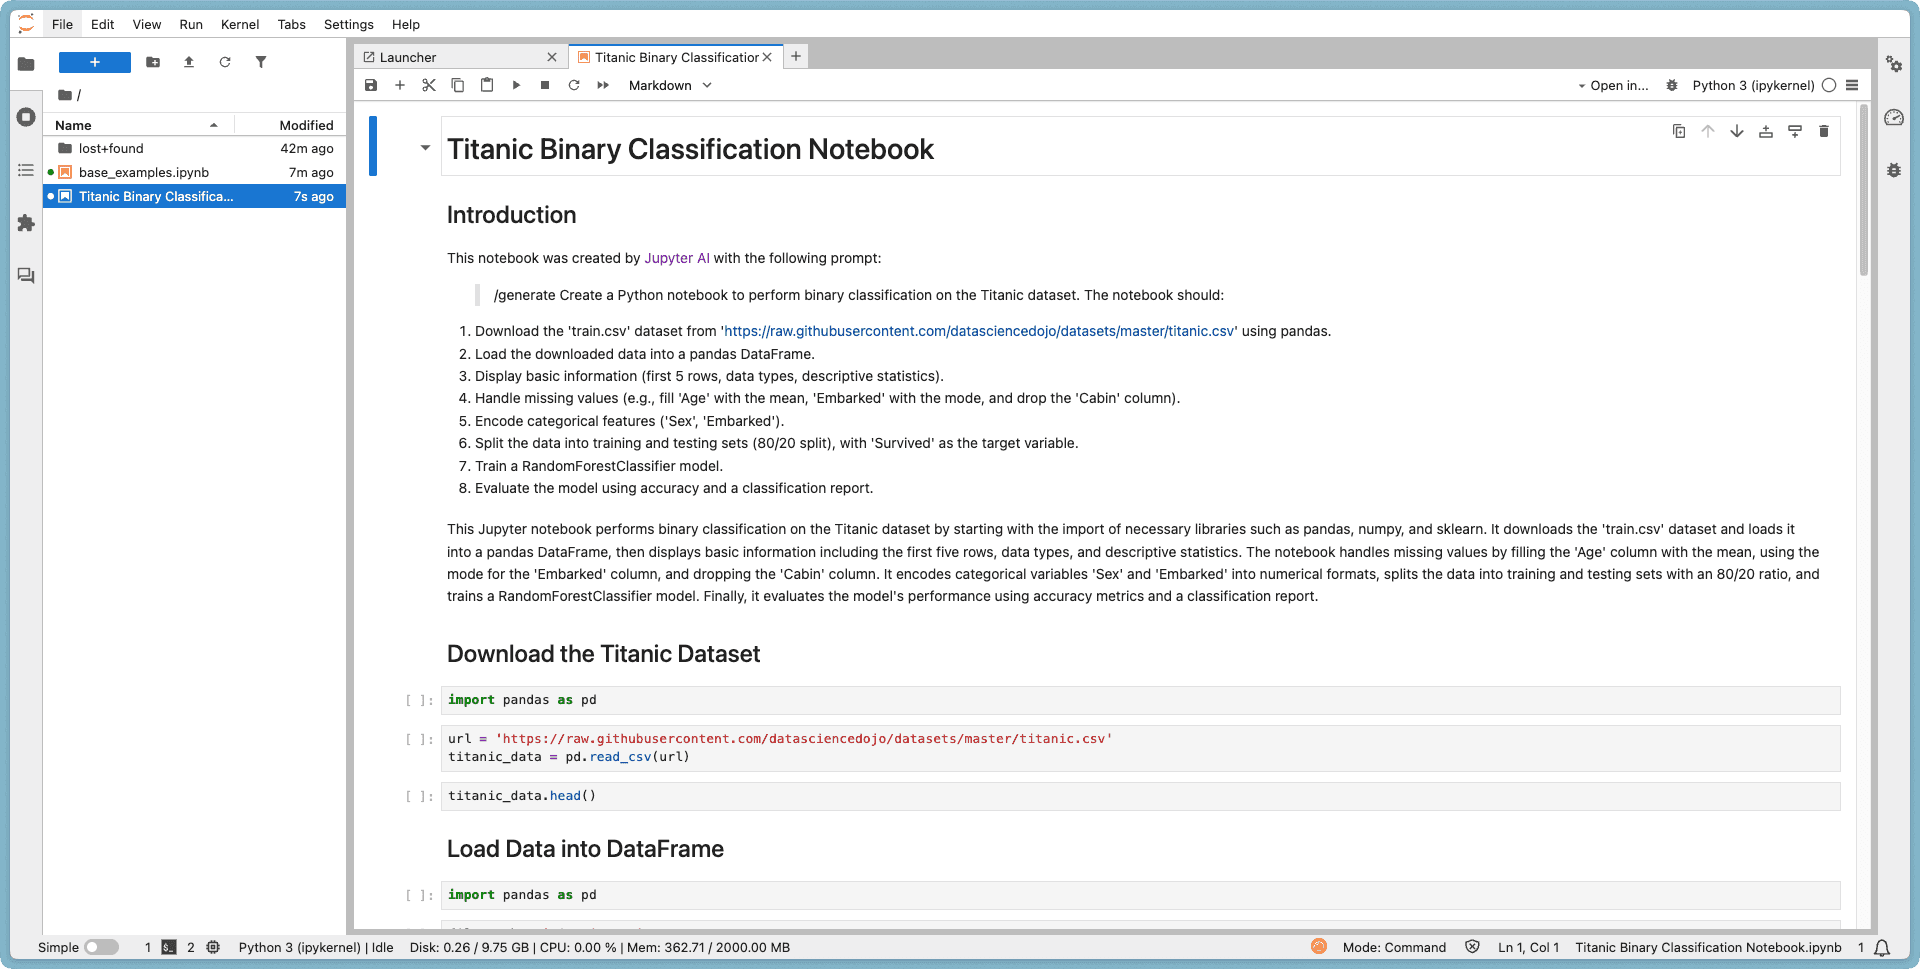
Let's demonstrate a powerful feature: using the /generate command to create a new notebook that fetches data, performs data exploration, and builds a basic machine learning model. For this example, we'll use a commonly available version of the Kaggle Titanic dataset, accessible via a direct URL.
-
Ensure your Jupyter AI is configured as described in the "Configure Jupyter AI with OVH AI Endpoints" section, using your chosen model (e.g.,
Qwen2.5-Coder-32B-Instruct). -
Open the AI Chat Panel (if not already open) by clicking the "Chat" icon on the left sidebar.
-
Type the
/generatecommand followed by your detailed prompt into the chat input field: -
Press Enter to send your prompt. Jupyter AI will process your request using the configured OVH AI Endpoint. After a short time, it will generate a new
.ipynbfile in your current directory (e.g.,Titanic Binary Classification Notebook.ipynb), pre-populated with Python code cells performing the requested steps. -
Open the generated notebook and run the cells. You can then modify, expand, or debug the code as needed, using the Jupyter AI chat panel for further assistance. This significantly accelerates your data science workflow.
Troubleshooting
API Key not foundorAuthentication Error: Double-check the API Key entered during Jupyter AI configuration. Ensure it is correct and has the necessary permissions for your OVH AI Endpoint.Could not connect to the modelorBad URL: Verify the Base API URL provided during Jupyter AI configuration. Ensure the URL is correct and your OVH AI Endpoint is running and accessible.- No AI panel/button in JupyterLab: If you don't see the AI panel or button, try refreshing your browser tab or restarting the Jupyter server. While Jupyter AI is pre-installed, sometimes a fresh load helps.
Go further
If you need training or technical assistance to implement our solutions, contact your sales representative or click on this link to get a quote and ask our Professional Services experts for a custom analysis of your project.
Ask questions, give your feedback and interact directly with the team building the Data Platform on the dedicated Discord channel.
If you need support with your OVHcloud services, create a request in our Help Centre.
Join our community of users.